Question ID: 1000-4656-1-2-3-7
Recipe Description
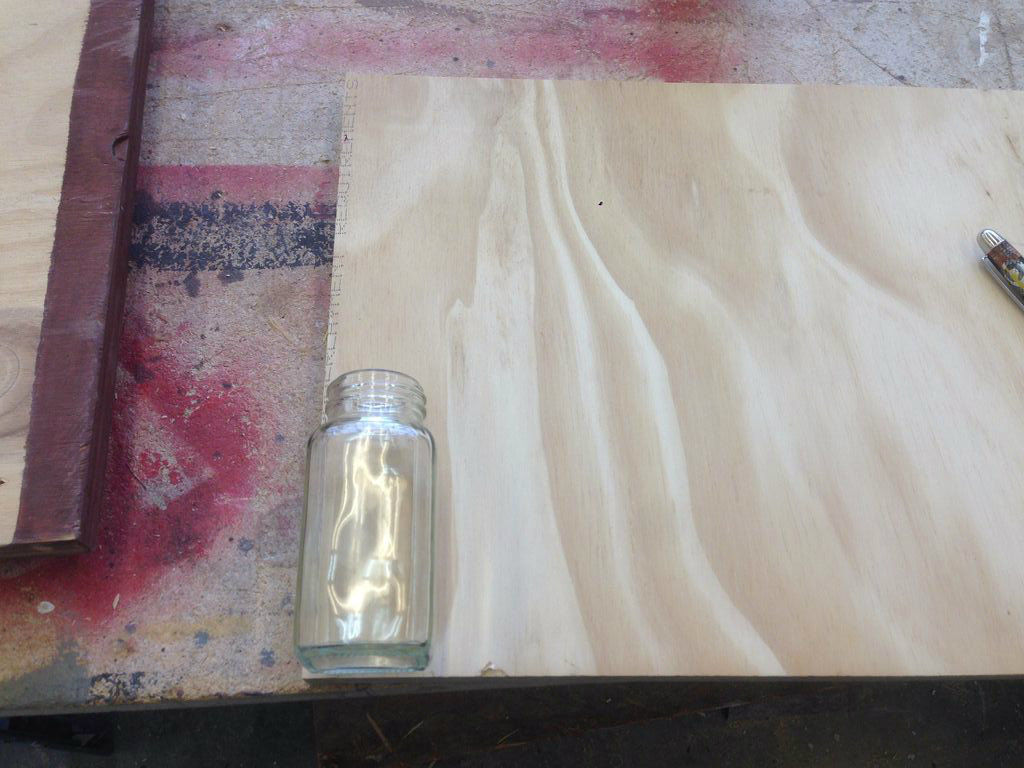
So here's the story. My brother-in-law moved into a new space, and he found that his roommate was woefully lacking spices to cook with.What to do?Well, Christmas was coming, so we decided to help him out.Hook him up with enough spices to rock the kitchen or grill. The idea was to give him 20 spices, and a rack to hold them. We bought 20 spice jars with caps and shaker inserts from Specialty Bottle.Once they arrived, it was time to get busy. Using the bottle as a measuring guide, we went to find some wood.
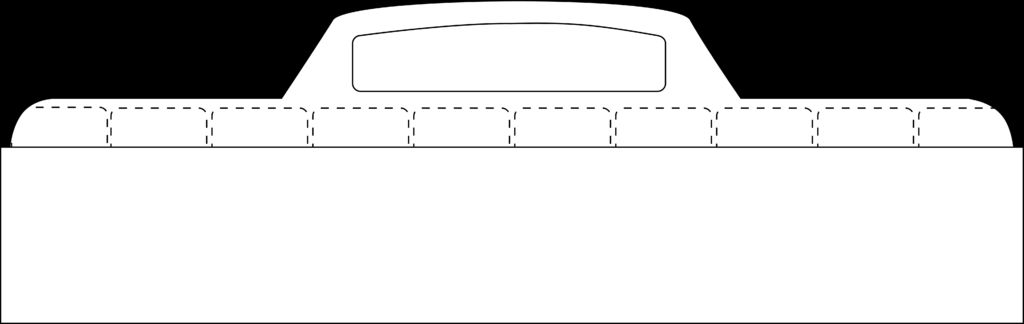
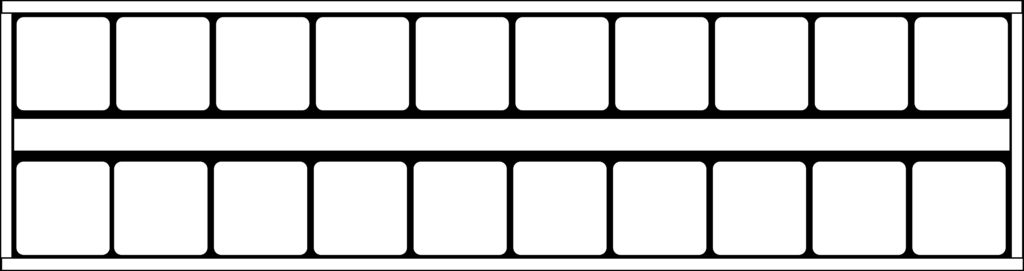
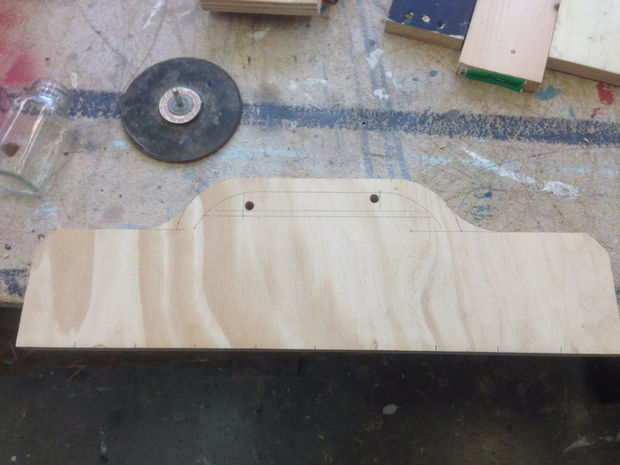
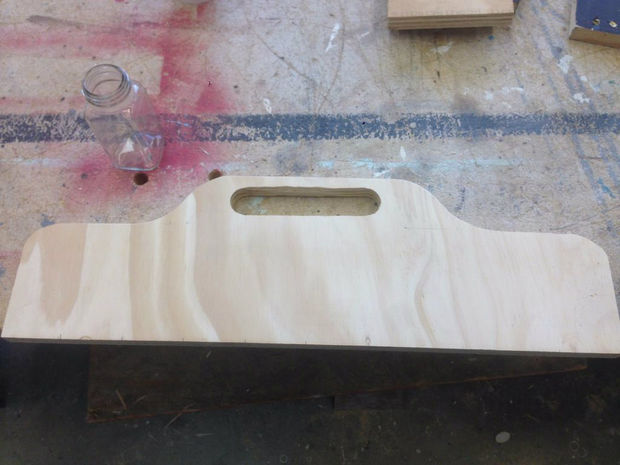
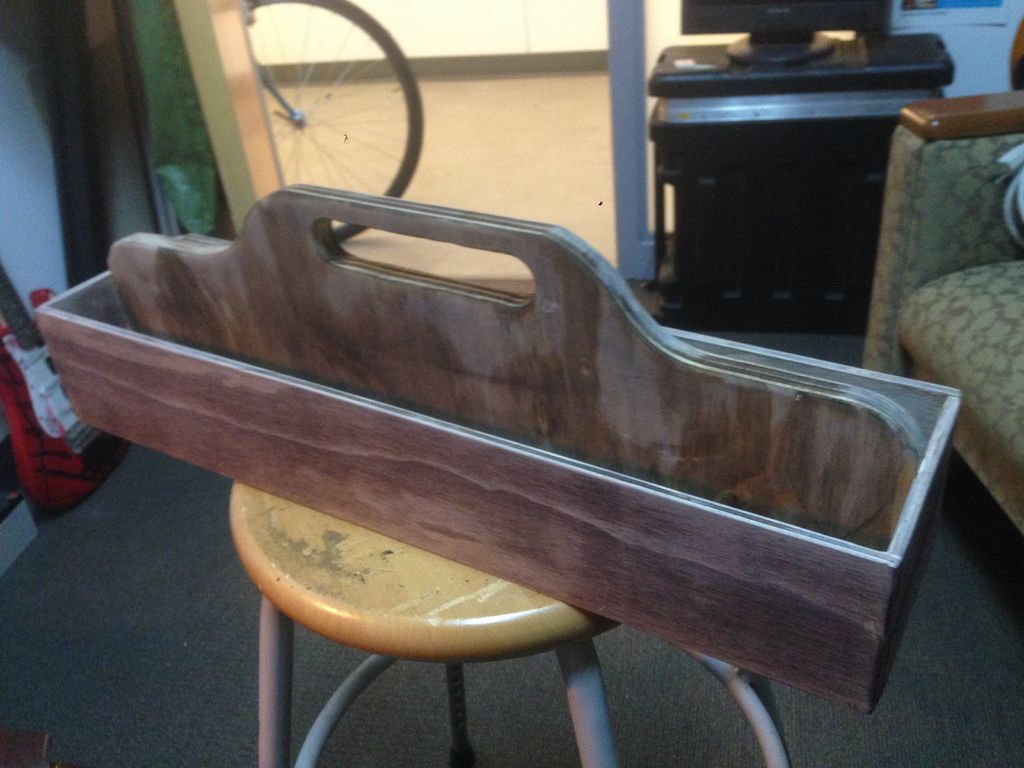
Using the bottle, I figured out how many bottles long I wanted and how high. I didn't want it tight-tight, so I left room between each bottle for some rattle room. Also to allow for variances in store bought bottles. He might pick up some "Devil-Ghost-Bum-Burner" spice and want to replace the Arrowroot.You'll notice the grinder wheel. I used that to draw out my curves. Then I drilled some holes for the handle, cut it out with a jigsaw and did some edge work with a router.The plywood is standard 5/8" stuff. It's what I had as scrap. (Reduce, reuse, recycle!)
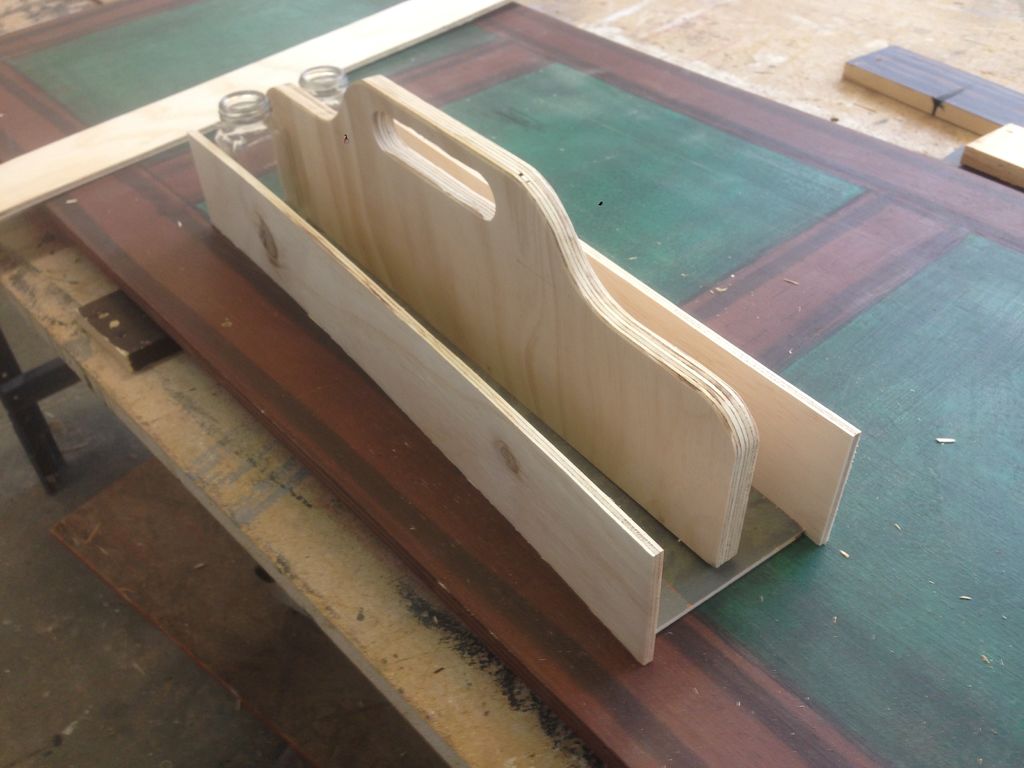
Since your bottles may vary in size, I'm not giving exact measurements here. There's some fiddly room.Using the handle as a guide, cut out the bottom, with about an 1/8" oversize all the way around. I did this so that when I notch the sides, the bottom will fit into that notch, adding rigidity. This was a fussy bit. Go slow, test your fits and make sure you're not going to tight. For the bottom material I used some 1/8" Luan, again a scrap piece. The sides are 1/4" plywood. (yes, from the scrap bin)Using the table saw, I cut an 1/8" notch, about 1/8" up the side of 1/4" plywood sides. I ran this cut all the way through, yes it leaves a gap that's visible. No I don't care. We could always fill it with putty! The depth of the notch is only 1/8", or halfway through the plywood. Test fit the bottom, it should be snug, but if it isn't, that's ok, we're going to glue it anyway. But aim for snug.TEST FIT EVERYTHING!
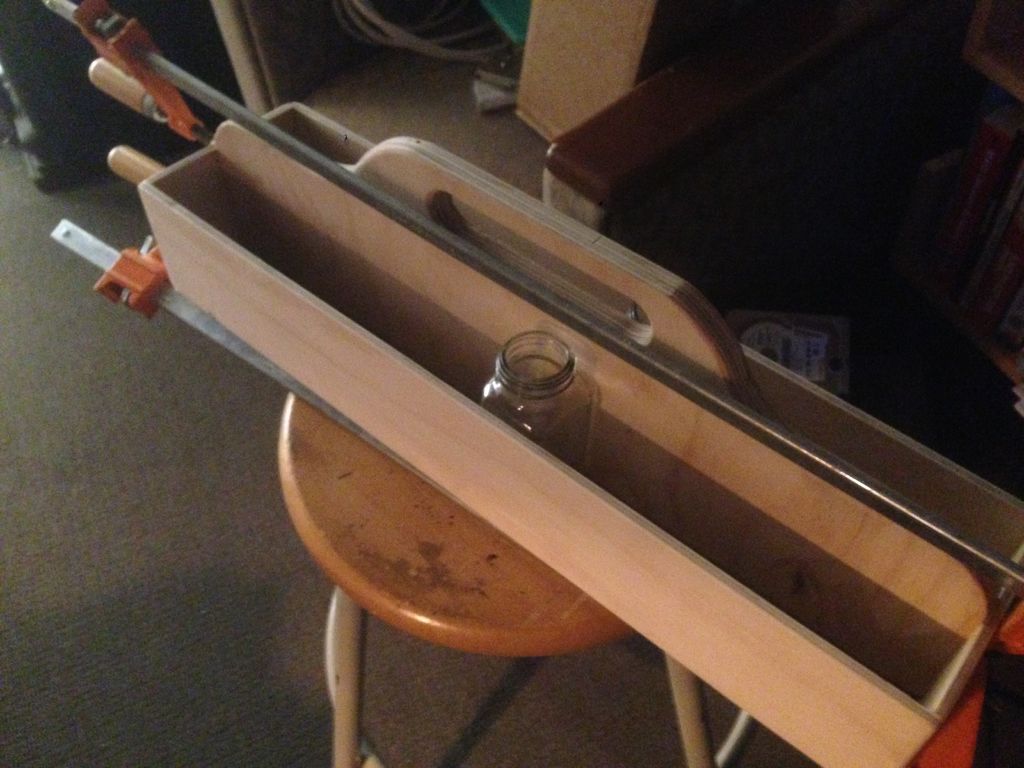
I clamped things up in stages. First I clamped and glued the box. I didn't use any brads, in fear of firing one crooked and popping it out a side. So the box was clamped and glued and it sat overnight. Next time however, I will use some brads. I have a pneumatic brad gun, and will use brads to hold things together. 1/4" plywood gives me enough room as long as the brad isn't too big.The next day I installed the handle. This I also glued and fired some staples into to help secure it while it dried. I stapled through the sides and a couple through the bottom up. More clamps, then overnight to dry.Then I sanded the whole thing. First 200 grit, and I finished with 600 grit.
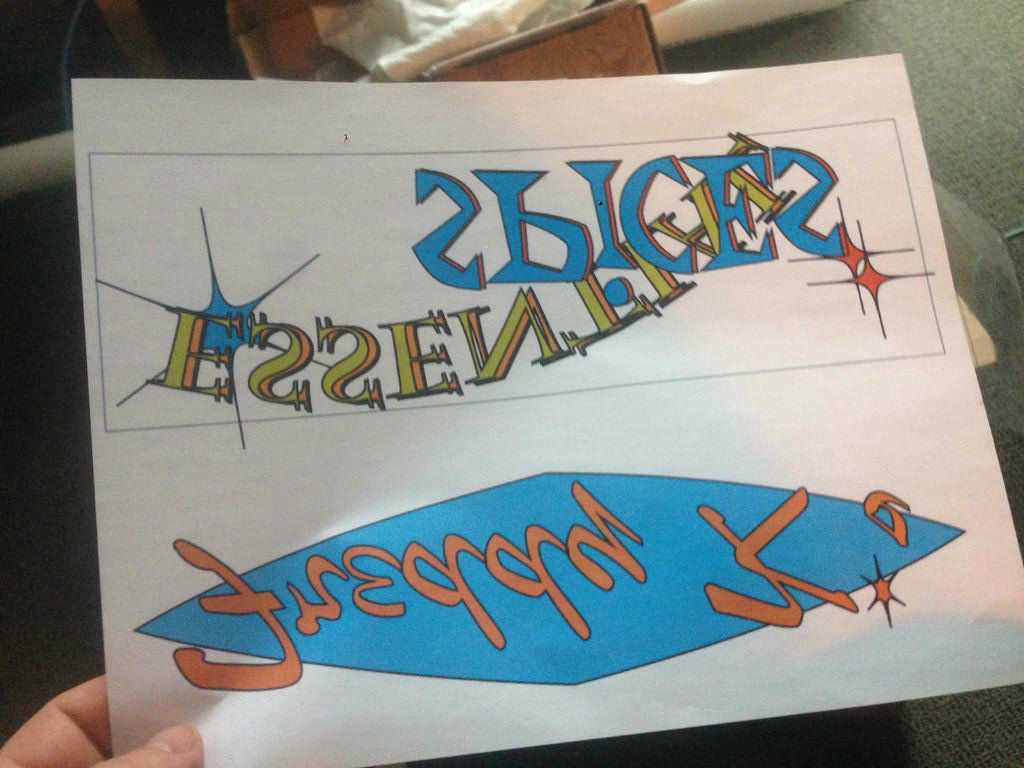
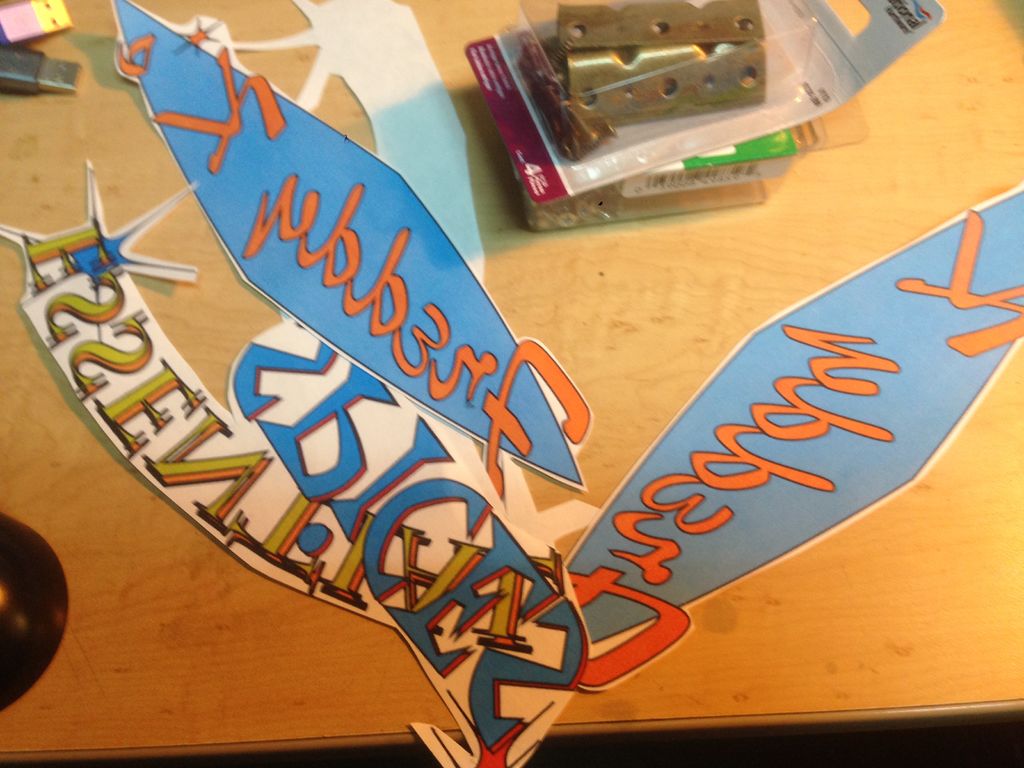
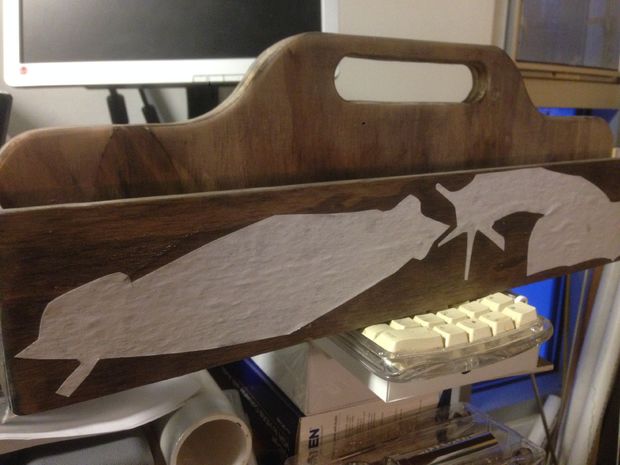
So into Illustrator!I was going to be using a method I've used in the past, which is to print out a design on a color laser printer, making sure it's reversed, then coating the surface of the project with a Matte Gesso medium, sticking the image side down, letting it dry, then rubbing off the paper.I tell you, the process is a pain, but man I like the results.So what you see here is the images I created in Illustrator printed out. Then carefully cut out. Cut out as much of the paper as you can. Saves on rubbing later. And makes it easier to place.
Do you know how hard it is to find a water based stain?Not real hard if you know how to look. What I used was Rit® clothing dye. Grey.Why not an oil based stain? Because I was using the Gesso over it, I wanted to make sure it stuck, so a water based stain was it. I mixed the Rit® dye with water and using a sponge brush, coated the sanded surface.The water did raise the grain a little, so once it was dry, I used a 600 grit paper to knock down the high spots. It gave the finish a nice patina.
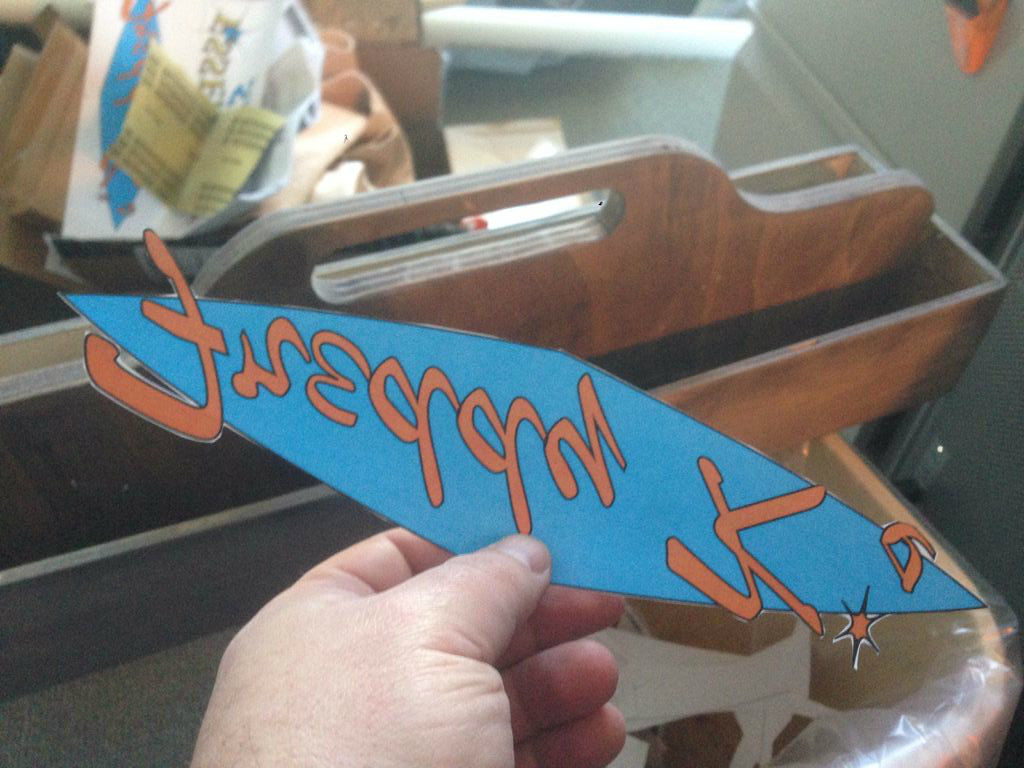
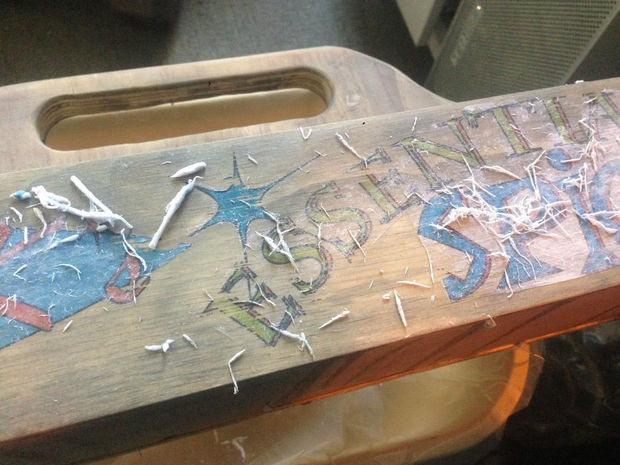
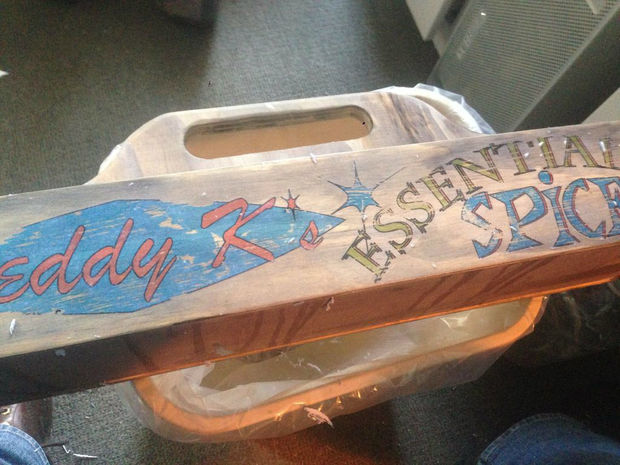
You can obviously skip this step, and finish the caddy however you wish. Some nice tung oil, or anything really. I prefer oil finishes verses poly finishes. They just feel better over sanded wood. (there's a joke there somewhere)So add a layer of Gesso to the surface, a little thick, but not milky white thick. Then press the paper into the Gesso with the ink side down, and let it dry overnight. The next day, get the paper wet, and start rubbing away the paper. Go easy! the ink is only a couple molecules thick! It's VERY easy to rub through the image. With that said however, I LIKE the look if it's rubbed through in some sections. Instant vintage! I finish the entire caddy with a couple coats of linseed oil. The oil sticks to the Matte Gesso just fine.This thing looks like it has seen trips to the beach and gets loved.
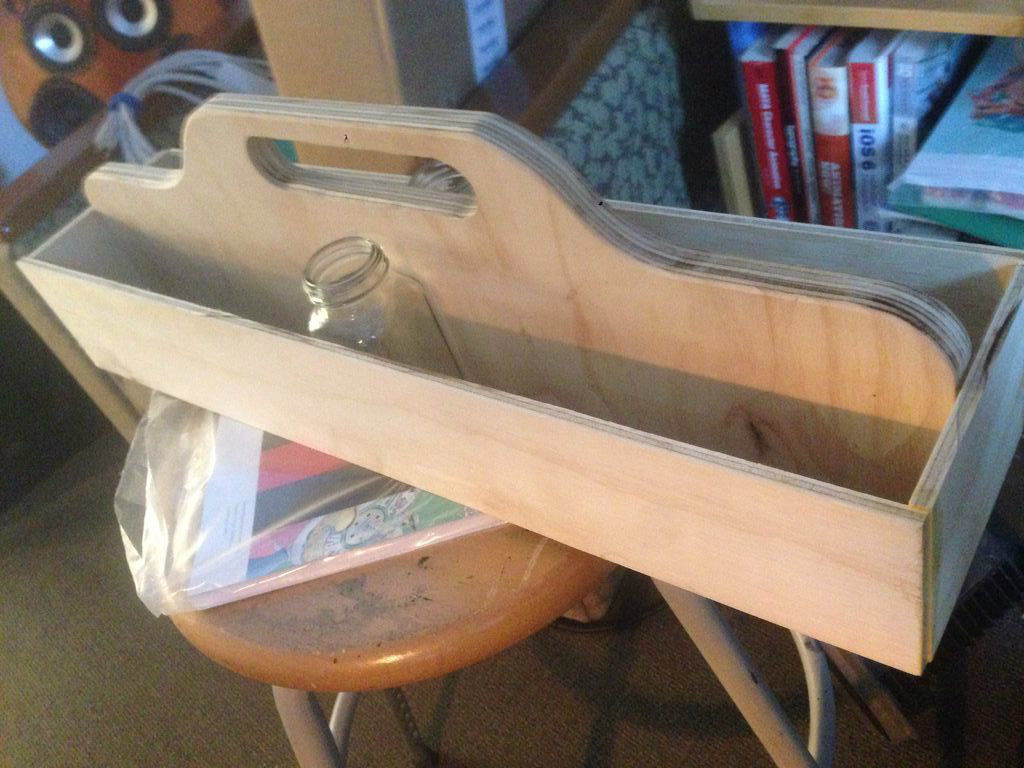
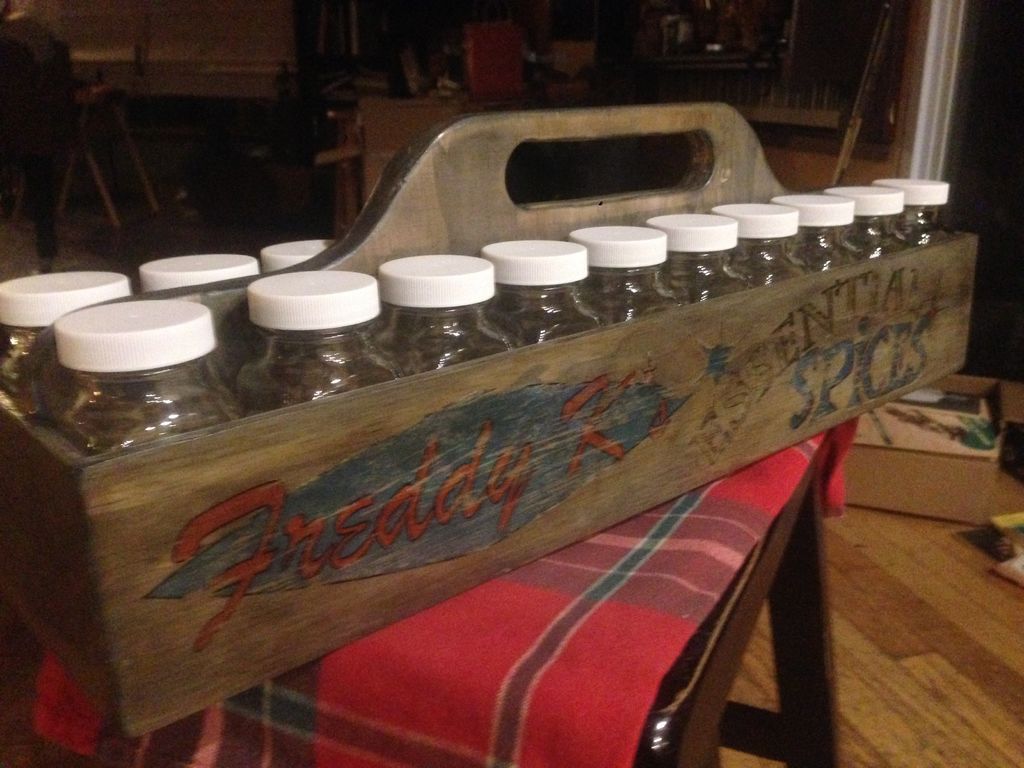
So my wife went to the co-op to get the spices needed. While there, several people asked about the caddy, and where THEY could get one.So I'm back out to the shop making 3 MORE! They want them unfinished so they can do the paint/stain/oil themselves, which is great.The 6oz jars that I bought, are standard spice jars found on the shelves of the store, so people can just buy what they need and mix things up. (Bulk spices however are cheaper) There is enough wiggle room in the caddy to get other jars in there. I just wouldn't force anything as the box will give way. It's built light, because it gets heavy once the spices are added.Not, "It's a workout." heavy, but enough where you don't want to start out with a lot of weight. Enjoy!
Question & Answer
Question: Choose the best title for the missing blank to correctly complete the recipe.
Cut the Handle Section.
Figure Out the Sides.
____________
Go Get Some Spices!
Choices:
(A) Pretentious the Clown
(B) So...what Had I Got ...
(C) Clamp It Up.
(D) Heart Burn
 (C) Clamp It Up.