Question ID: 1000-9606-1-9-11-13
Recipe Description
3 boxes of cake mix(or tripled recipe of cake)--try to use a pound cake or other dense cake, as it will be more stable
frosting(lots of it)
Modeling chocolate(there are tons of recipes online-it consists of chocolate(melted) and corn syrup stirred together until it forms a paste)
Fondant(we used the marshmallow fondant recipe--a bag of marshmallows + 3 tbs water + powdered sugar(enough to make it form into a ball), then kneaded until smooth and shiny and not sticky)
pretzels(for railings and supports)
food coloring(mostly brown and black)
paint brushes
patience and dedication
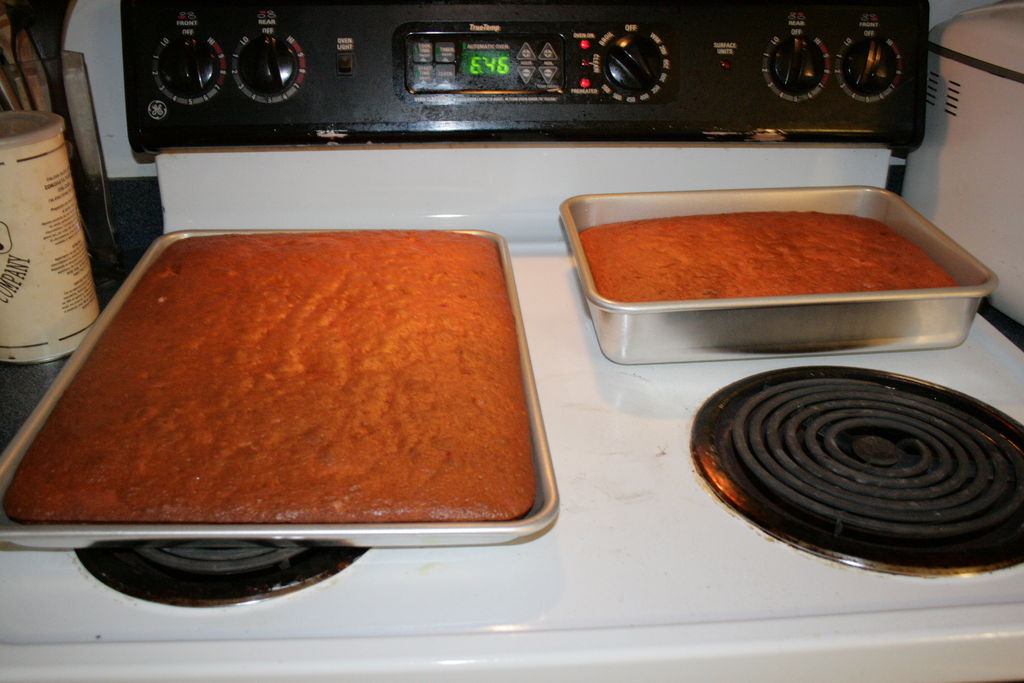
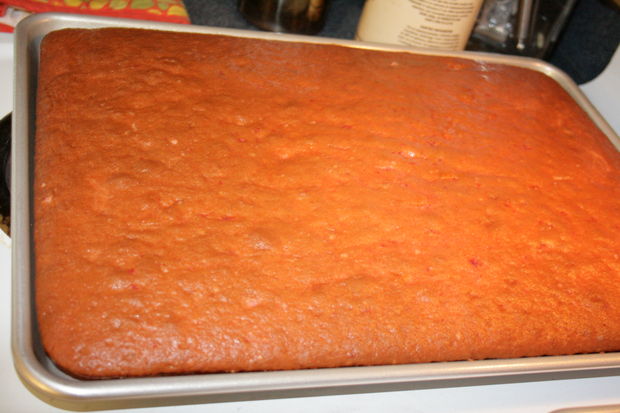
We baked a tripled recipe of cake from a box(for time purposes), and divided it between a 9x13 and half sheet cake(1.5 boxes in each pan).
Let the cakes cool completely before handling.
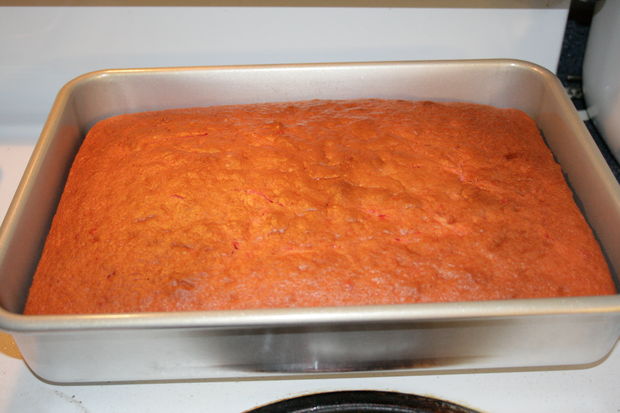
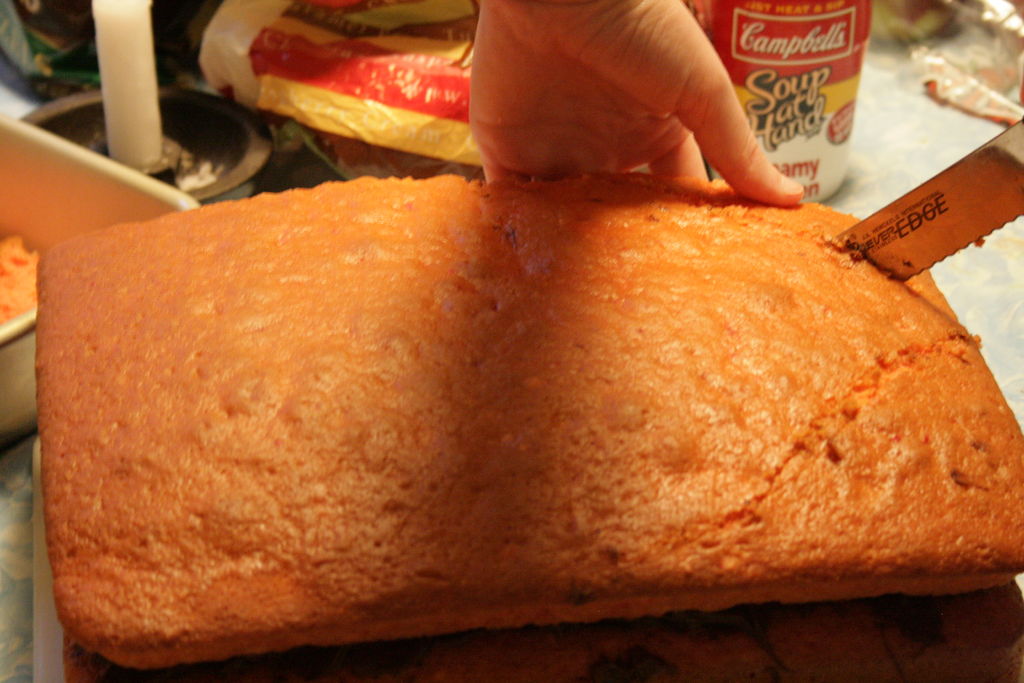
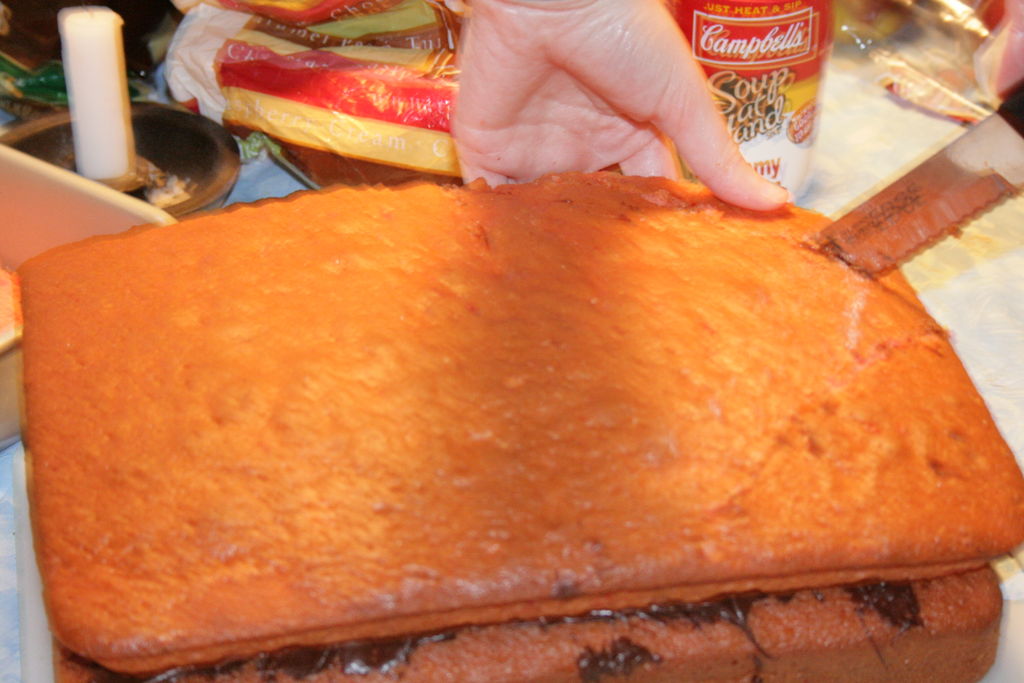
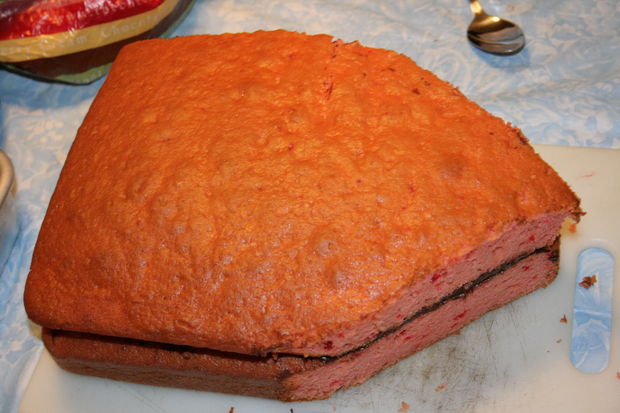
Level the 9 X13 cake so that the top is flat. Do not cut this cake in half!
Fill the top with icing(something thick so that it doesn't fall or slip).
Cut the half sheet cake in half(so a quarter sheet) lengthwise.
Take one half of the half sheet cake and stack it on top of the iced 9 X 13 cake.
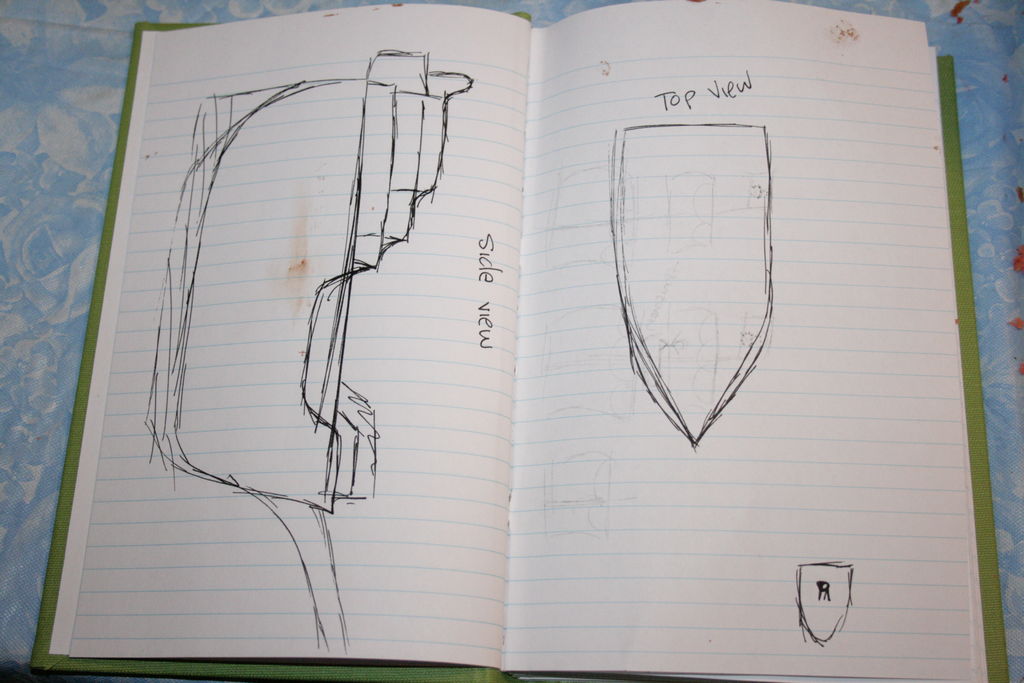
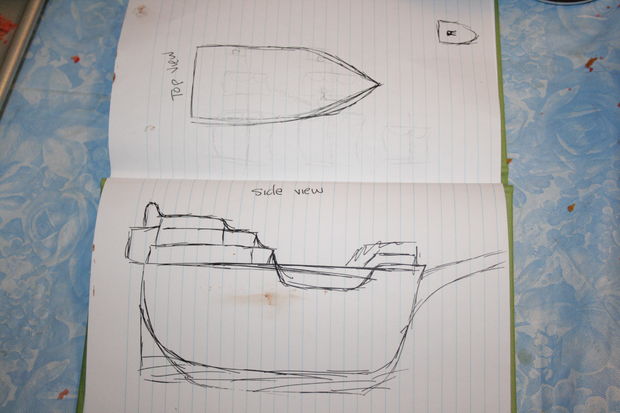
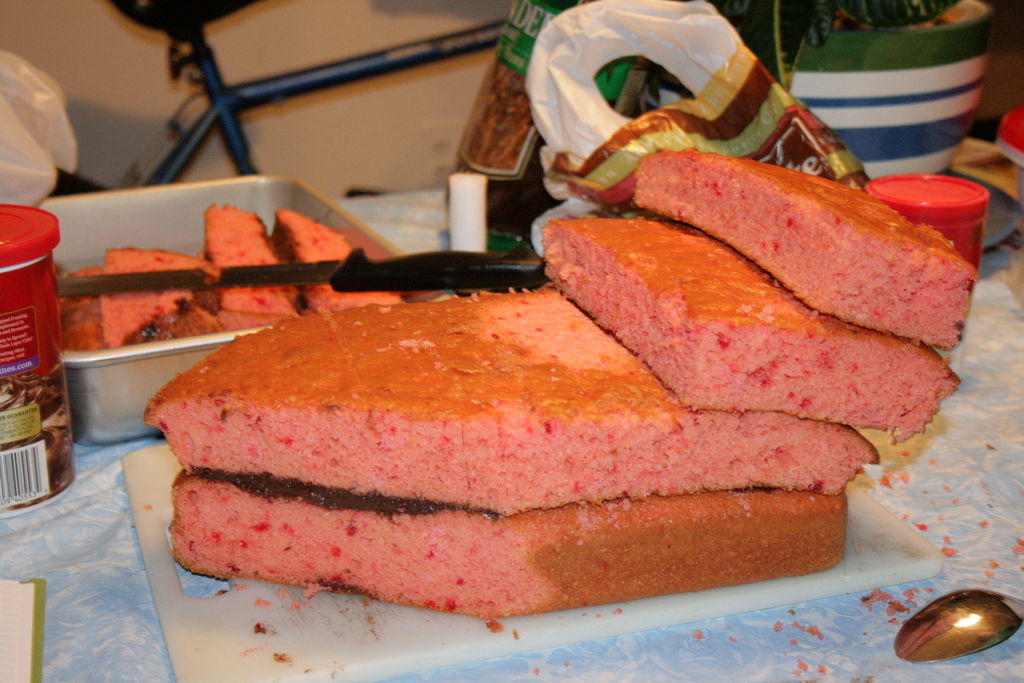
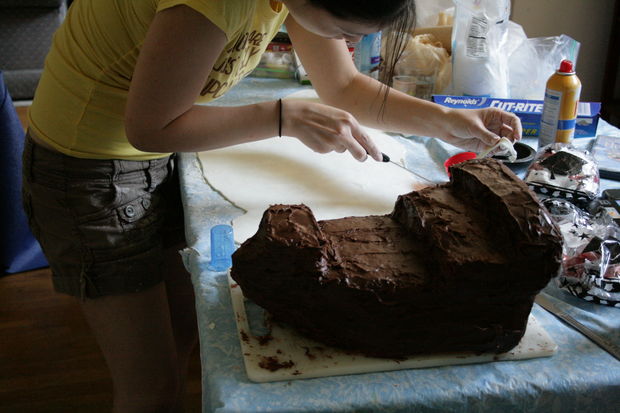
Sketch out a basic shape for the ship. Ours had two upper levels on the back that were offset by about an inch off the back of the cake. We also had a smaller level in the front of the ship.
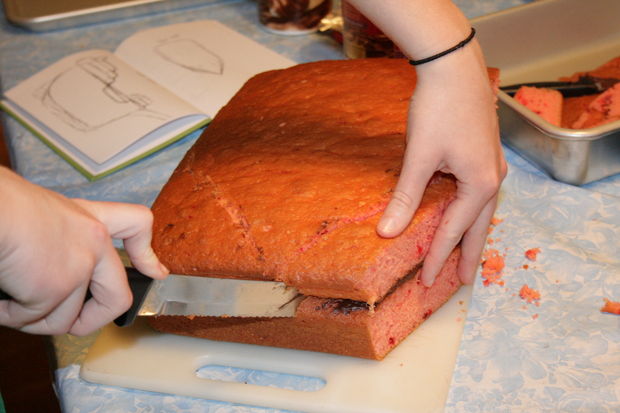
Once you have the basic shape of the base layer, carefully carve the stacked cakes into that shape. Hold off on the upper levels(that's in the next step.)

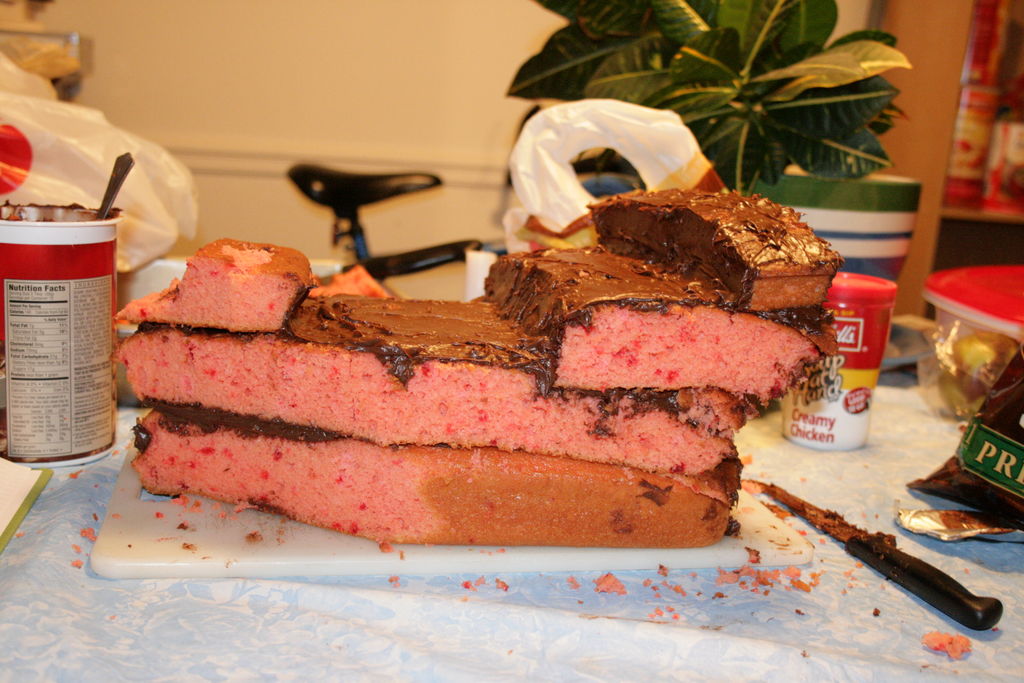
Using the leftover cake in the half sheet pan, cut out the shapes that you want for the bow and stern of your ship. We used two strips(about 2.5 inches wide and the width of the stern long) to make the upper levels of the stern and a square that we carved to match the bow for the upper levels of the bow.
Before stacking these pieces, frost the top of the base layers or else your cake will fall. Be sure to frost each layer before stacking another on top of it.
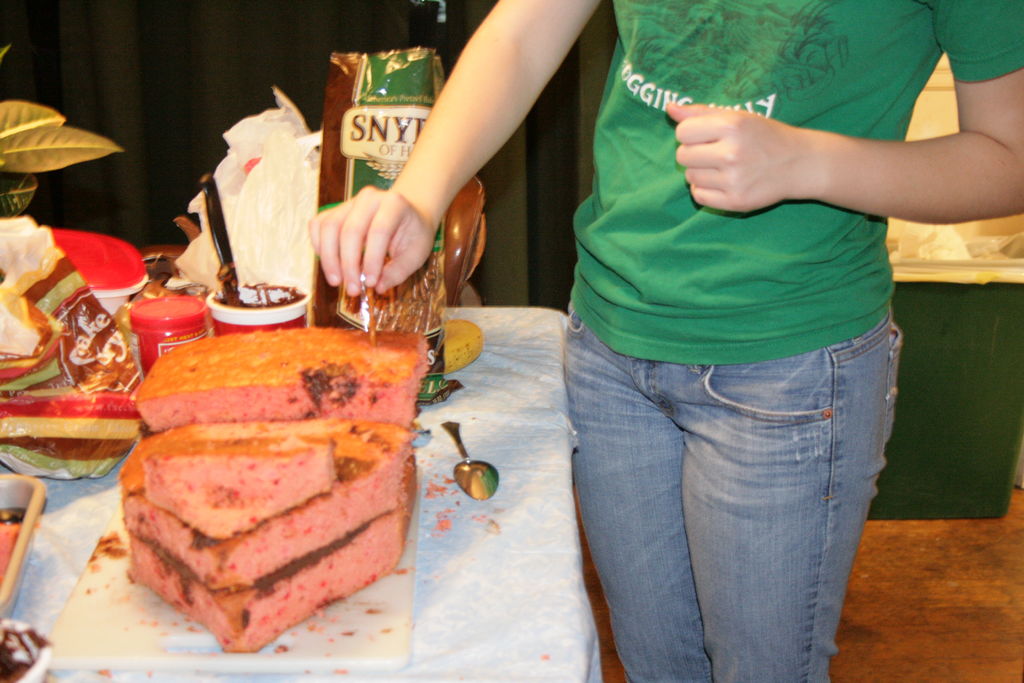
We used pretzel sticks as supports so that the entire cake was edible. We put about 5 or 6 per level in the stern and 3 or 4 in the bow.
Push the supports into the cake, but make sure to push them straight down so you don't break the cake.

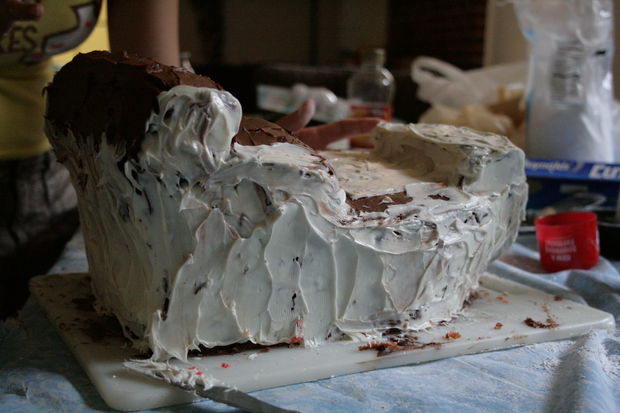
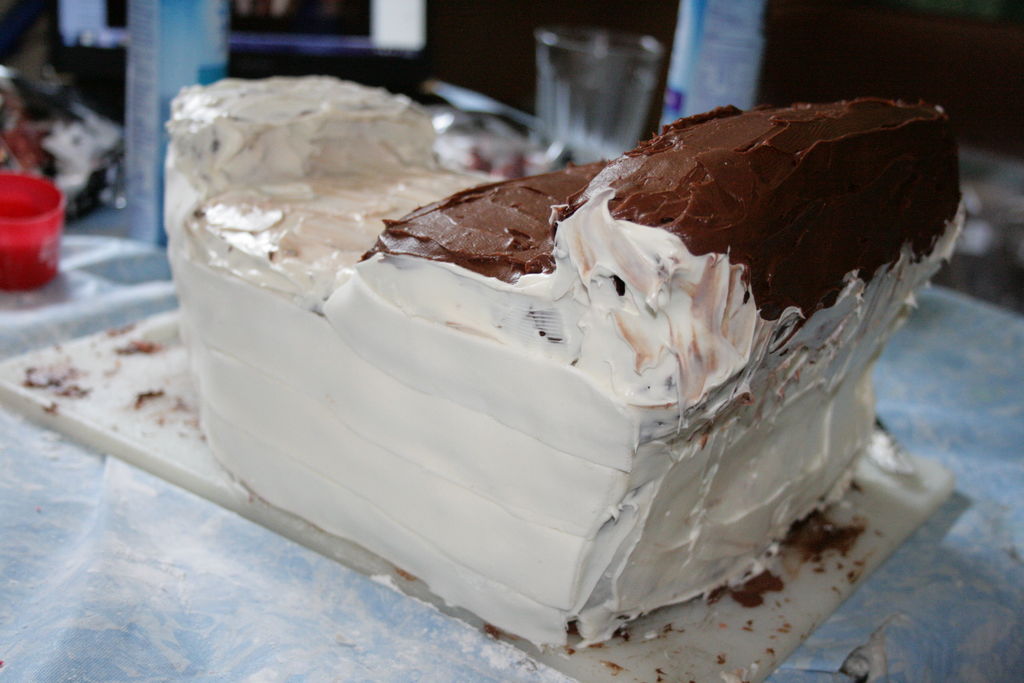
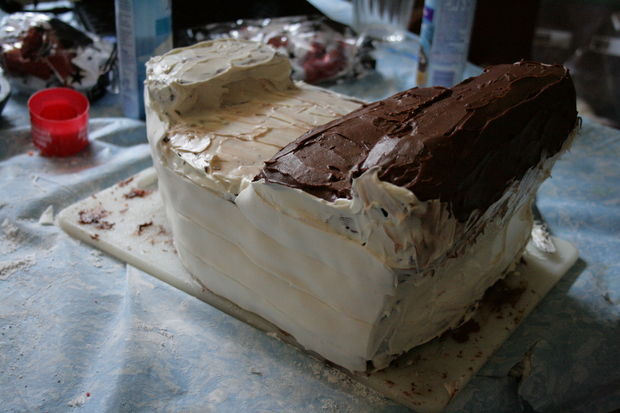
This step will require a significant amount of icing, but it's the easiest part of the decorating process. Make sure you fill in any gaps or holes that may have inadvertently appeared with frosting ;)
The frosting will help the fondant stick to the cake.

We used a combination of marshmallow fondant recipes we found online(very easy to find) to cover our cake.
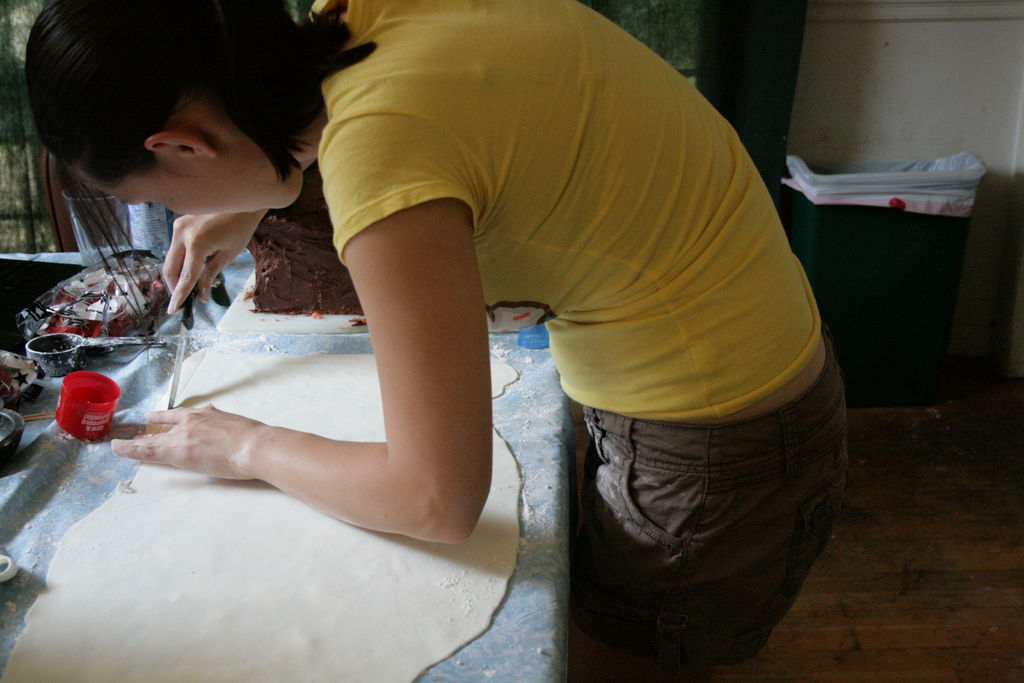
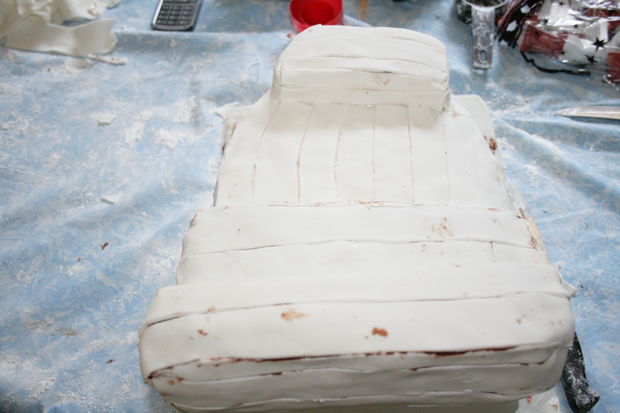
Roll out the fondant, reserving about 1/4 of the batch for the sails. Roll the fondant to about 1/8 inch.
Cut fondant into about 1 inch strips, trimming uneven edges as you go(make sure your lines are fairly straight so that the fondant winds up looking like wood planks).

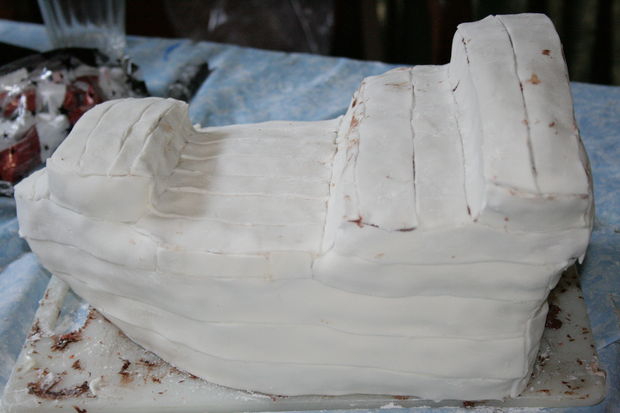
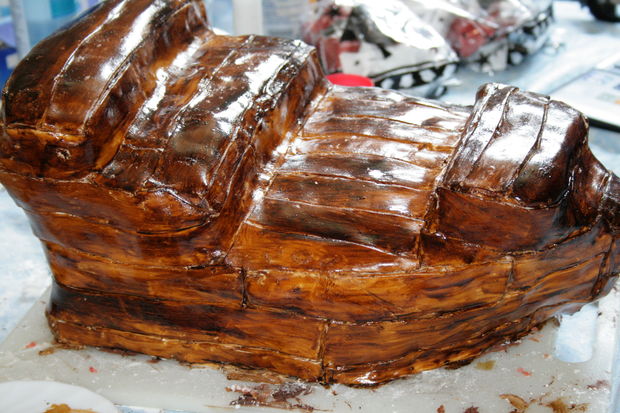
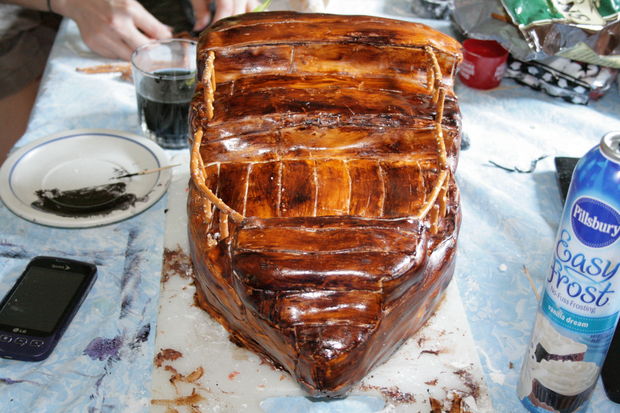
Once you have your strips, begin placing fondant strips on cake horizontally, beginning at the bottom of the cake.
If your fondant isn't sticking, add another thin layer of icing to help it stick. Lay the strips on the cake from bottom to top, trimming at corners and places the fondant goes over edges. Cover the entire cake in these fondant strips.
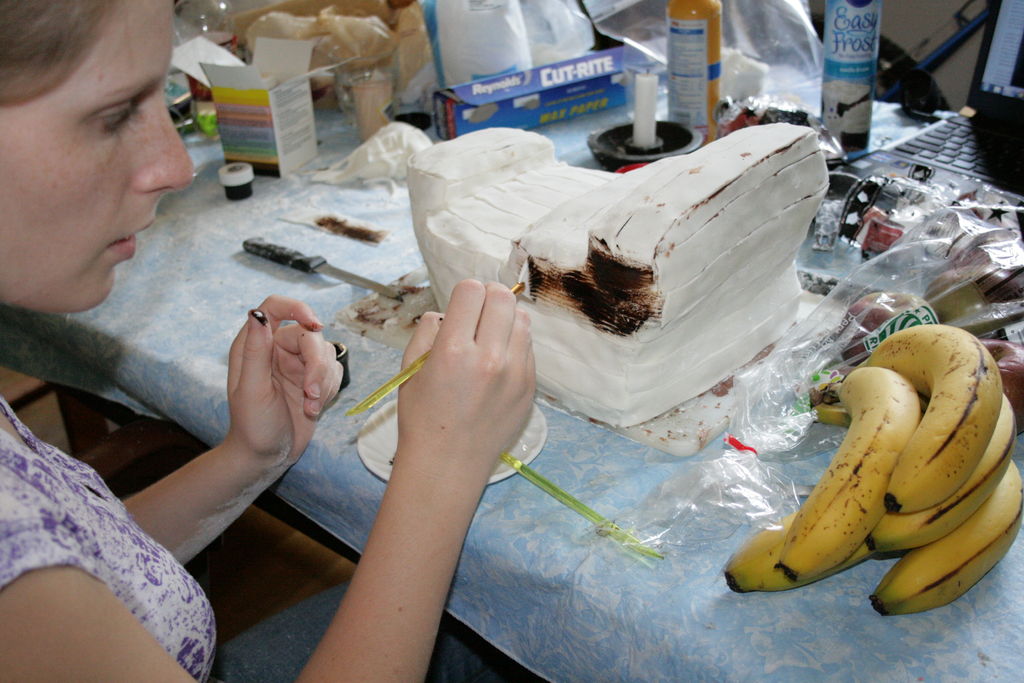
Put some food coloring into a small bowl (if using thicker dye on a plate). It helps to have a cup of water handy for mixing and rinsing brushes.
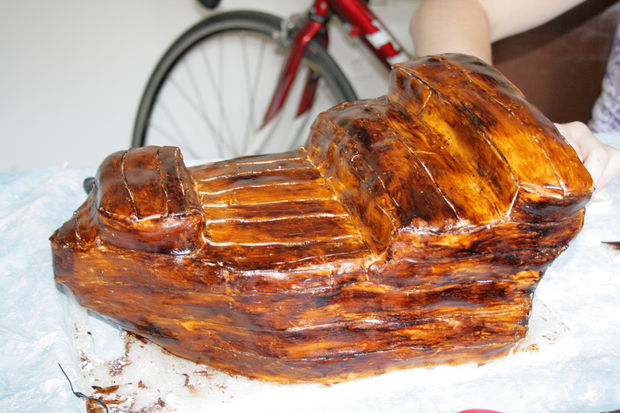
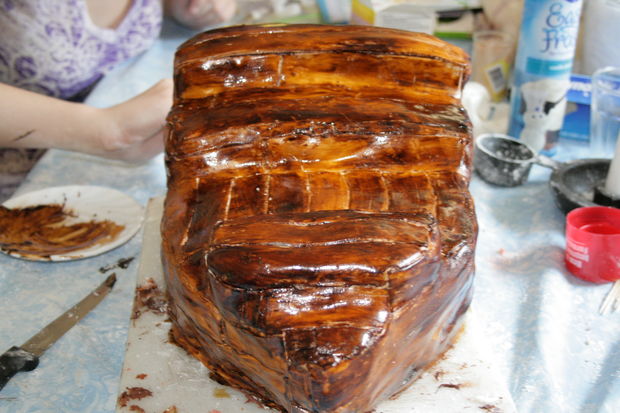
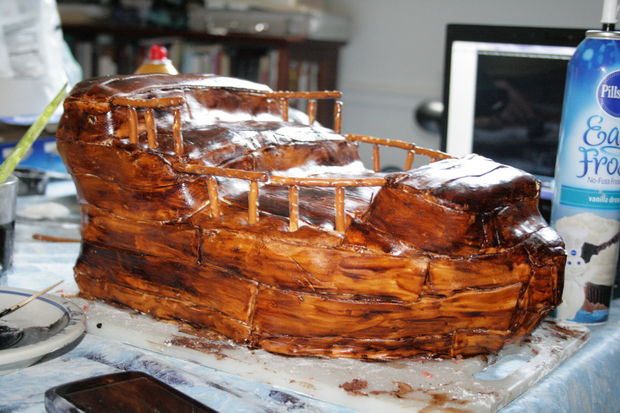
We used a fan brush to paint the brown onto the cake in a horizontal direction, which gave us a nice wood look. Paint one to two layers of color onto your fondant(depending on the thickness of the dye) until the whole cake is covered in brown.
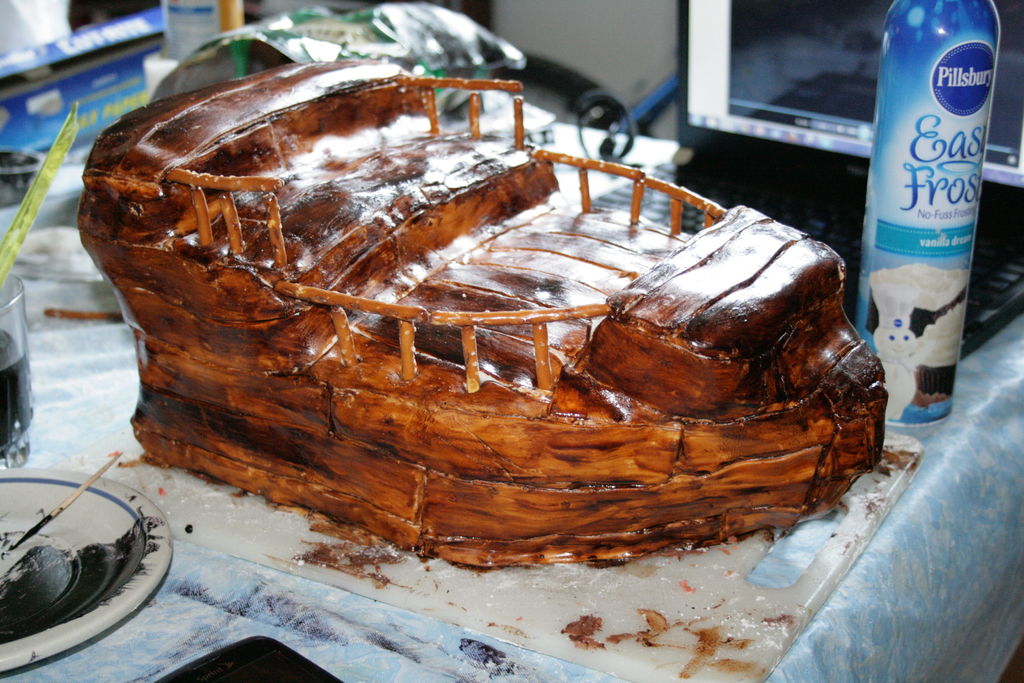
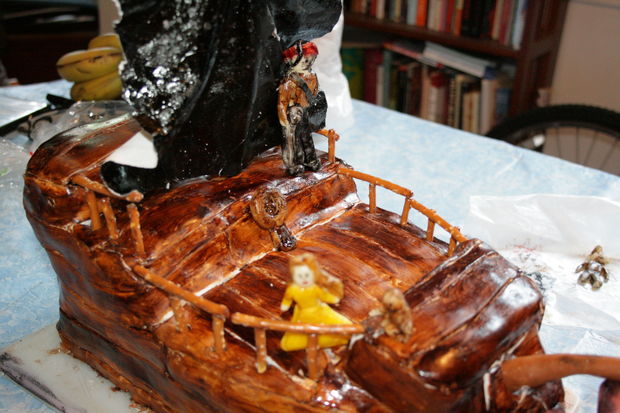
Using the pretzel sticks, make the railing on the sides of the ship. Push pretzels about halfway into the cake(half is sticking out) along the sides of the cake. To make the top of the railing, push pretzel sticks into the higher levels horizontally so that it sits on top of the vertical pretzels (see pictures).
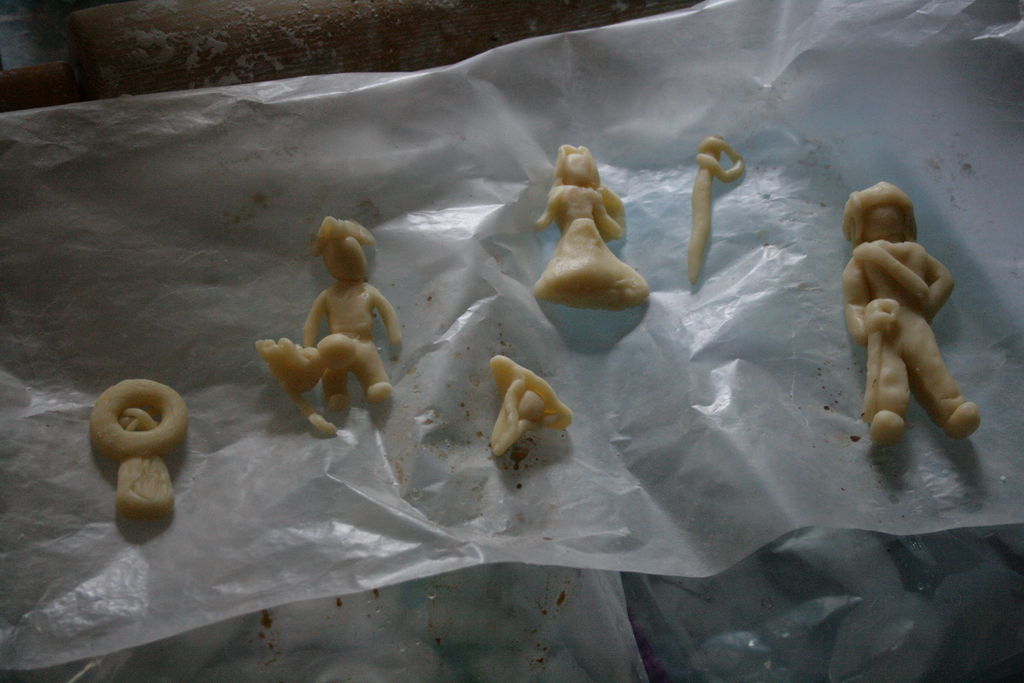
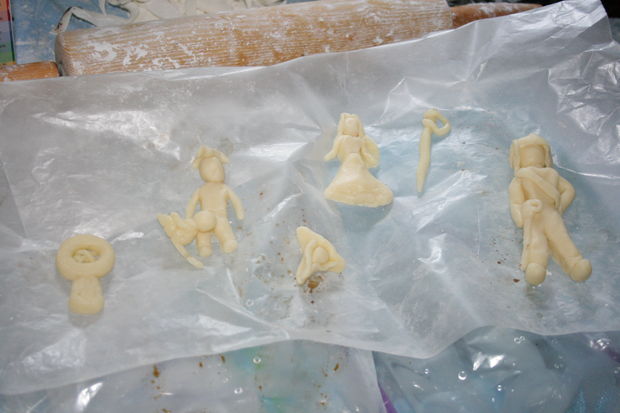
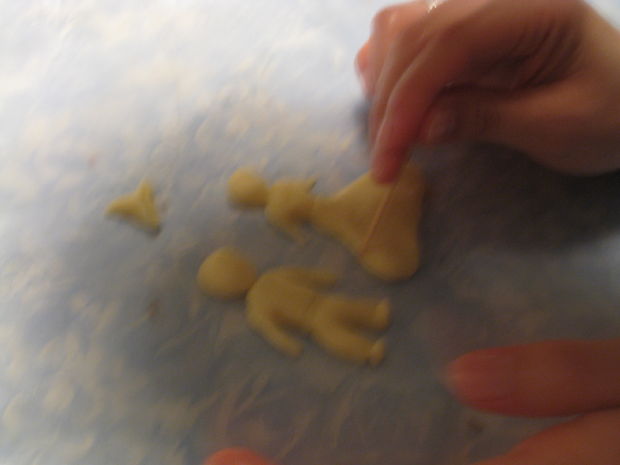
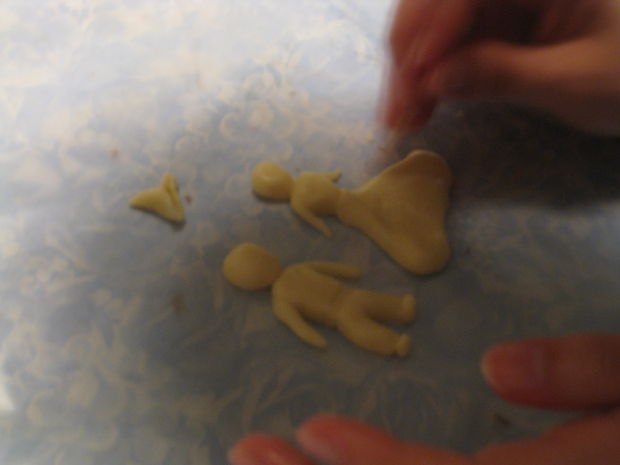
If you are making modeling chocolate(bless your soul), find a recipe that shows you a picture of what the chocolate is supposed to look like when you are done. We used white chocolate modeling chocolate for all of our figures.
Dying modeling chocolate(which we used for the mast and other pointy wooden parts) is very easy, but very messy. Simply add some dye to the middle of a kneaded chunk of modeling chocolate and knead until color is distributed.
When working with modeling chocolate, make sure either your hands are always cold or you are working in a cool environment.
When finished making figures, paint to your liking using food coloring/dye.
We make a Captain Jack Sparrow character, an Elizabeth Swann character, a monkey, the masts(minus the sails), and the ship's wheel out of modeling chocolate. I would not recommend using it for the mast because it is very large and very unstable when it get warm. I would probably use either a wooden dowel or a large pretzel rod the next time for the mast. The characters were relatively easy, consisting of mostly circles for heads, triangles and rectangles for bodies, and cylindrical shapes for limbs. We attached them using toothpicks, just barely pushing each piece together.
Using the reserved fondant, cut 4 pieces. 2 should be larger than the other 2(top sails and bottom sails).
Once cut, roll out each piece of fondant so that it is as thin as you can get it without tearing.
Cut each piece into rectangles(again 2 large, 2 medium sized).
We painted our sails black; you do not have to paint them if you do not want to.
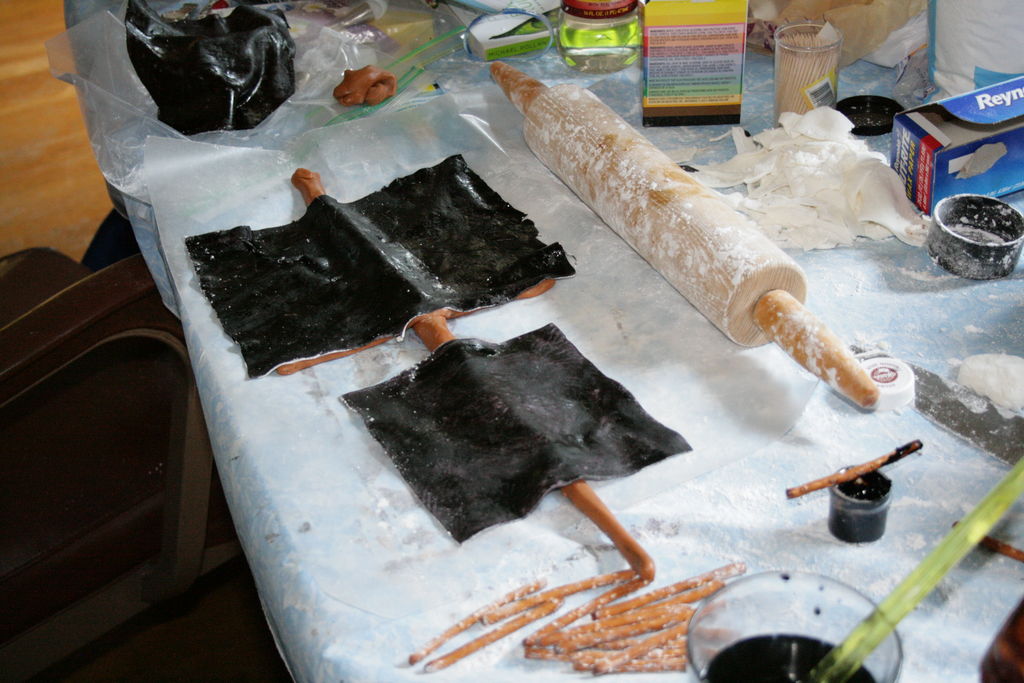
We rolled out modeling chocolate(after dying it brown), and made a long log with four logs placed across the large log to hold the sails.
Place the fondant sails carefully onto the mast frame and push slightly to make stick.
Freeze immediately if using modeling chocolate or it will be too soft and sticky.
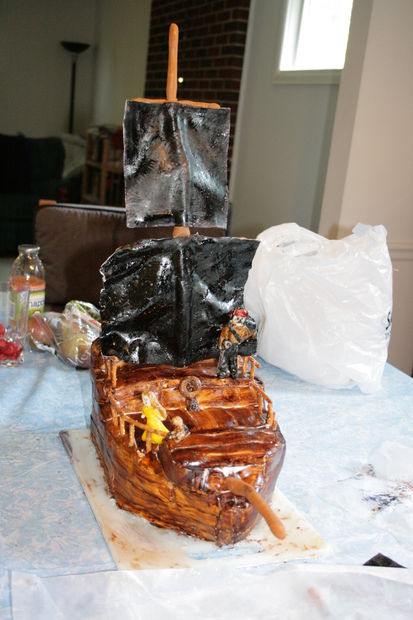
Assemble the cake.
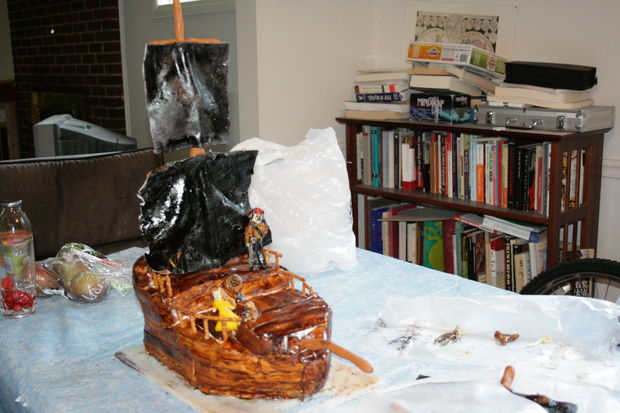
Add the mast to the cake(we put it on the second layer towards the stern), and add the figures around it.
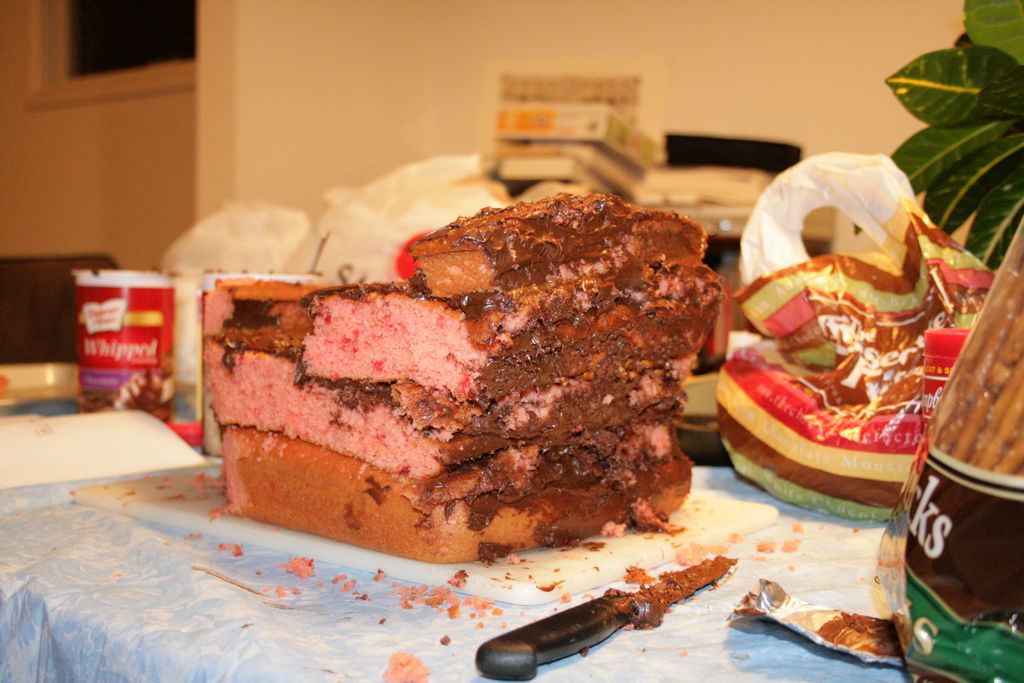
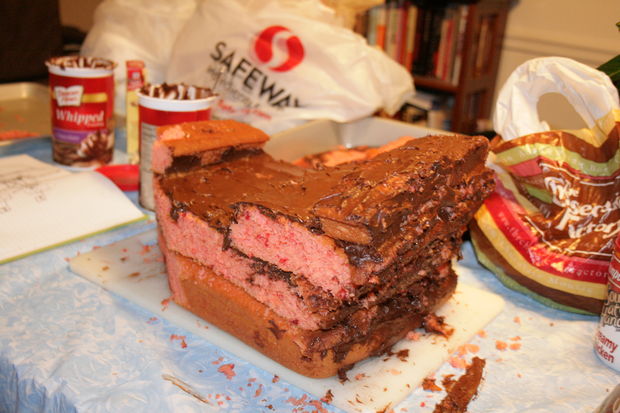
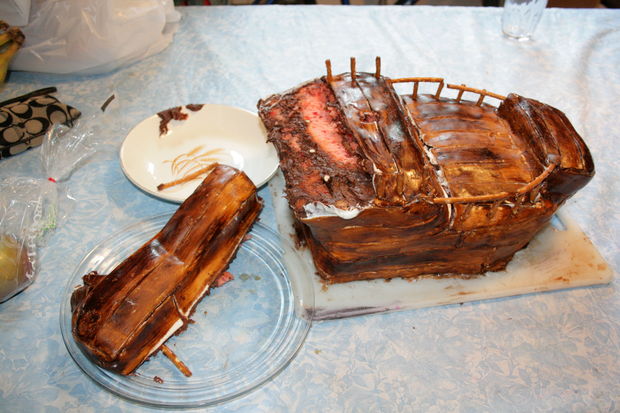
Unfortunately, it was a very hot day out and the house was incredibly warm, so our cake started to sag a little by the time we got the pictures finished. In theory, it should have been a very cool cake had it been somewhat cooler out. But it was still awesome. The last picture is of the destroyed cake after our roommates got to it. Yummy yummy.
Hope you enjoyed this instructable and let us know how your cake turns out!
Question & Answer
Question: Choose the best title for the missing blank to correctly complete the recipe.
Bake the Cakes
Paint the Cake
____________
Make the Mast
Choices:
(A) Modeling Chocolate!
(B) Jackson Pollock Cake
(C) Cover Your Cake With Fondant
(D) Finish Up With the Details
 (A) Modeling Chocolate!