Question ID: 2000-11560-1-2-6-10
Recipe Description
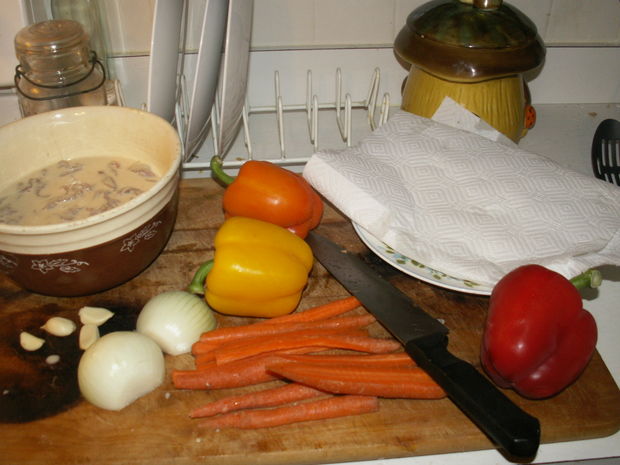
For this Instructable, I decided to make three varieties of tea: orange ginger, lavender mint, and orange chamomile. The oranges come from my backyard, the food quality lavender was purchased on Amazon for about $10 per pound, and the chamomile, ginger root, and mint were found at the grocery store. Helpful tools include: - cutting board & knife - baking sheet & parchment paper - muffin tins Spoiler alert... I burnt the fresh mint to a flavorless crisp as I feared I might. Luckily I'd picked up a backup pack of peppermint tea, I would suggest doing the same!
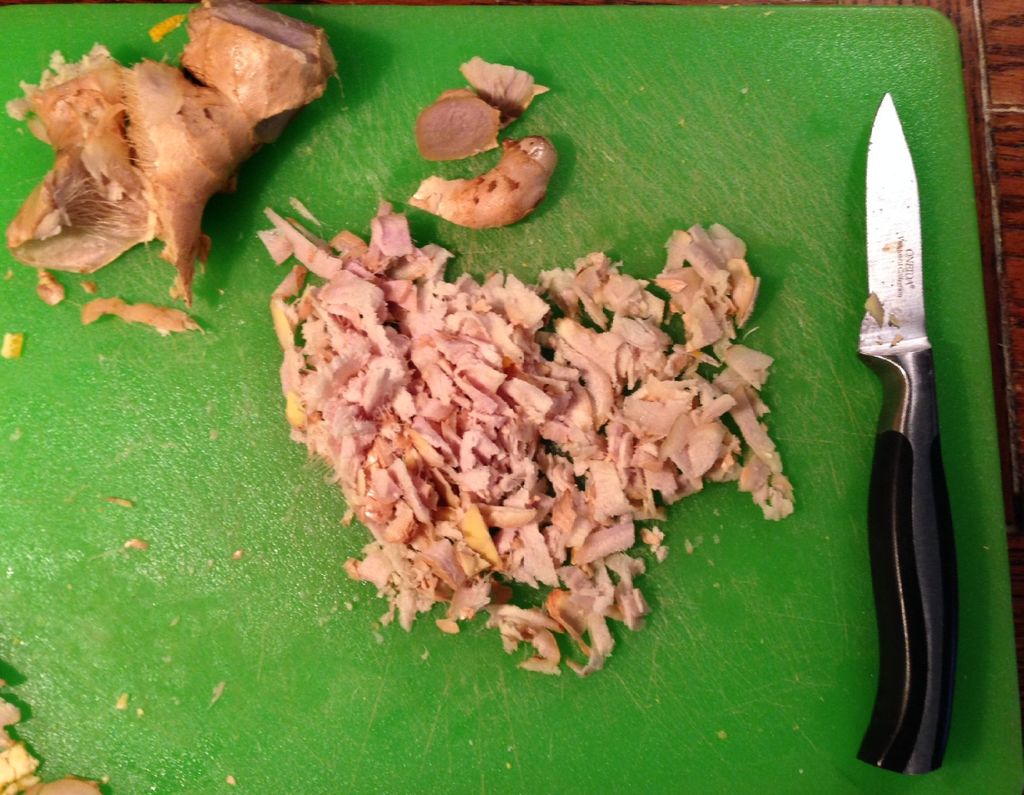
Wash your fresh ingredients and blot them dry with a clean towel. Only the peel of the orange was used for my tea, I chopped it into very small, thin pieces and did the same with the ginger root.
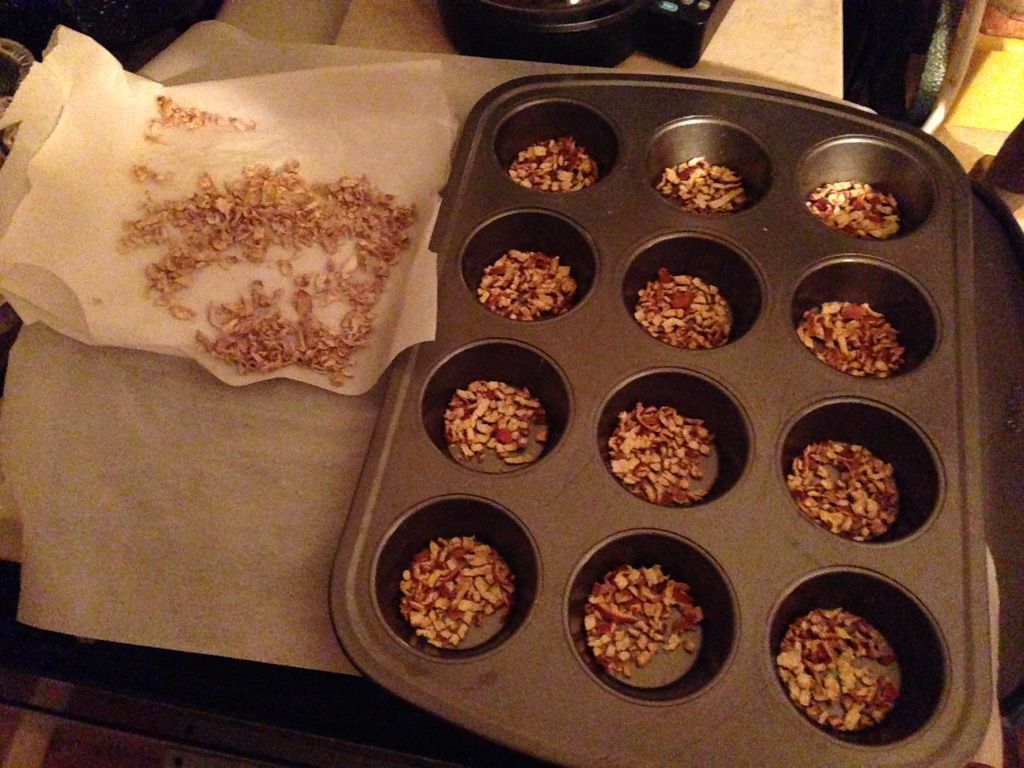
I heated my oven to 200 degrees F and put my fresh ingredients in. The orange peels went into a muffin tin and the ginger went onto a parchment-lined baking sheet. It took about two hours for the ginger and orange peel to dry out. I used a spoon to stir them every 10-30 minutes during this process. The mint had become too browned at the one hour mark, and prior to that it was too wet to be used in tea. A dehydrator would be ideal for this process.
While the fresh ingredients are in the oven or dehydrator, you can prepare the packaging and tea bags. You'll need:- unbleached basket style coffee filters- unbleached natural fiber string (mine is made from bamboo)- measuring spoons- plastic baggies- sharpie, pen(s)- lots of beer caps- an awl- scissors and small pliers- 3/4 inch diameter sticker lables- a box for your tea bags - packing tape- six pack cardboard carriers with nice pictures!
In keeping with the beer theme, I used decorative six pack carriers to cover the box I'd chosen. Packing tape helps make a nice glossy surface for the packaging. Of course, you can decorate the chosen box however you'd like. If you want to free hand your own drawings you can use the inside of any paperboard packaging.
Thankful thoughts can be your own, shared things with the people you're gifting to, or general things to be thankful for, silly or serious! This is a fun part that reminds you what Thanksgiving is actually about :)
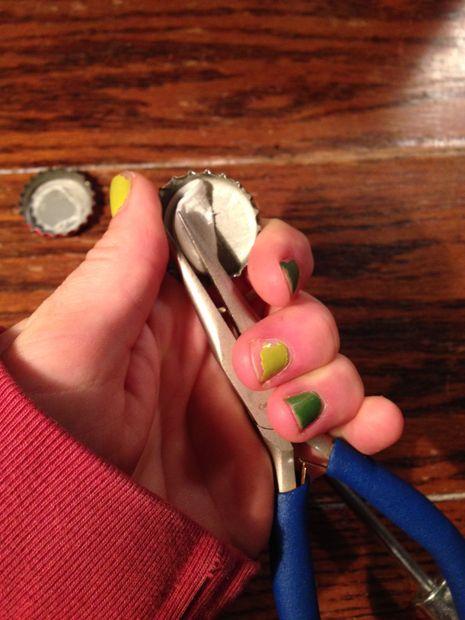
I used the awl to lift the edge of the liner inside the beer cap, then I used pliers to continue to lift and remove it. This step is optional, but will make your labels fit more comfortably. If you want to skip it, you can trim the labels to fit around the poked holes.
Use the awl to poke a hole in the caps as near the edge as possible. Now place the stickers inside the caps.
By now your tea ingredients should be done drying and cooled. I used my muffin tin to hold the coffee filters for filling. I used a rounded teaspoon of each of my ingredients except the chamomile. Since chamomile is a subtle taste, I used a tablespoon.
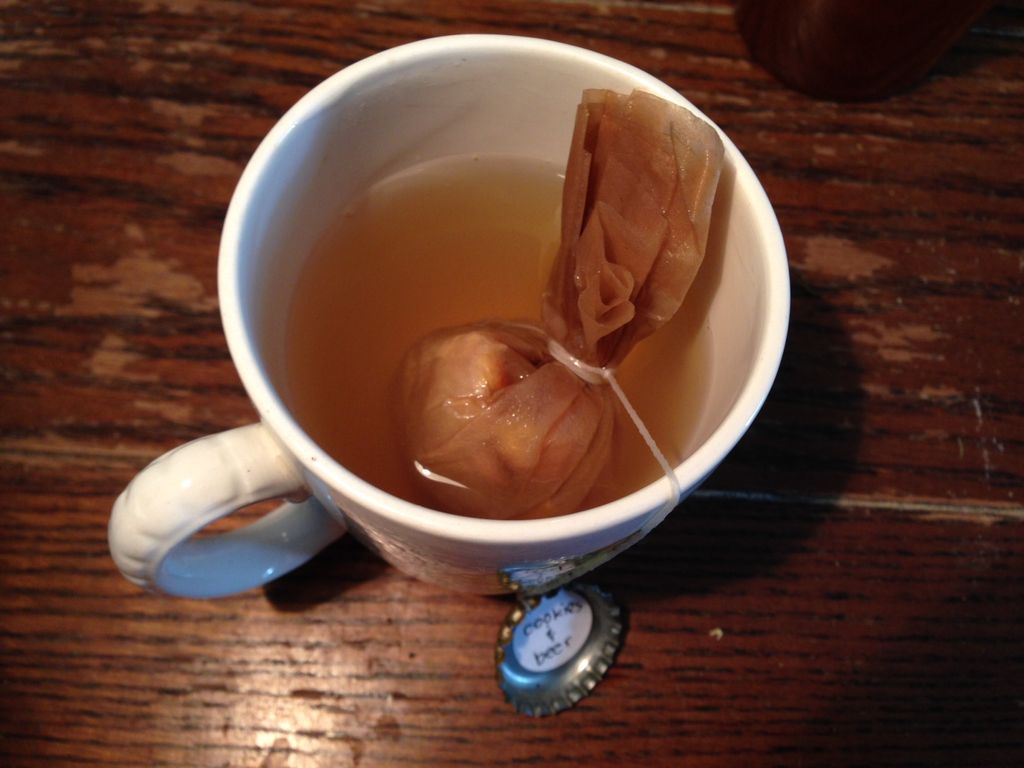
Cut about 8 inches of string, tie one end to the beer cap and knot it. Loop the other end around the neck of the coffee filter several times, then knot it twice. Be sure to leave some room for the ingredients to expand. Trim off any excess string. You can now put the finished tea bags into plastic baggies using a sharpie to identify the flavors.
Put the baggie-d teas inside the box you made. This makes a great gift for your Thanksgiving host, or a nice gift to your future self, reminding you what you have to be grateful for. Notes:- Do not use orange peels for your tea unless you know the source, like I do. The last thing you want is tea made from chemically-ripened orange peels.- The beer theme is completely optional, I used it because it's a nice way to reuse the packaging of products I really enjoy. You can make your own "thankful tea" with coke caps or using paper tags.- My tea need about 10 minutes of steeping to get a nice full flavor.
Question & Answer
Question: Choose the best image for the missing blank to correctly complete the recipe.
Choices:
 |
 |
 |
 |
|---|---|---|---|
| (A) | (B) | (C) | (D) |
|
|---|
 |