Question ID: 1000-4433-0-3-4-5
Recipe Description
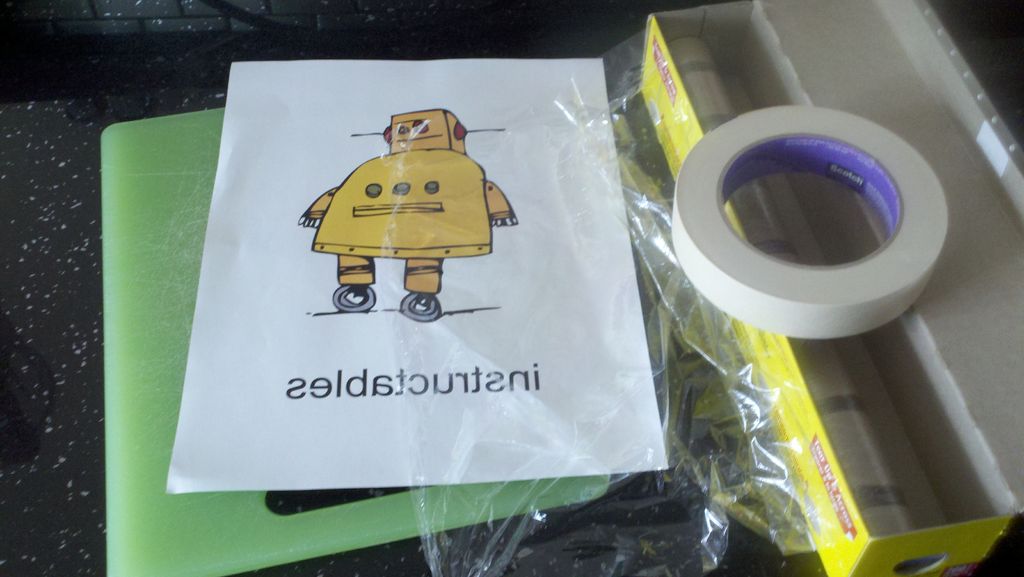
Find a picture of the character you want and print it out to the size that you will have on the cake.
Make sure that the picture is reverse of what you ultimately want. If you want text, it needs to be reversed as well.
http://www.online-image-editor.com/ is a free image program that you can upload to and then flip the image horizontally.
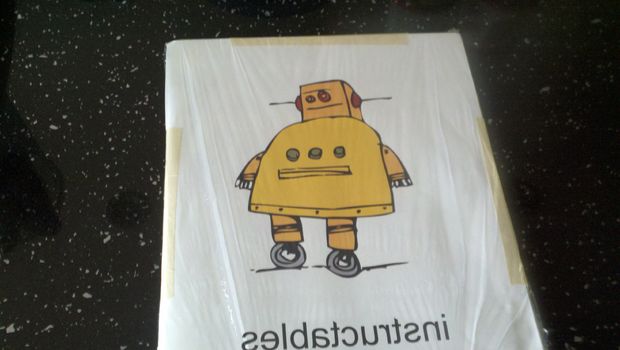
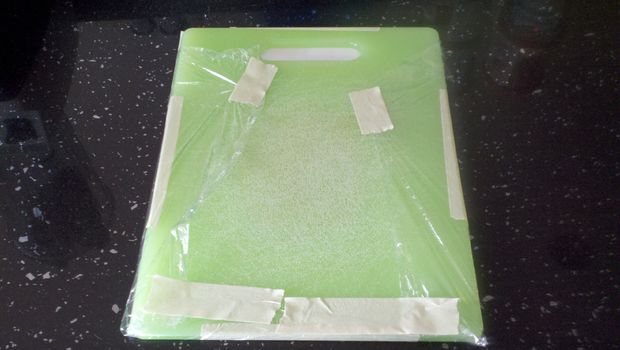
Tape the picture to a cutting board or a piece of cardboard.
Cover the picture with cling wrap and secure the wrap in place with tape.
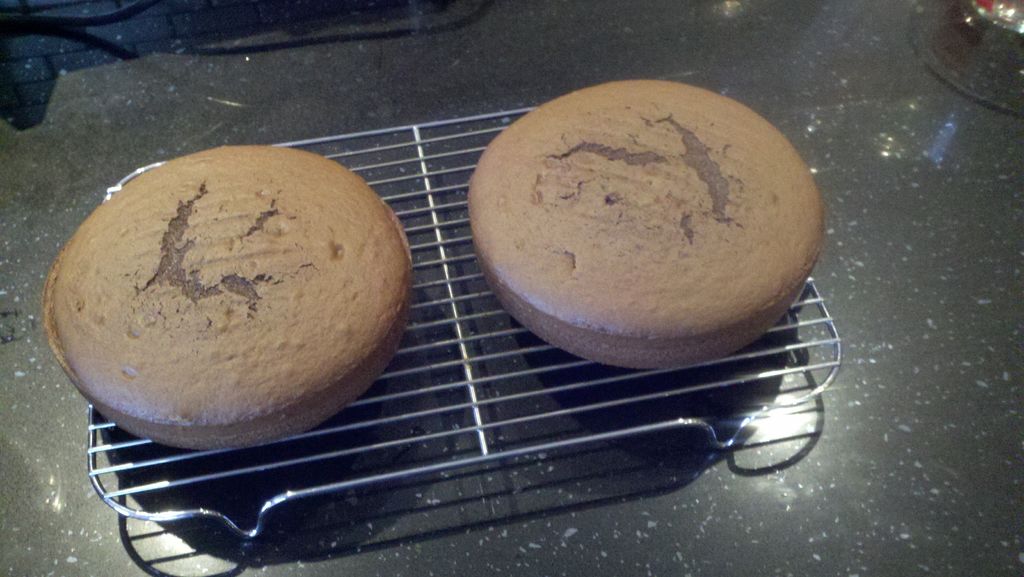
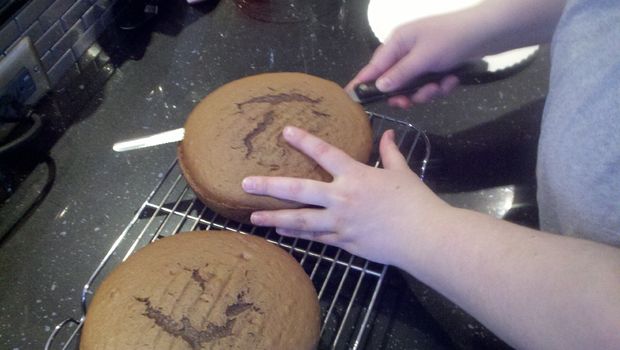
Bake a cake. Whatever shape and flavor you want is fine.
I used a boxed milk chocolate cake mix from the grocery store. Well... My husband did. I tried and messed the cake up so bad that nobody wanted to eat it, so he had to make another. He used two 8-inch pans, but the size is really up to you.
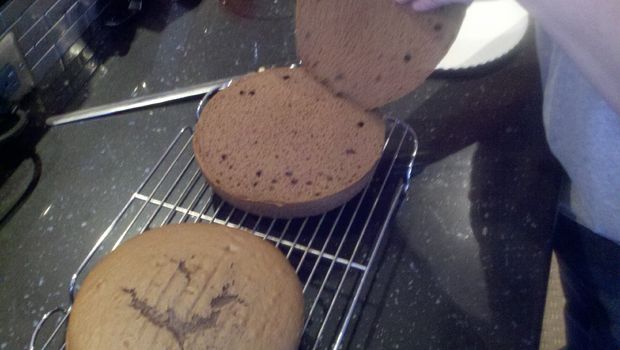
Let the cake cool completely, then level the top with a long serrated knife.
Put the cake in the freezer for about 45 minutes. This will help prevent crumbling when you frost it.
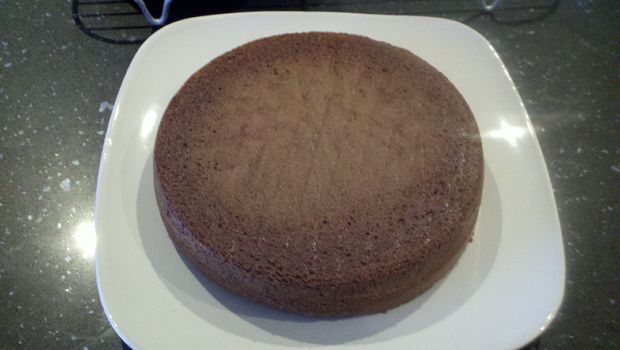
Turn the cake upside-down and put it on the serving plate.
Place strips of parchment under the edges of the cake. This will keep the plate tidy as you frost the cake.
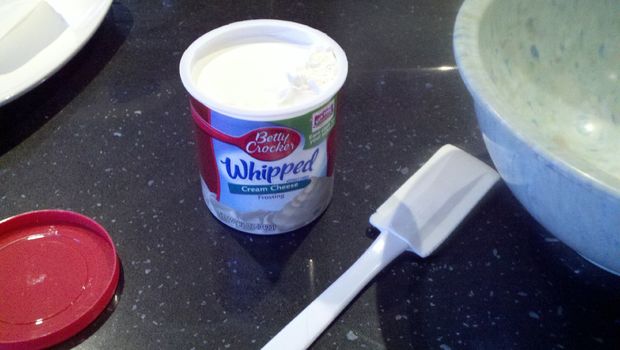
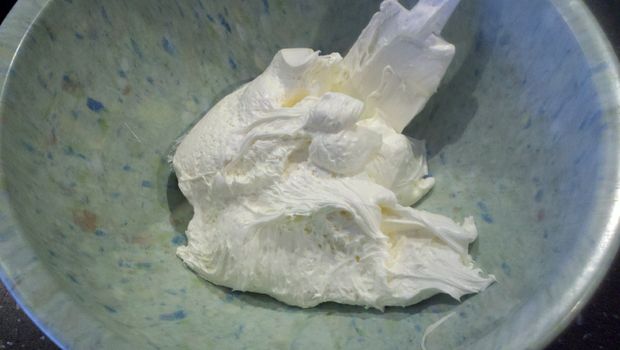
I like whipped frosting. You can use pretty much any frosting for this, but if you get it from a can, scoop it out into a bowl and give it a few stirs to get it smooth.
If you are doing a multi-layer cake like I did, spread a moderate layer of frosting on the first cake, then place the second one, upside-down again, on to of the first.
Cover the entire cake with a very thin layer of frosting to seal in any errant crumbs.
Put the cake back in the freezer for twenty minutes.
Finish covering the cake with frosting, then gently pull the paper out from under it.
When choosing a frosting for the character, avoid whipped or light and fluffy frostings. You can use decorator or just basic frosting.
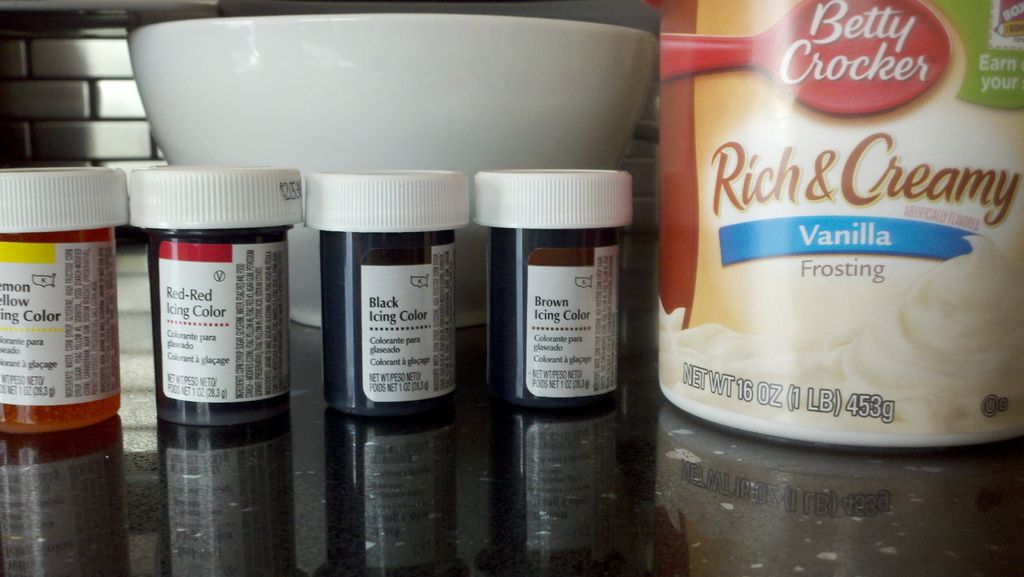
For coloring the icing, use icing color. Regular food color waters the frosting down and makes it harder to work with.
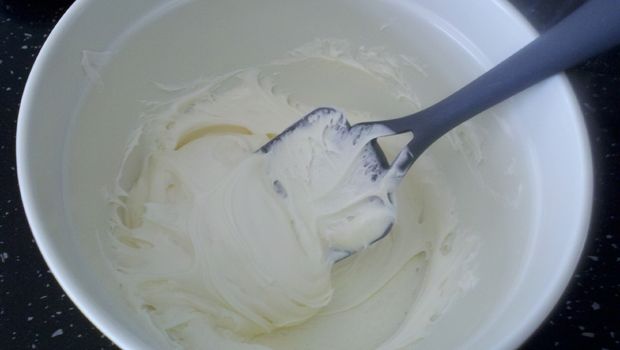
Stir the frosting a bit to get it smooth before doing anything else with it. Frosting from a can will sometimes settle and compact, giving it a varied viscosity throughout.
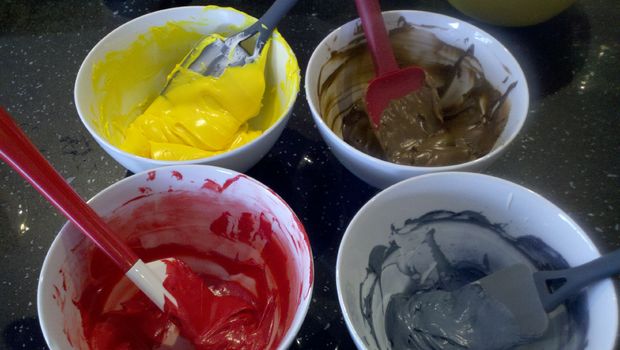
Separate the frosting into a separate bowl for each color. Go with a little more frosting than you think you will need so that you can color it once and not have to try to match the color when you need more later.
Add color to the icing a tiny bit at a time and mix it in thoroughly before adding more. A little bit goes a long way.
If you need brown frosting, you can use chocolate or brown icing color.
You need a way to "draw" with frosting. You can buy those tubes of colored frosting, use parchment cones, or use reusable plastic pastry bags. Whichever you choose is up to you. I already had some pastry bags, so I used those and parchment.Parchment Cone
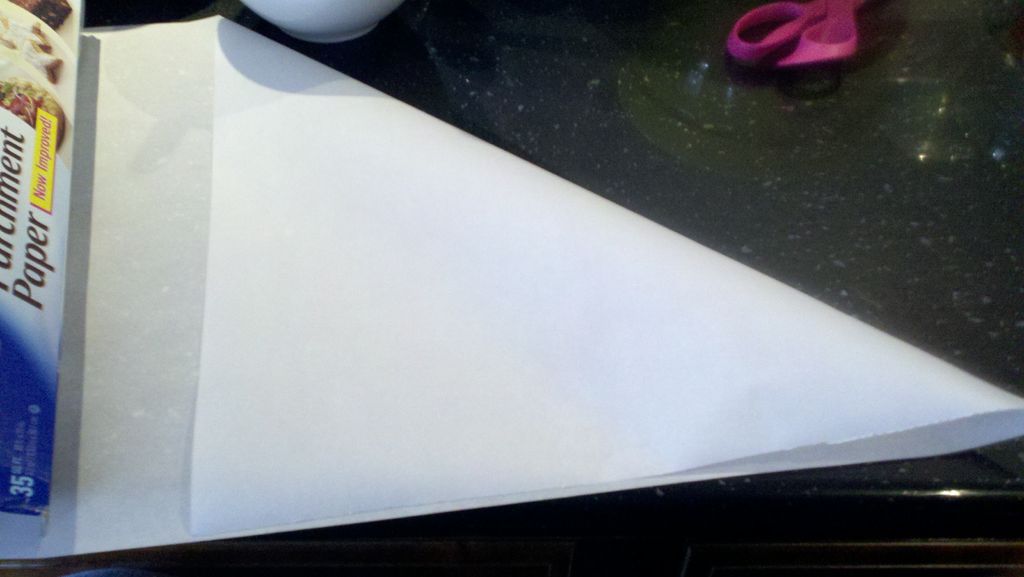
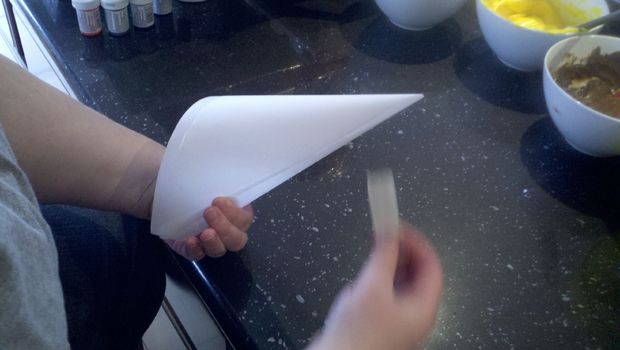
Start with a triangle. The easiest way to make one is to just fold the parchment over to line up the short edge with the long edge then cut on the fold.
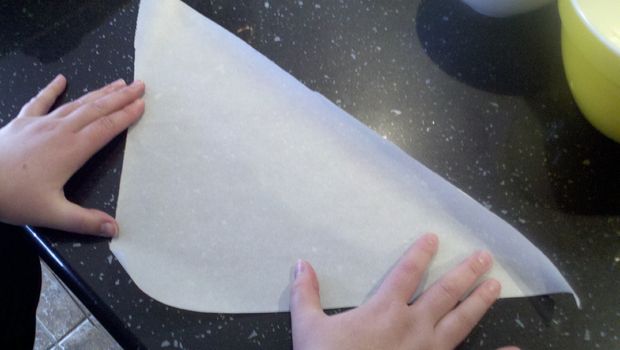
Place the triangle with the corner where the two smaller sides meet pointing toward you.
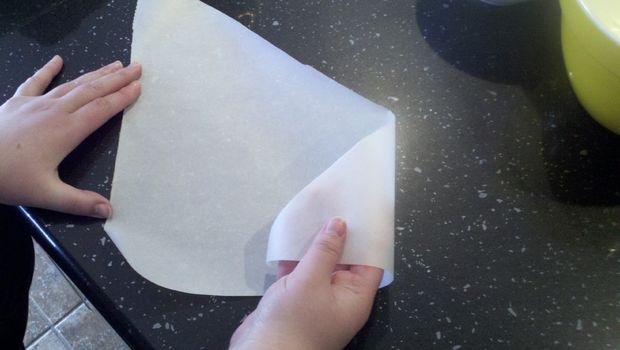
Curl one of the other corners inward and place it right over the corner that is pointing at you.
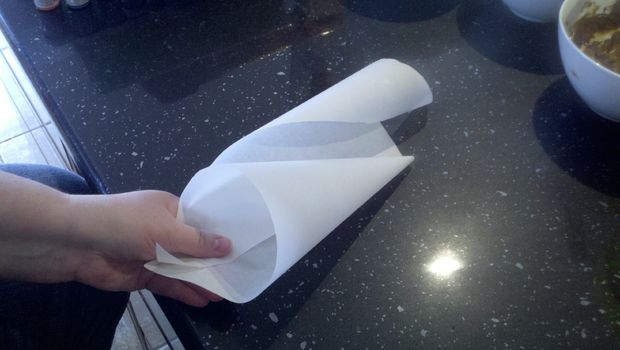
Curl the remaining corner around the outside and bring it under the others.
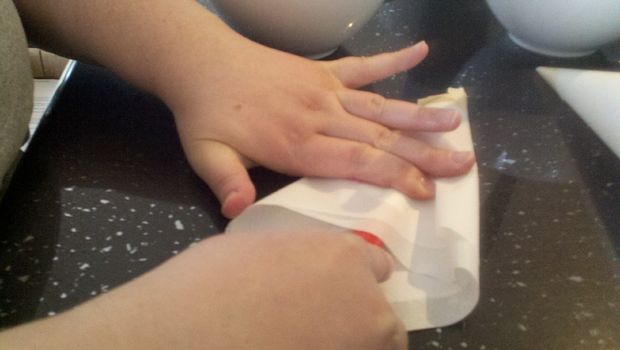
Secure the tip with a bit of tape.
Load a spoon or spatula with frosting, then place it as far inside the cone as possible.
Smoosh down the open part of the cone and pull the spatula out, scraping the frosting off as you do.
Fold the opening closed and roll it down.Pastry Bag
Drop a decorating tip into the bag and squeeze it down to the small end.
Fold the top half of the bag down to make a cuff.
Make a "C" with your hand and place the bag inside the "C" and the cuff outside it.
Load a spoon or spatula with frosting, then place it as far inside the bag as possible.
Close your "C" hand around the bag and pull the spatula out, scraping the frosting off as you go.
Straighten out the bag, removing the cuff, and twist the bag just above the icing.
Squeeze the bag a little to get the icing down into the tip.
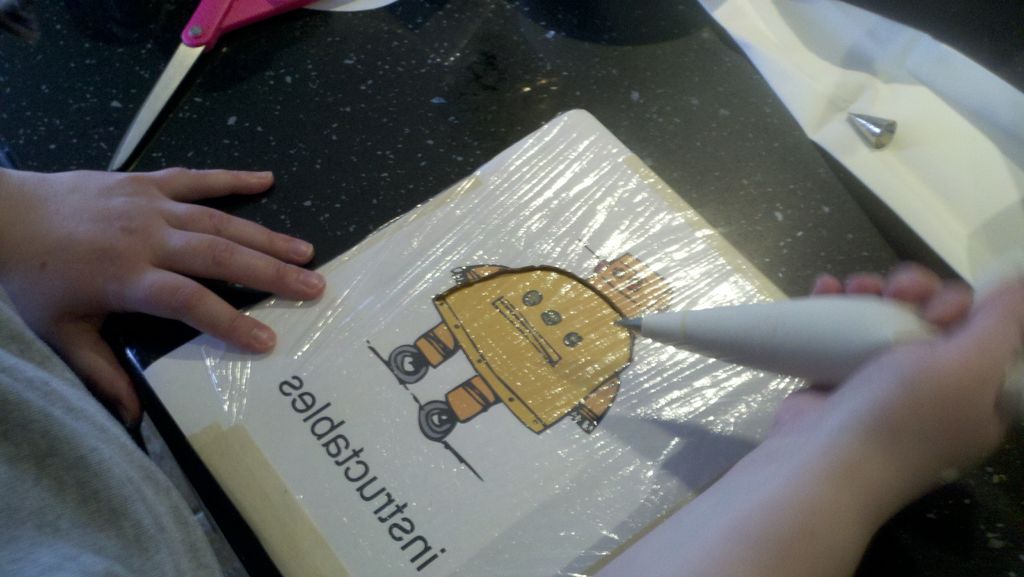
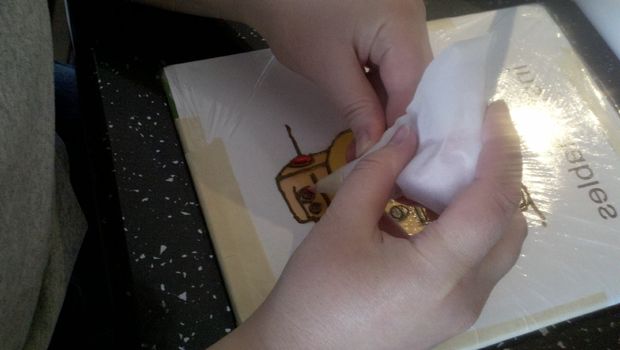
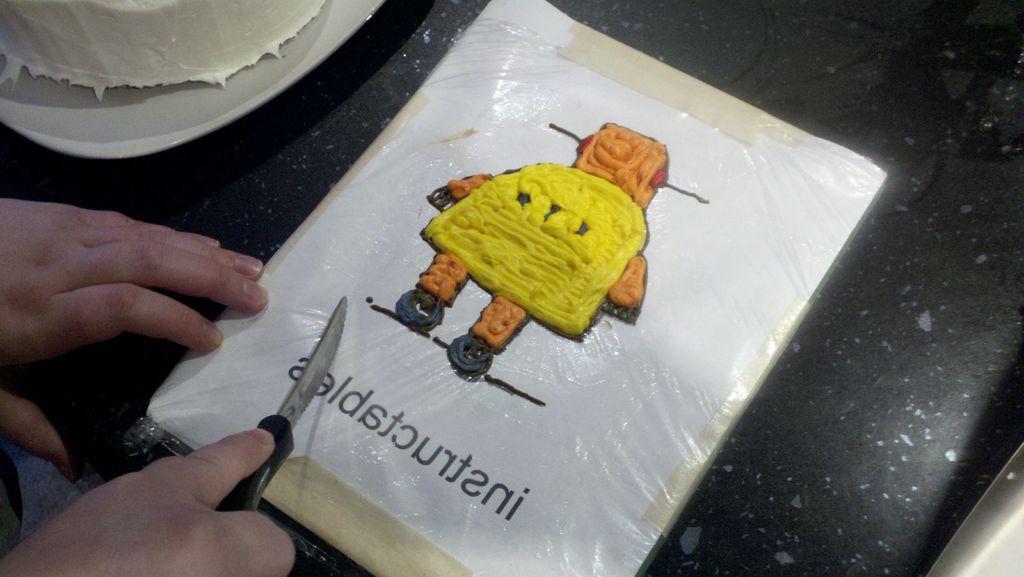
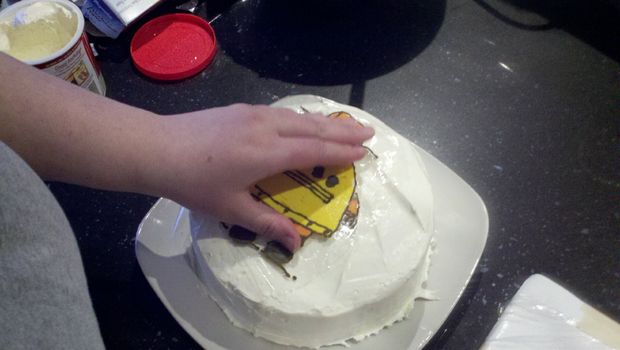
Place the tip of your frosting application device on the cling wrap over the picture and squeeze gently. Move the device slowly, leaving a trail of frosting. You may need to practice this a bit, but it is easy enough to just scrape the frosting off of the cling wrap and put it back in a bowl.
Outline the picture completely, then freeze it for ten minutes.
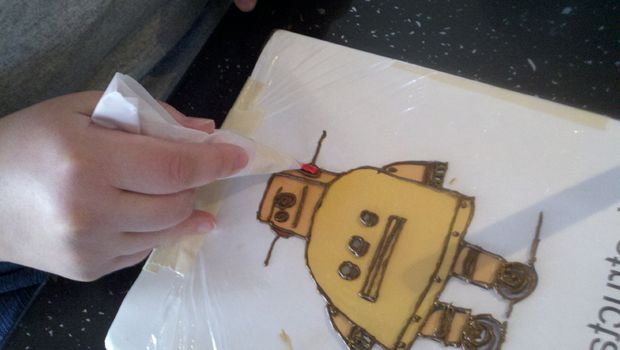
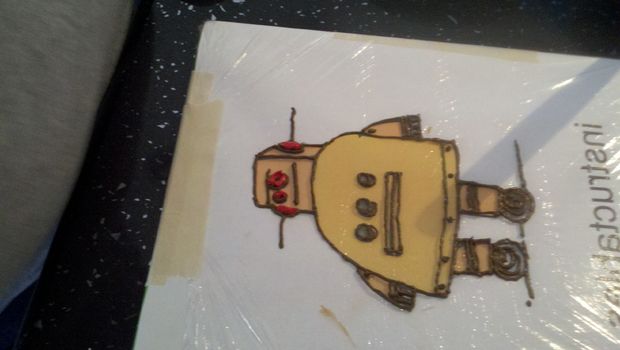
Fill in the colors by snaking a string of frosting back and forth. Don't worry about going over the outline, as it will show on the front.
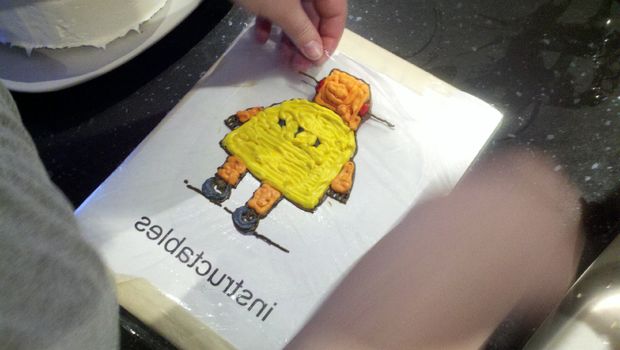
When you have filled the picture in, put it back in the freezer for twenty minutes or until it is solid.
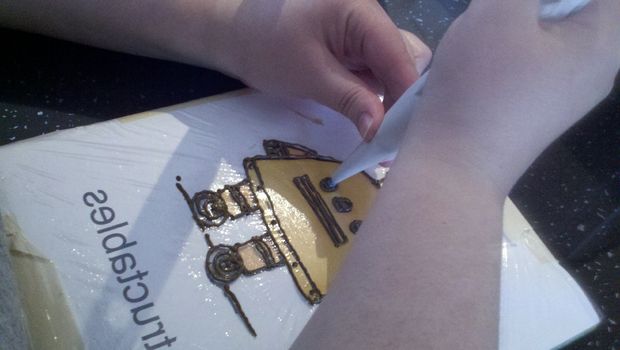
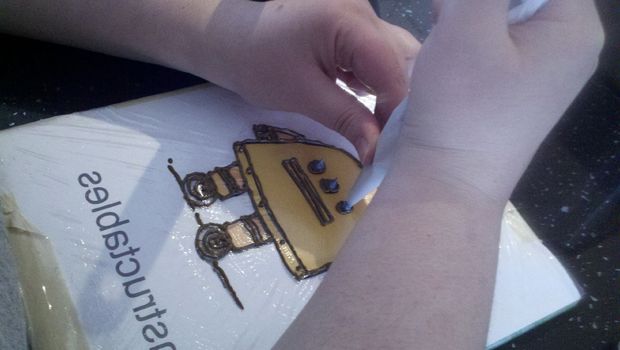
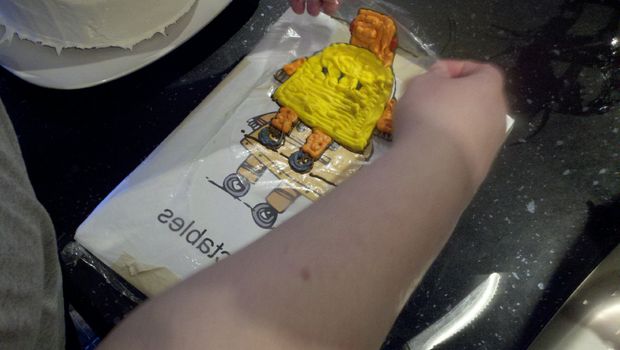
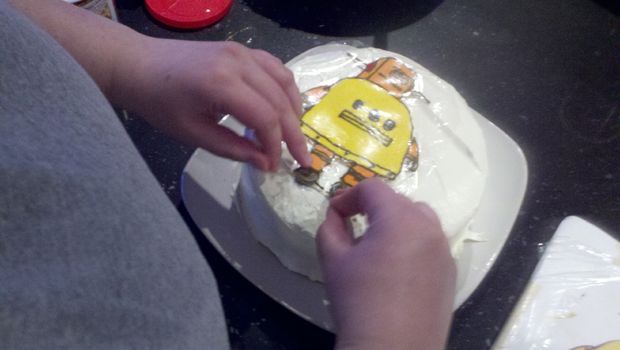
Cut the cling wrap around the character using a sharp knife.
Gently lift the frosting character off of the board. If it is not stiff enough, put it back in the freezer.
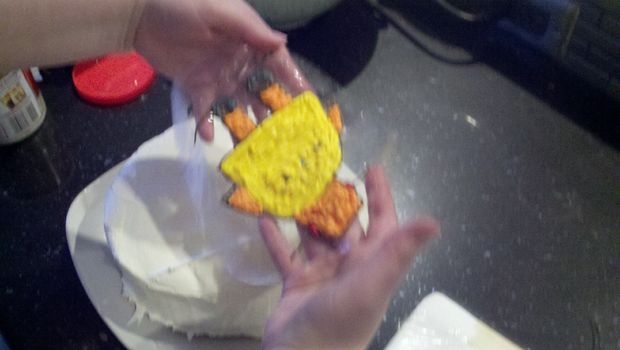
Very carefully flip the character over and place it on the cake.
Press down just barely to adhere the character to the frosting already on the cake.
Slowly lift the cling wrap off of the frosting, starting at one end.
Once the plastic is off, wet a finger and smooth out the little snakes of frosting on the character.
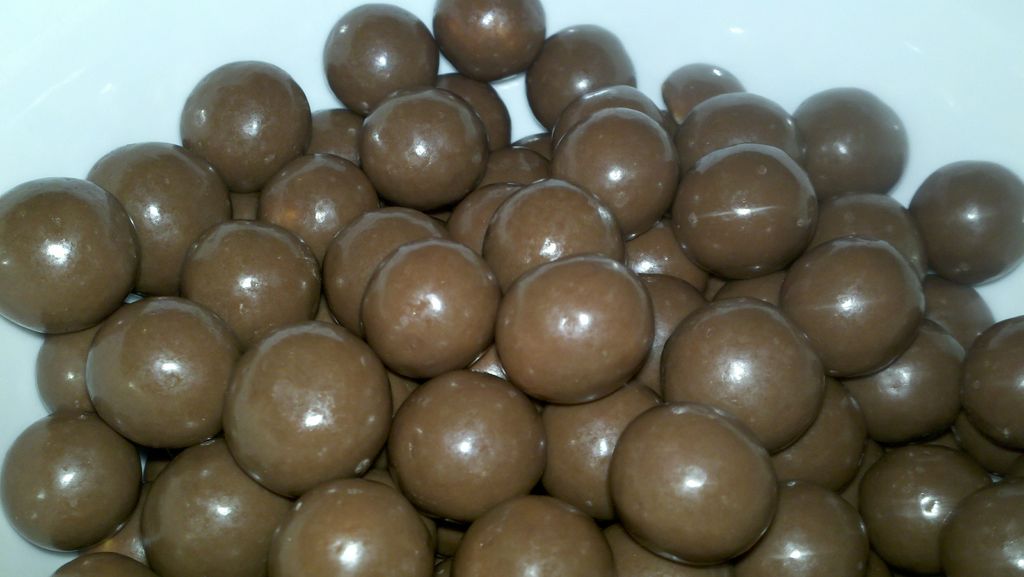
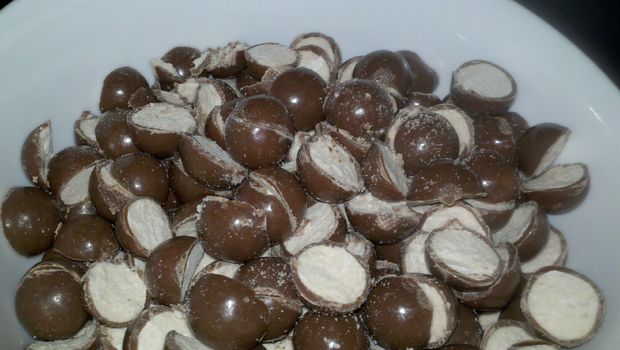
Traditionally, the bottom edge of a cake, where it touches the plate, is decorated with a carefully formed border made of frosting. This can be difficult to do, especially with out-of-the can frosting, which is very sticky. Instead, use candies. Candies can make a nice border, and are an added treat for when you eat the cake.
I used chocolate covered malt balls, but you can use pretty much any candy you want. You could even use bits of colorful cereal.
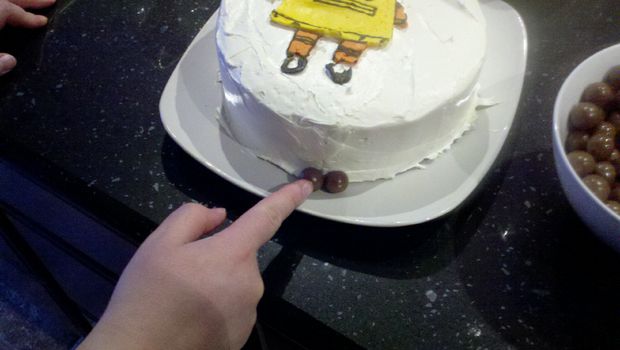
For the bottom ring, just place the malt balls one at a time, gently pushing them into the frosting to make them stick.
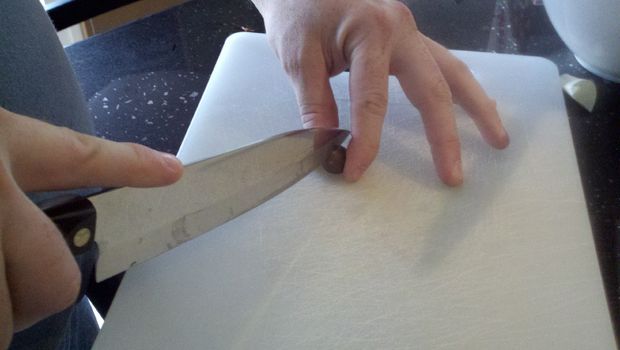
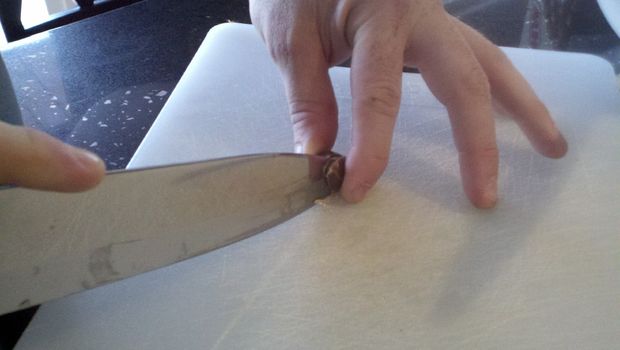
For the upper ring, very carefully cut the malt balls in half then put them on, flat side first, the same way you did the bottom ring.
Please be very careful with this. It would be bad to get blood on all that deliciousness. Cutting yourself might hurt, too.
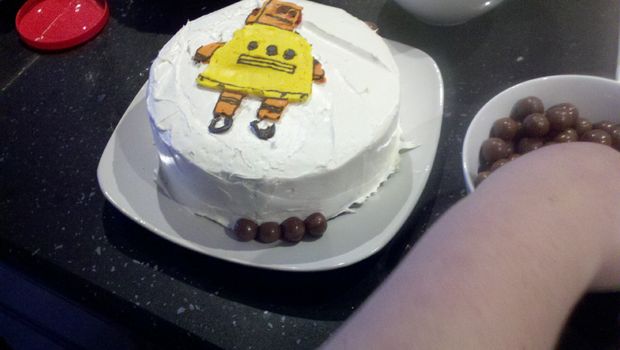
The cake is now ready to be destroyed by countless ravening roommates who have been circling for hours!
Question & Answer
Question: Choose the best title for the missing blank to correctly complete the recipe.
The Picture
Parchment Vs Plastic
____________
Put the Character on the Cake
Choices:
(A) Indiana Jones Tomb Cake
(B) Push Slightly.
(C) Drawing the Character
(D) Combine the Cake.
 (C) Drawing the Character