Question ID: 1000-10266-0-1-2-4
Recipe Description
First of all, you’ll need some buttercream. I have no idea if this technique can be done with store bought frosting,(feel free to let me know in the comments! Maybe if you add powdered sugar to it... but I’m very inclined to say no, unless it’s store bought decorator’s frosting. That goopy stuff in a can alongside the cake mixes wouldn’t work at all, I’m sure.
I use the classic Wilton Buttercream recipe: http://www.wilton.com/recipe/Buttercream-Icing
Okay, so you’ll need at least two frosting colors, depending on your design. I recommend gel colors or good high quality liquid colors like Americolors.
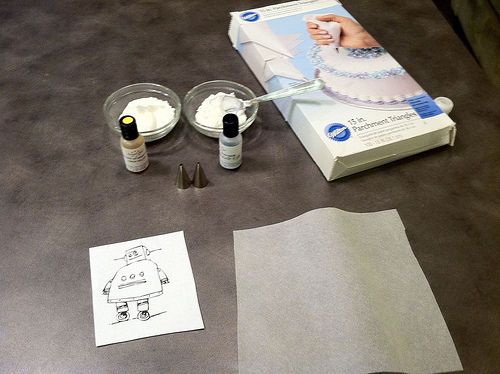
You’ll need a frosting bag for each color of frosting and several sizes of round icing tips.
You’ll need a picture that you want to turn into a transfer and a piece of wax paper or parchment paper. Also some tape.
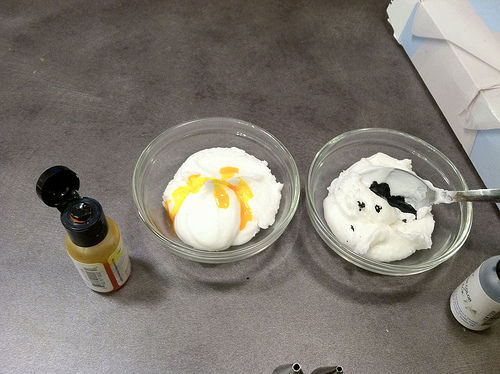
My picture needed two colors, black and yellow, so I mixed food coloring into two little bowls of icing. Then I put each color into it's own bag. I used a smaller icing tip for the black because it was for the detail and outline.
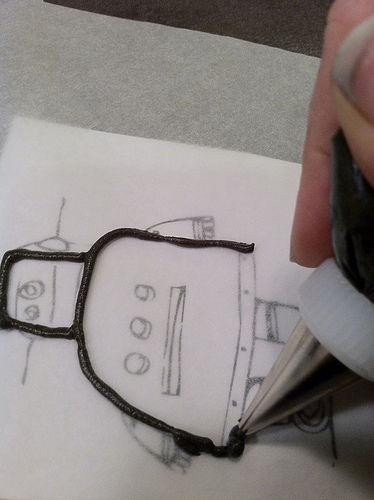
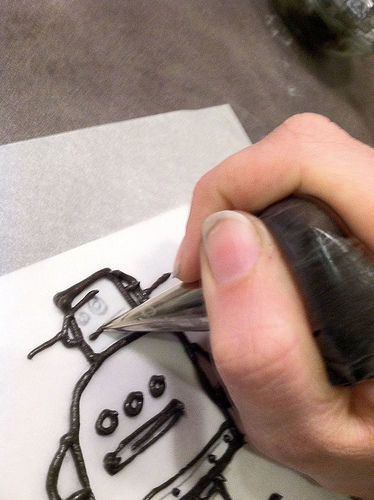
Next, tape your picture to the counter and then tape the wax or parchment paper over top of that. This is so that they don't slip around while you try to trace the picture.

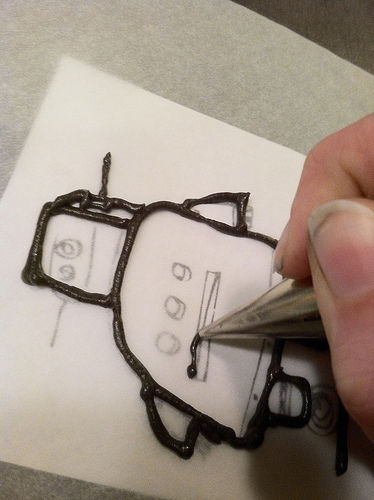
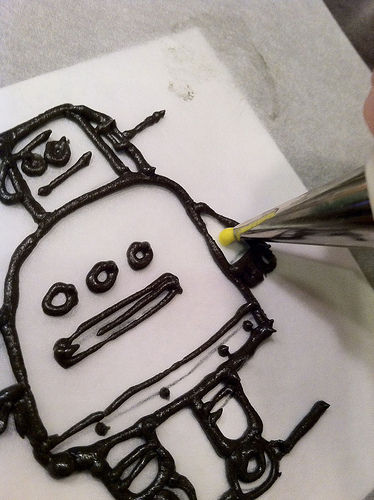
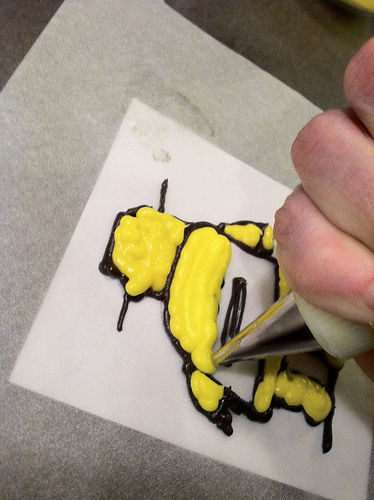
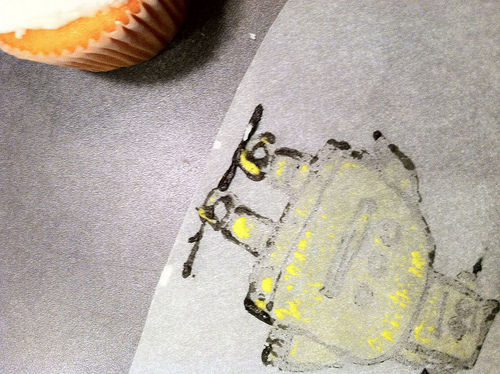
Take your outline color and start tracing! You might need to switch to a smaller tip for some fine detail work. When you're first starting with buttercream transfers, it's best to start with basic images like this this on that aren't overly elaborate. Once the outline is done, you'll want to let it sit for a minute or two to sort of set up.

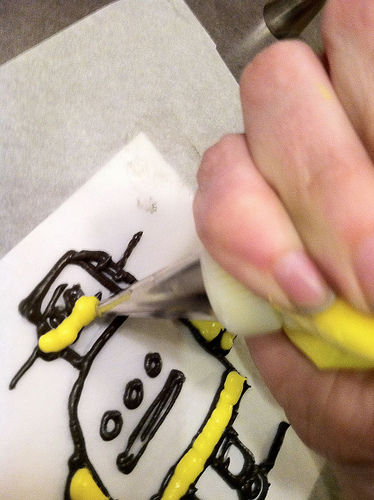
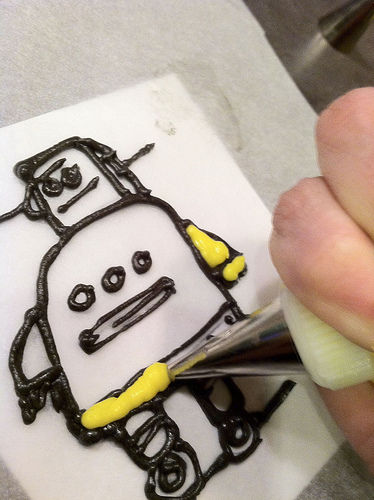
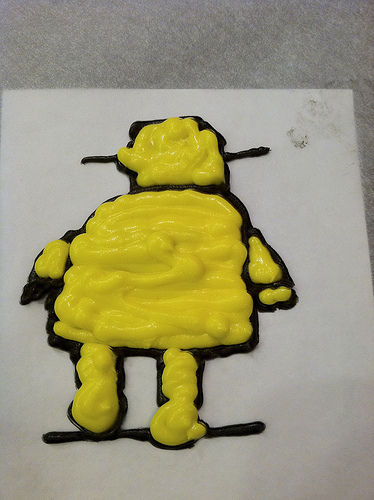
Start filing in your outline with the second color. Try to stay in the lines, but you can cover lines without messing anything up. Cover the entire back with frosting.
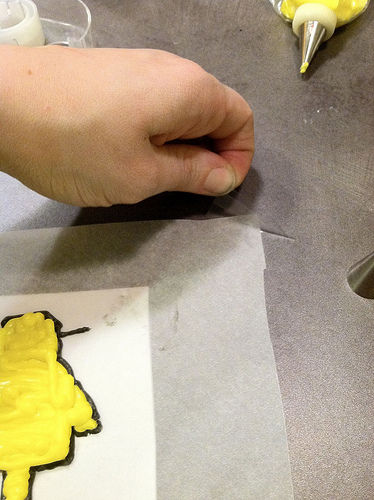
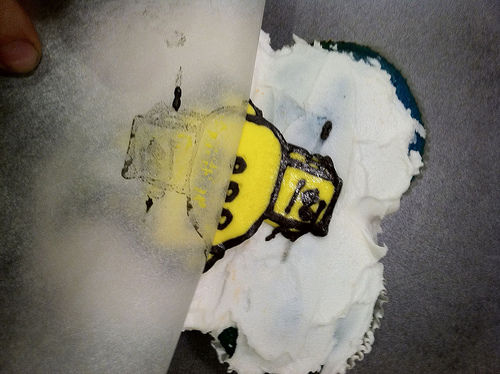
Okay, now you'll want to peel the tape back, carefully and tuck it under or tear it off. You can lift this thing up and take a little peek-a-roo at the bottom for a sneak preview of what it's going to look like!
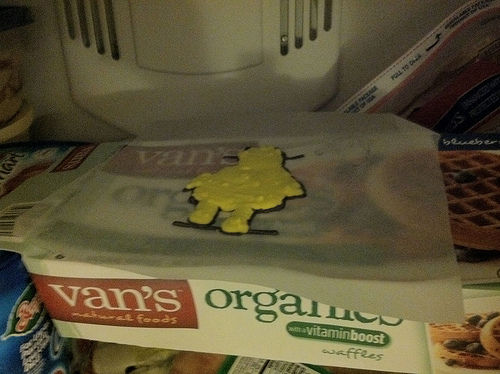
Find yourself a flat spot in the freezer to stash this thing. Like this box of waffles. Totally perfect. (and delicious. Does anyone else totally want waffles now?)
Ok! So... let this bad boy set up in the freezer over night. I'm being serious. Like... 8 hours would be great. You want it frozen solid and hard. Seriously.
Ok, so this thing is going to start to warm up and melt the second your hands touch it, so work quickly here. Remember when I told you 8 hours? Yeah, I left this in there for like... I don't know... 20 minutes? As you can see, quality suffered so that I could bring this to you guys sooner. Geez.
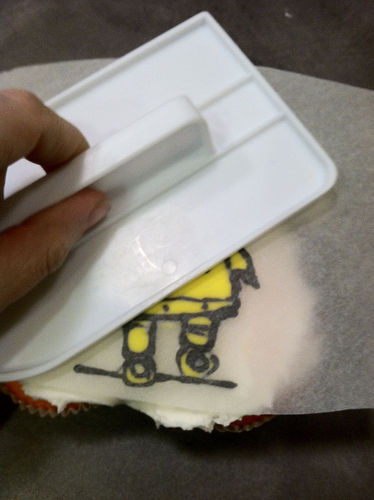
Anyhow, flip the thing over onto your already iced cake. A little smoothing down with a fondant smoother helps. I don't recommend using your hands, the heat will just melt to the paper.
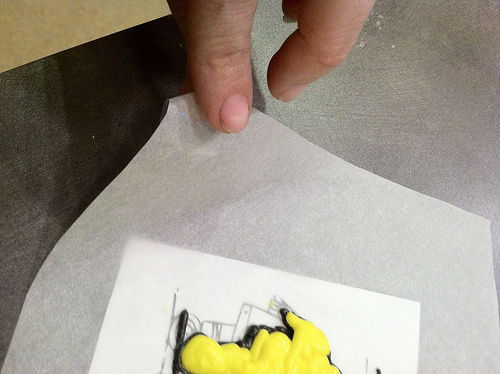
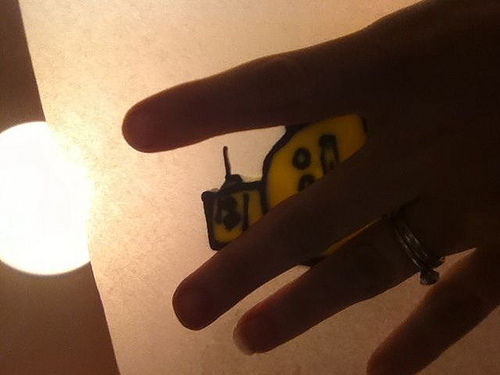
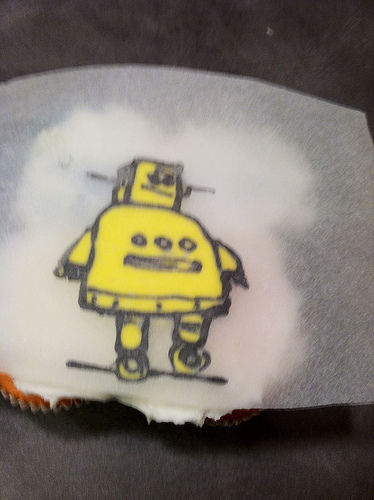
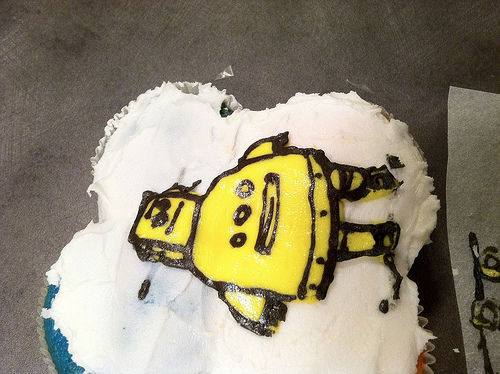
Now start peeling the paper back veeerrry slowly. Pull back and reveal your picture. If you let it set up over night and get it pressed well against your cake... it should come right off!

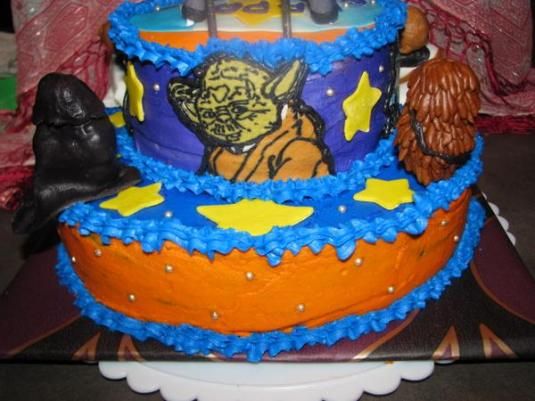
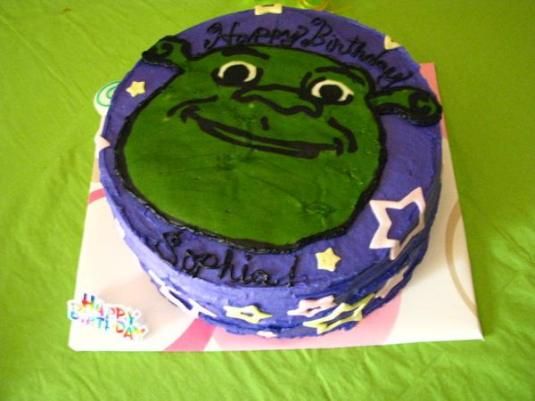
Here are some more successful FBCT's I've done!
Also, I'm so thrilled with my recent featured instructables that I'm giving away a gift code for 3 months of free pro membership to instructables over on my blog: http://gemcitytiffany.wordpress.com/
I want to share my love of 'ibles with all my friends and I hope that by the end of the week my friends will be just as in love with the site as I am!
Question & Answer
Question: Choose the best title for the missing blank to correctly complete the recipe.
Materials!
____________
Tracing the Outline
Letting the Icing Set Up
Choices:
(A) Preparation
(B) Frozen Icicle Candy Cupcakes!
(C) Dip
(D) Arrange on Plate
 (A) Preparation