Question ID: 1000-13535-0-1-3-4
Recipe Description
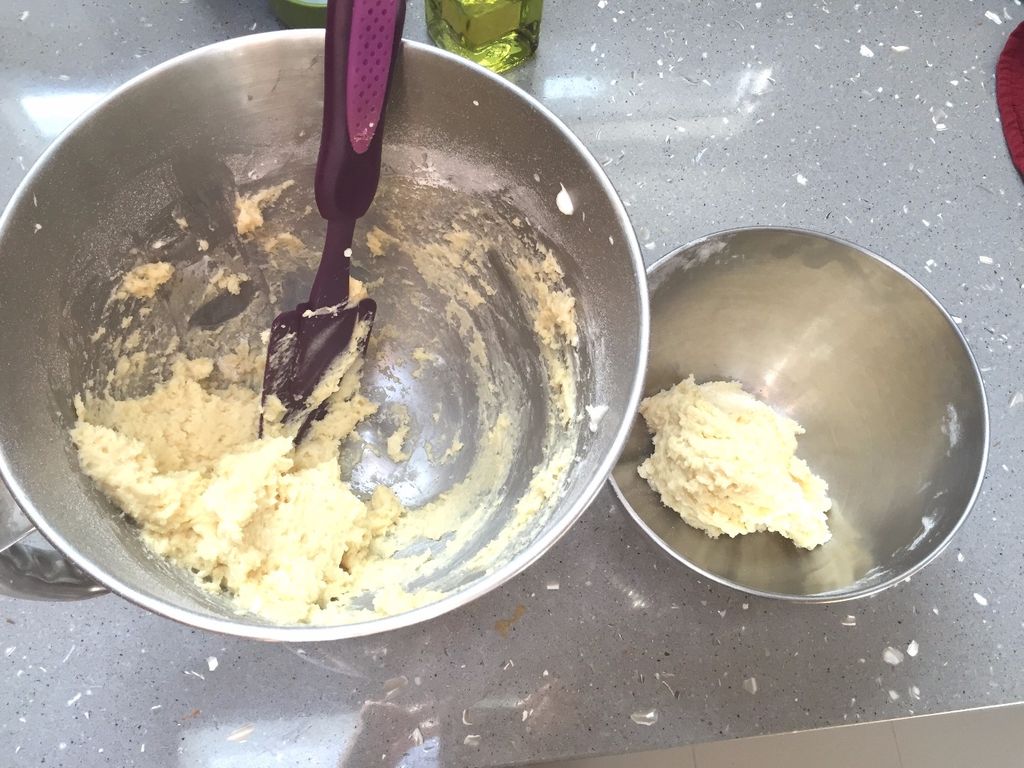
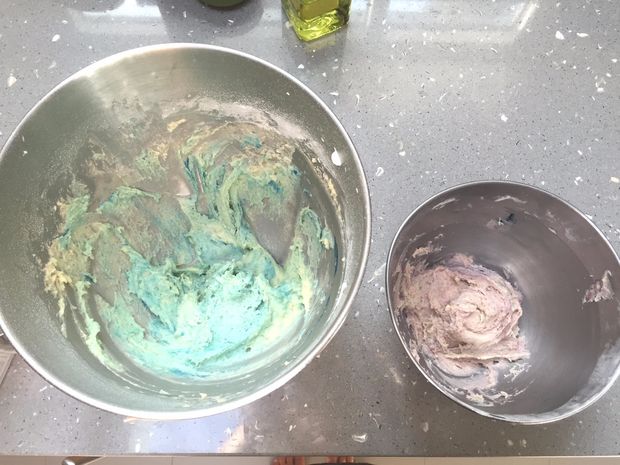
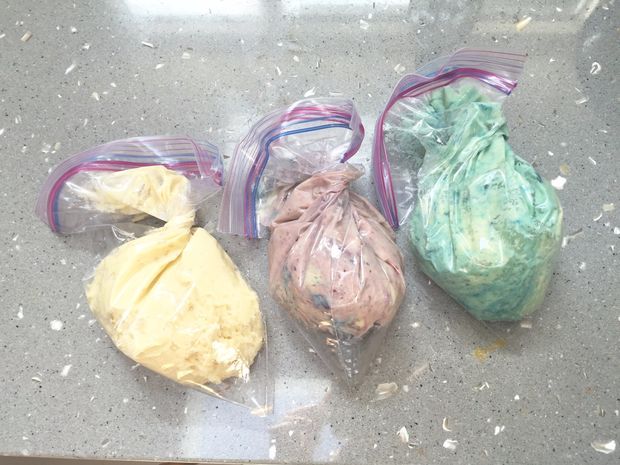
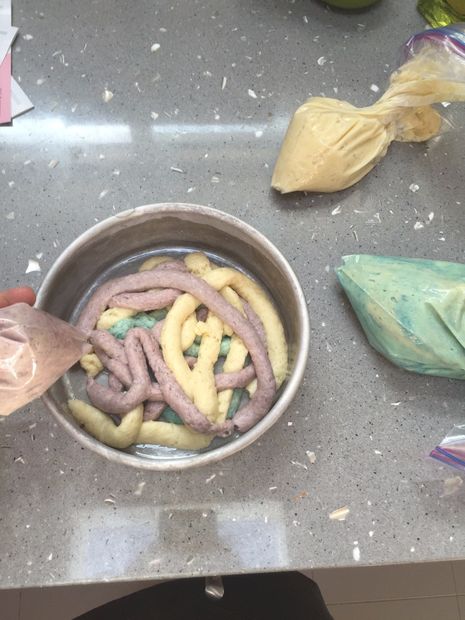
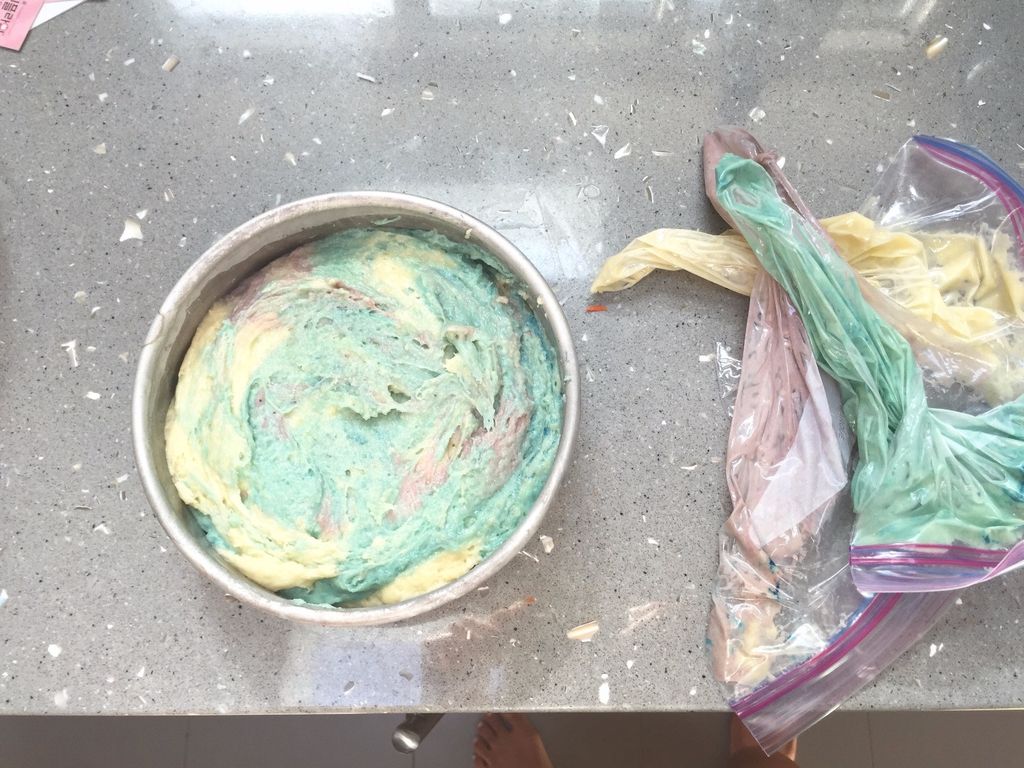
Start by using your favorite white/yellow cake recipe. If you don't have time/don't want to make the cake from scratch, feel free to use a store-bought cake mix. Separate your batter into three equal parts. (Or more if you want more colors) Since I only wanted to color 2/3 of my batter, I scooped a bit of batter into two separate bowls and the last third of the batter into a ziploc bag*. Once I finished coloring the other sections of the batter, I scooped those into ziploc bags, too, twisting the ends so that the batter stayed in. When all the batter is in bags, cut off the tips about 1/2 inch in. Alternating bags, squeeze some batter around the pan and continue to do so until you've used up the batter. Use a knife to smooth down the top and bang the cake pan against the table a couple times to remove any air bubbles. *You could also use piping bags, but ziploc works just as well, and I find them more convenient.
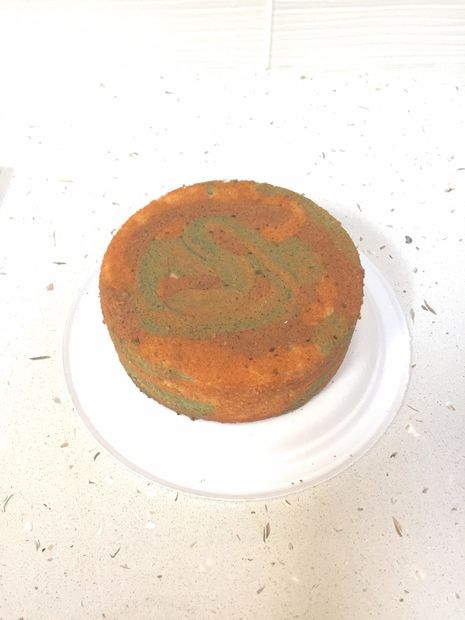
Bake the cake according to the recipe. Once finished, allow the cake to cool before removing from the pan. While you're waiting for the cake to bake/cool, it's the perfect time to whip up some classic vanilla buttercream. Once again, you're more than welcome to use store-bought frosting if you don't want to make your own. A good trick to know when working with store-bought frosting is that you can whip it for about 1-2 minutes with a hand/stand mixer to get a much lighter and fluffier frosting. It's a great way to make store-bought frosting taste a little more homemade :) Frost the cake so that it's nice and smooth. Once finished, set the cake in the fridge to cool.


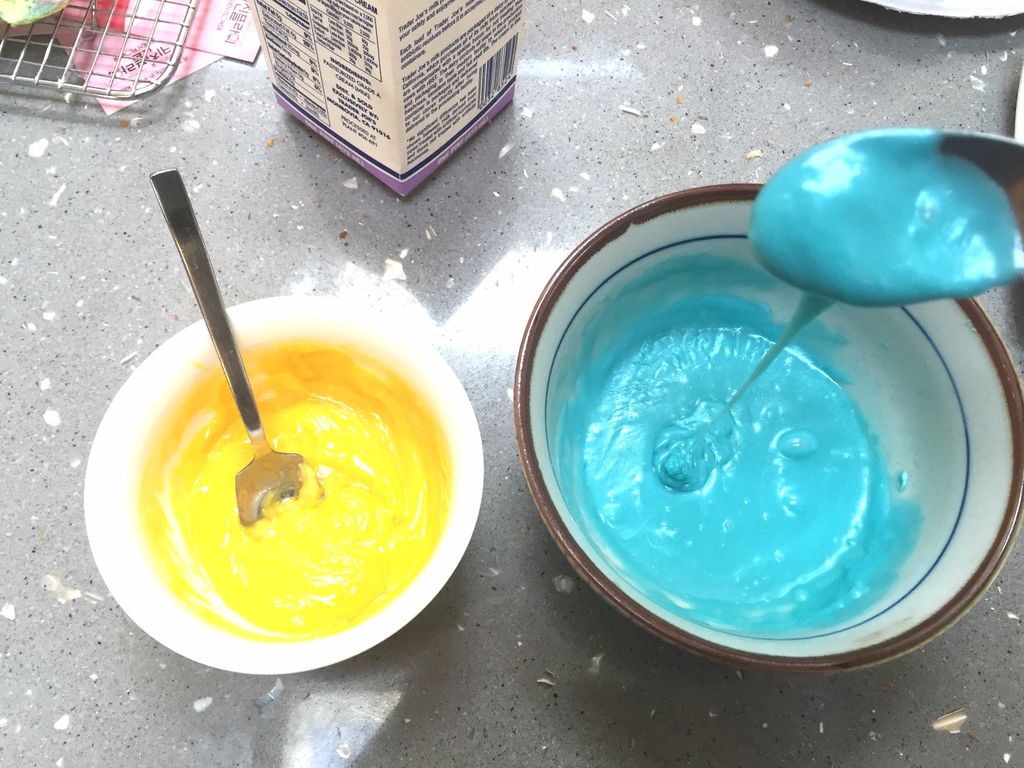
In order to make the paint-like substance that covers and drips down the side of the cake, you will need: -colored candy melts (colored white chocolate wafers) -heavy whipping cream You will need to adjust the measurements of these ingredients according to how large your cake is. However, a good ratio to keep in mind is 1 TBSP of room temperature heavy whipping cream for every 1/4 cup of candy melts. Melt the chocolate in the microwave on HIGH in 30 second intervals, mixing in between. Once melted, add in the cream and mix well. The chocolate should be the consistency of acrylic paint. You can add more cream as needed.

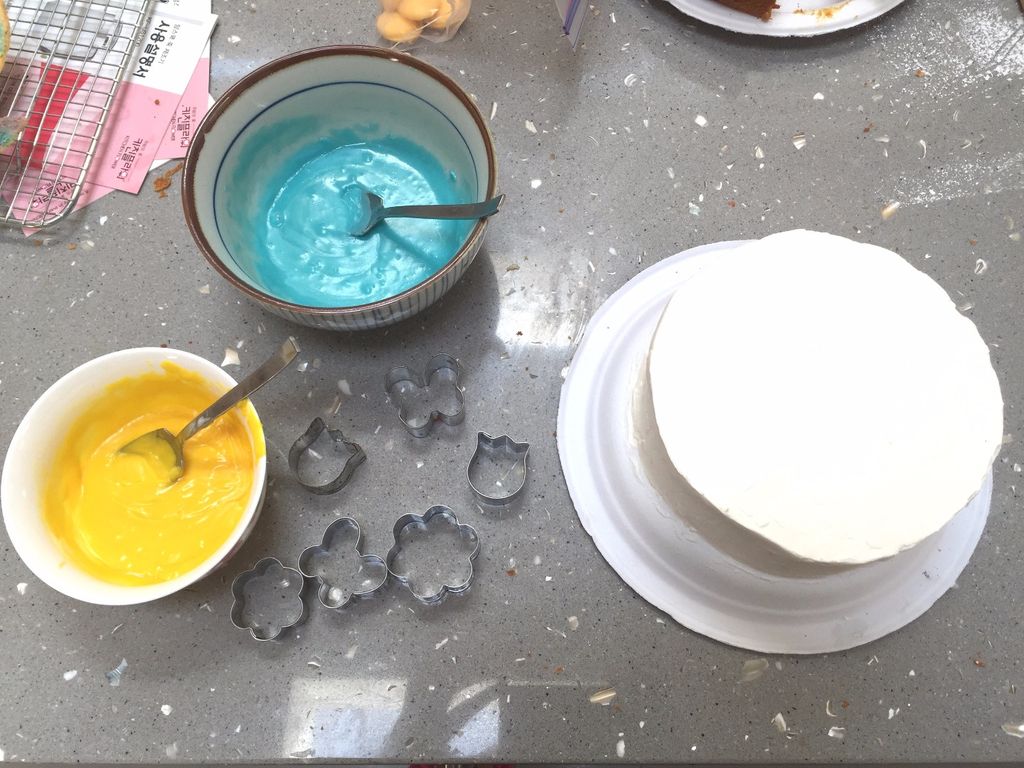
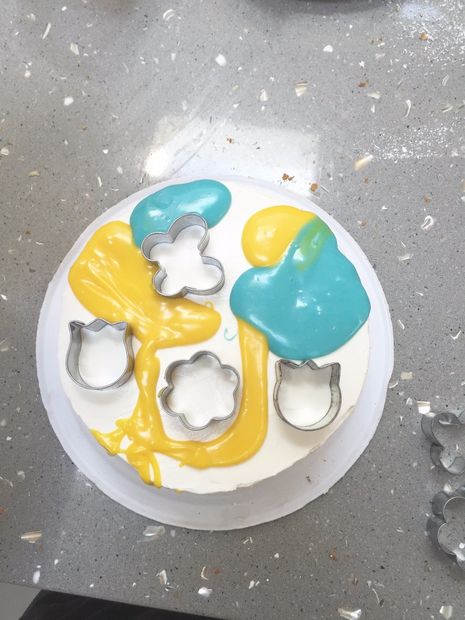
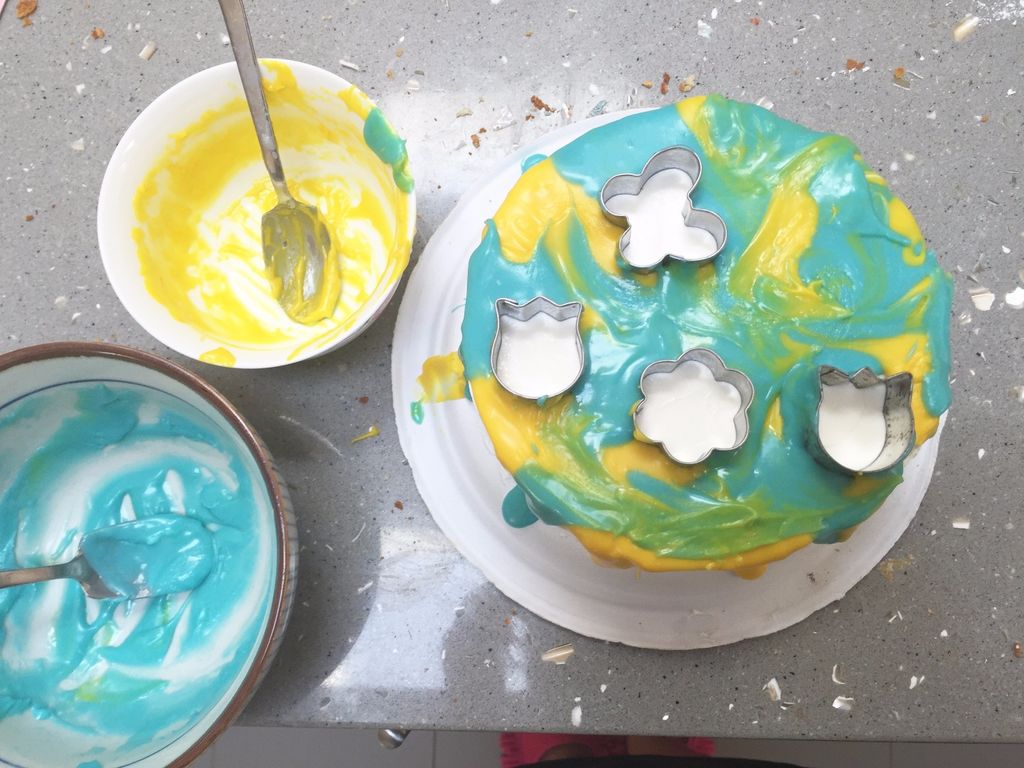
This is the really fun part! Remove your cake from the refrigerator. If desired, place some cookie cutters on top of your cake where you would like to keep plain. Working somewhat quickly, pour spoonfuls of the melted chocolate onto the cake letting some drip down the sides. Using the back of a spoon or a rubber spatula, swirl the colors together to create a pretty pattern. When finished, place the cake back in the refrigerator for at least 15 minutes to let the chocolate cool.
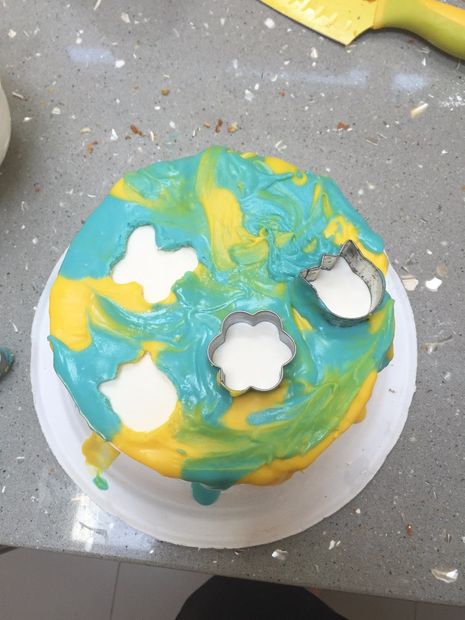
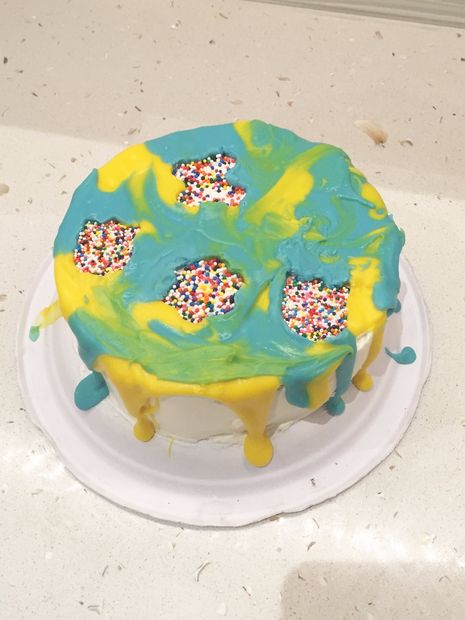
Once the cake is chilled and the candy coating has hardened, remove the cookie cutters. If you like the white designs, you can just leave it as is, or you can fill the cavities with sprinkles like I did. Keep the cake chilled in the refrigerator until 10-15 minutes before you're ready to serve.
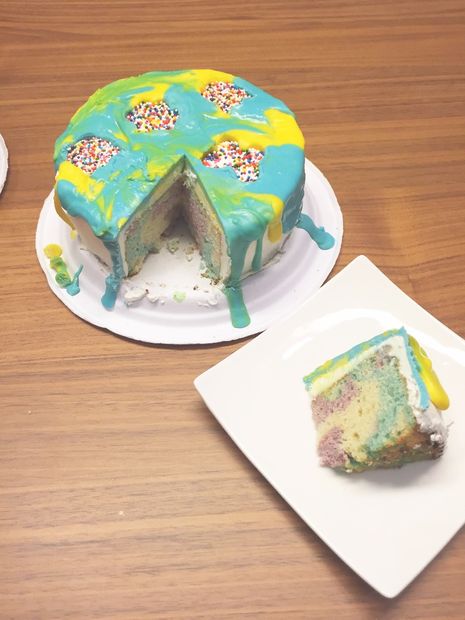
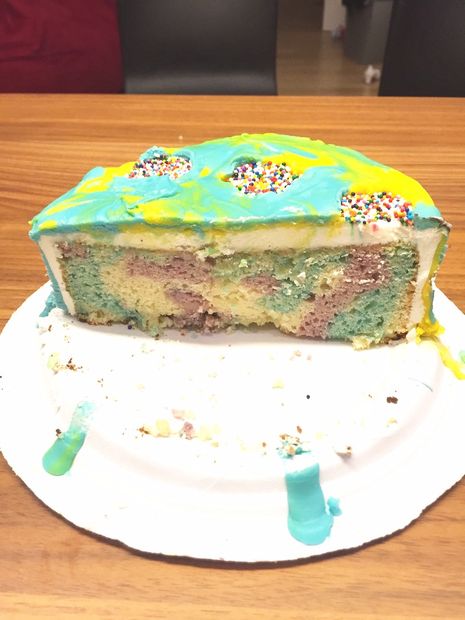
When you're ready, remove the cake from the fridge and let it come to room temperature (about 10-15 minutes). Cut the cake and admire the beautifully marbled interior! I hope you enjoy :)
Question & Answer
Question: Choose the best title for the missing blank to correctly complete the recipe.
Make and Color the Cake
____________
Painting the Cake
Final Touches
Choices:
(A) Tin Rainbow Cake
(B) Get Ready to Bake. Bake.
(C) Bake the Cake (and Make the Frosting)
(D) Make the Batter.
 (C) Bake the Cake (and Make the Frosting)