Question ID: 4000-1331-0-1-3-4
Recipe Description
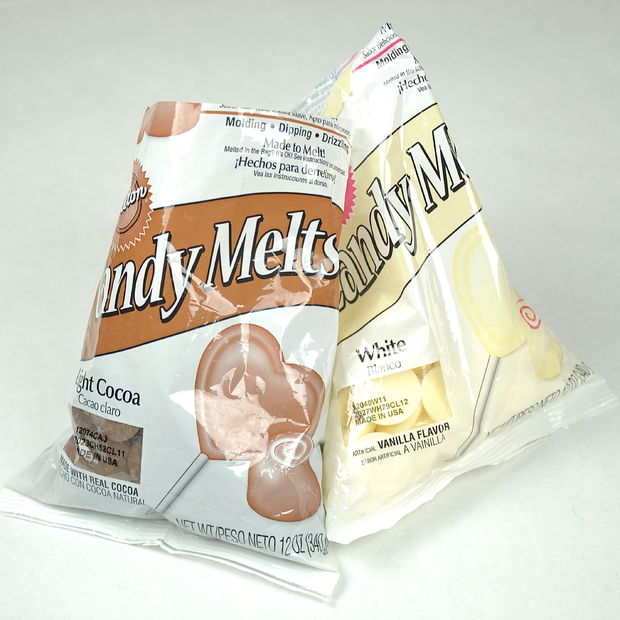
Gather up your supplies. Not all are absolutely necessary, but this is what I used.Supplies: Cupcake Mix (chocolate would be good if you want the cupcake to be like the dirt in the graveyard) Green Frosting White Candy Melts (you will not use a whole bag, I didn't even use half) Cocoa Candy Melts (you will not use a whole bag, I didn't even use half) Chocolate Flavored Jimmies (Sprinkles) Cupcake Liners (if you want them, I used what I had left and then did the rest just in the pan, you will need cooking spray if you don't use liners) Cupcake PanBlack Food Coloring Paper Towels Wax Paper Zip Lock Bags Cling Wrap Wilton Piping Tips (I used the round tips size 2 for the skeletons and size 5 for the grave markers) Various Utensils: Spoon, knife...
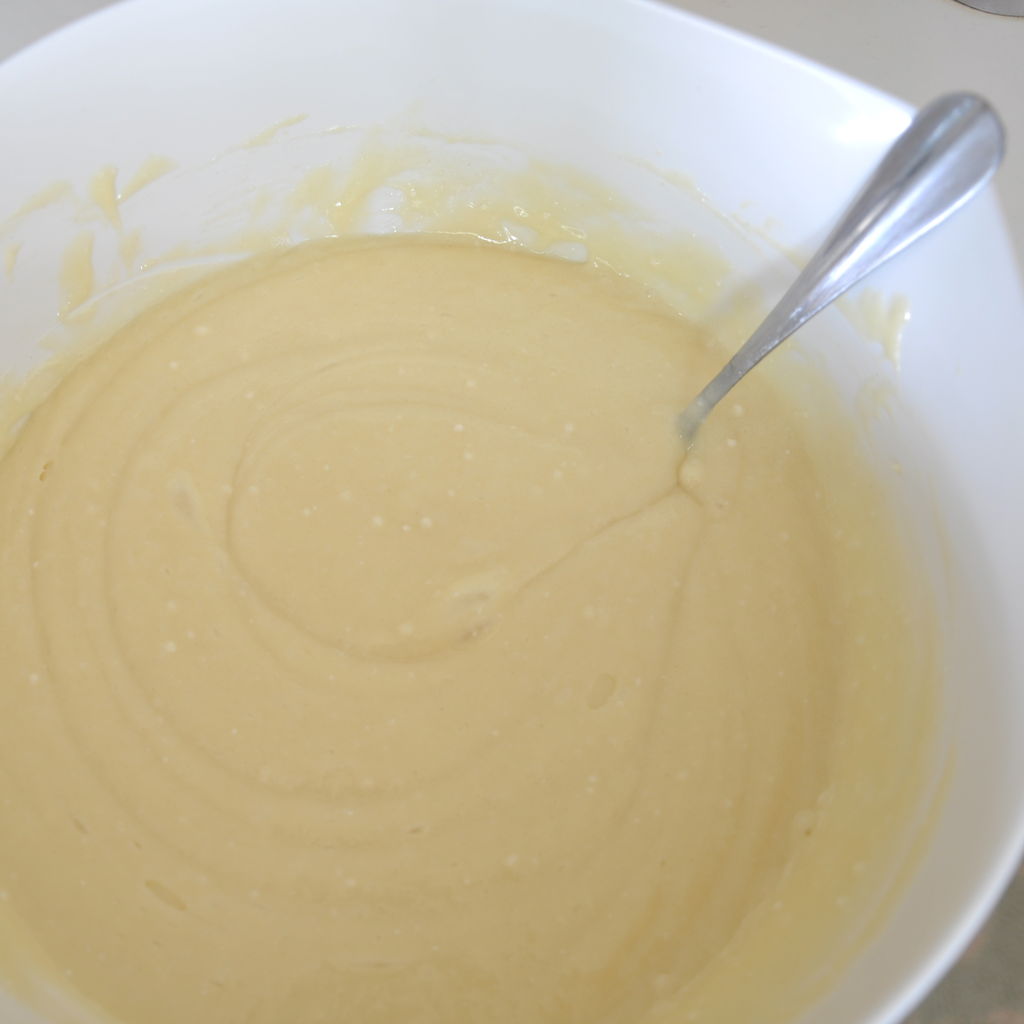
You can use whatever recipe you like for your cupcakes. I chose to just use a box of vanilla that I had in the cupboard and I used some food coloring to make it darker. Give them plenty of time to cool before frosting them. I would suggest making the cupcakes first, then doing the candy melts, then frost, then put them all together.
Now it's time to fight with the candy melts. I used the technique Make.Bake.Celebrate shows on her blog.Melting Candy Melts:
Take a piece of cling wrap and put some candy melts in it.
Wrap up the candy melts. Picture 2
Slowly melt in the microwave, take it out and squeeze it to mush them up.
Take a zip lock bag and make a snip in the corner, stick in the inside decorating coupler. Picture 3
Take your melted candy melts in your cling wrap and thread it through the coupler. Snip off the excess cling wrap that is sticking out the bag/coupler. Picture 4
Put on your tip and then screw the outside coupler on. Picture 5
Twist the end and you are ready to make your skeletons.Lay out a piece of wax paper. If you have a hard time drawing, you can print off skeleton pictures and put that under the wax paper. Draw out your pieces.Skulls:
Use your smaller tip (example #2). Draw the outline of the skull, then draw two big circles on the inside where the eye sockets are. Fill in the rest while leaving just a bit open for the mouth near the base of the skull. Once you have the skull, add a few vertebrae on the bottom. You need something to stick into the cupcake, so you can add as many vertebrae as you want, only the top one or two should show once it's in the cupcake.Arms:
I just used the generic bone shape for the arm and then just added a hand onto it. I did some facing each way, but it's really not that big of a deal. I did make some arms extra long by making a ball elbow joint and then just added another bone on the bottom.
Since you made the cupcakes already, you will know how many of everything you need. I used one skull and one arm per cupcake. You can add more if you want. Also, MAKE EXTRAS! So many of mine broke and it was really frustrating. Also, if you want to toughen them up a bit, give them a little time to dry and then do another layer on top. Weak Points you will want to reinforce:
Bottom of the arm you are going to stab into the cupcake
The skull's jaw, the sides are thin and easily break
Fingers, make them stubby
Where the head meets the top vertebraWooden Grave Markers:
This is pretty basic. Repeat the candy melt melting process except with the cocoa melts. I found it best to make the top of the cross first and then do the up and down part. This makes it so you have more lines going up and down which, when you add the dye, makes it more wood-like. Give the crosses time to dry. When they are completely dry, take a piece of paper towel and put a little bit of black dye on it. Rub it on the cross, specifically on the main portion of the cross. Make one for each cupcake and maybe one or two extra. None of my crosses broke, but mine were pretty thick.
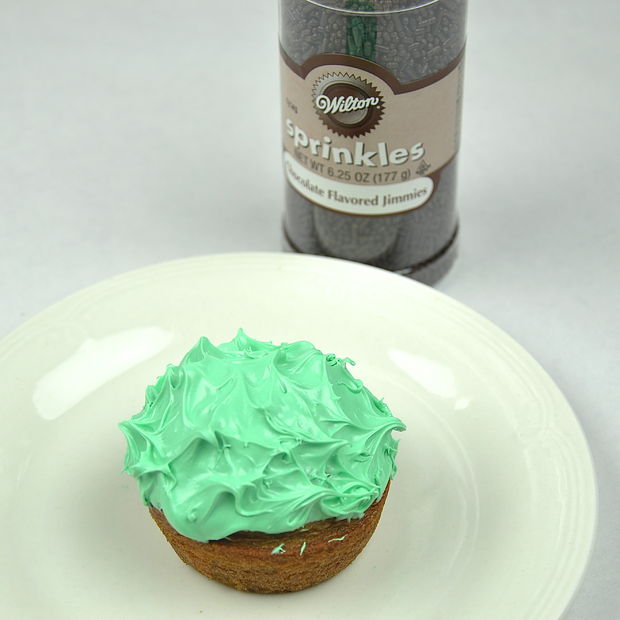
Mix up some green frosting. I used green food coloring and then mixed in some blue to make it a little darker. You can use a different wilton tip to make grass, but I wanted to keep this simple. Here is what I did.Frosting (Grass):
Frost the cupcakes.
Take a small spoon and give the cupcake a gental tap. Picture 3
Repeat this around, make sure to pull the spoon back enough otherwise you will just drag the frosting around the cupcake and not get the peaks. Picture 4Sprinkles (Dirt):
Take your sprinkles and try to make a grave, oval shape. Picture 6Graveyard (Bones and Grave Markers):
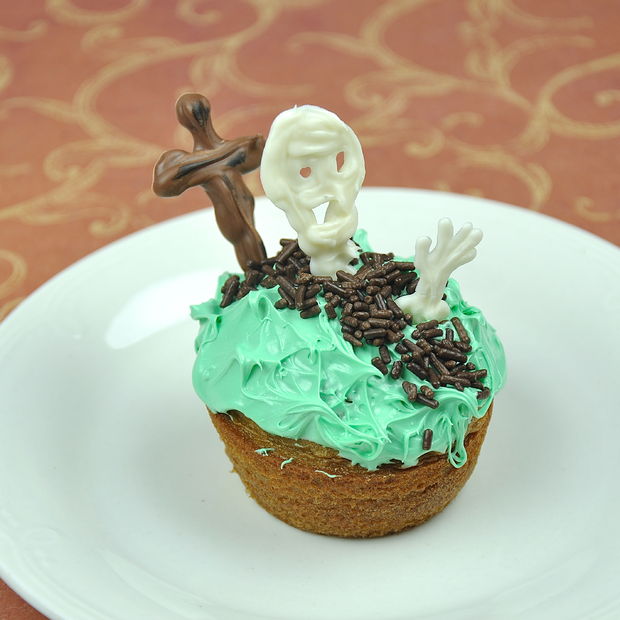
First stick in the cross to get an idea of space. I stuck mine near the head of the grave; make sure it sticks up and not out sideways or it will start to droop and could fall off. This should stick in pretty well. Picture 7
This is where the trouble starts. It's time to stick in the head. Take a knife and stab the cupcake, where you want the head to be. The vertebrae will want to break. This makes it easier for the head to stick in. (Picture 8)
Do the same for the arm and stick that in. You can put in more than one arm if you want.
Set out all of your cupcakes and enjoy the wonderful cupcake graveyard you have created!
Question & Answer
Question: What is the correct order of the images?
Choices:
    |
| (A) |
|
|
| (B) |
|
|
| (C) |
|
|
| (D) |
|
|
|---|
 (A) (A) |