Question ID: 4000-15439-2-3-9-10
Recipe Description
In the days before you could buy bottled root beer extract in just about any grocery store in America, the typical root beer recipe started by steeping sassafras root the primary source for the flavor that we recognize in root beer in hot water, then adding sugar and yeast, and allowing the mixture to ferment in bottles. To further enhance the flavor of the beer, additional root barks and twigs such as sarsaparilla, burdock, and birch were also added. While foraging in the woods for these ingredients was once standard practice and still not uncommon even today, I was happy to discover that I could instead find them neatly packaged and ready to use at my local home brew store.
Over time other aromatics were added to the brew pot to enhance the flavor of the root beer. Searching through various sources, it was not uncommon to find recipes calling for ingredients like licorice, vanilla, mint, ginger, citrus zest, cinnamon and the like. For my recipe I wanted to incorporate some of the traditional roots with a few interesting aromatics without creating a laundry list of ingredients that was a hassle to gather.
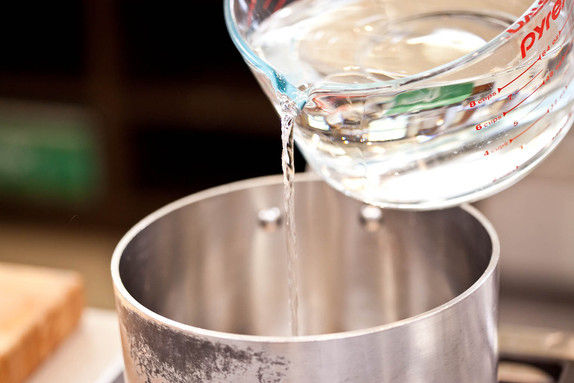
I decided to base my recipe off of 1 gallon of water, which was enough to keep my refrigerator stocked for a while and could be easily handled in a small kitchen I’d leave the multi-gallon batches to the professionals. I preferred to use filtered water because my tap water at home was pretty metallic tasting.
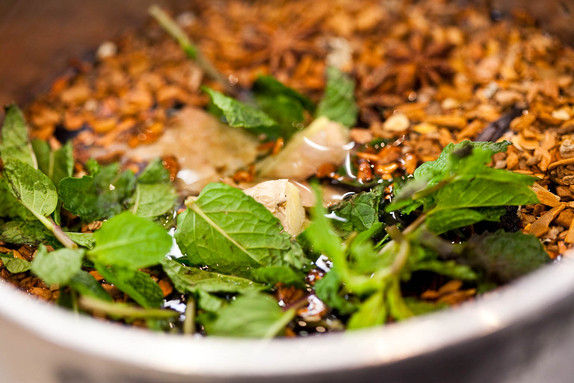
With 2 quarts of water in my saucepan, I then added my roots I chose a combination of sassafras and sarsaparilla along with some spearmint, star anise, ginger, and cinnamon for spice, and a vanilla bean for fragrance. After bringing the mixture to a boil, I covered the pot and allowed everything to steep for about 2 hours.
With the root beer mixture off to the side, it was now time to start sanitizing my bottles and equipment. While homemade beverages are a highly unlikely source of food poisoning, any bacteria that do make it into a batch of homemade root beer can cause sour off-tastes and ruin the batch. For some, like my dad whose is a chemist by trade, the brewing area can imitate laboratory settings; for others, simply dunking their equipment in soapy water is sufficient. I tried to aim for the middle of the road. I washed all of my equipment in hot soapy water and then did my best to sanitize everything as well most importantly the bottles. I found that a simple 2-minute soak in a bleach solution (1 tablespoon of unscented chlorine bleach for every gallon of hot water) did the trick. Make sure to drain everything well, for at least 30 minutes.
After 2 hours of steeping, the root beer mixture was ready to strain. At this point the liquid was more of a concentrate so I added the remaining 2 quarts of water to dilute the mixture along with the sugar. I could have started with all of the water in the beginning, but I found that adding half of the water at this stage helped to cool down the mixture quicker, which was necessary before adding the yeast. Granulated sugar would have worked just fine, but I tested several versions of this recipe with different types of sweeteners and found a combination of 1½ cups brown sugar and ½ cup molasses was best. The darker color of these two ingredients also helped to achieve the signature look for the root beer.
Before adding the yeast, I cooled the root beer mixture further to around 75 degrees. If the mixture was too hot, there was a chance that the yeast would die. Most recipes I found recommended ale yeast because it did not impart any flavors, though I also read recipes that called for regular active dry yeast. Since I was already at the home brew store to pick up my sassafras and sarsaparilla, grabbing some ale yeast was convenient and what I used in my recipe, though I am sure traditional yeast would have worked as well. Once I added the yeast, I allowed 15 minutes for proofing before I began bottling.
There are several tools out there for bottling batches of home-brewed beverages. However, I found that for a small batch like this, the easiest way to bottle was with a funnel and a ladle. I simply lined the bottles up, placed the funnel on top of the bottles, and ladled in the root beer mixture. I preferred 22-ounce glass bottles, though 1-litre plastic soda bottles and smaller glass bottles would work as well. To avoid any exploding bottles, I filled the bottles to within 2 inches of the top, leaving adequate room as pressure built up in the bottles.
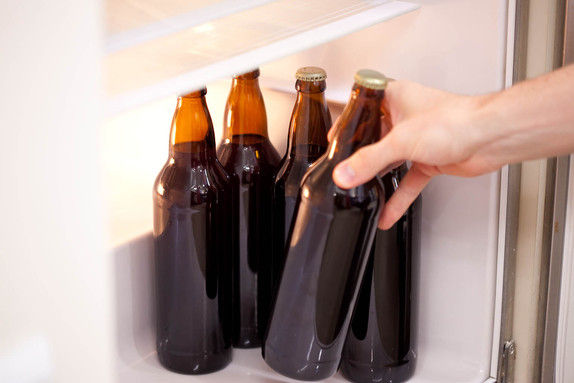
Depending on the types of bottles used, the capping procedure can change. For my glass bottles, I placed a metal cap on top of each bottle and secured it with a bottle capper. Once capped, the bottles needed to sit at room temperature (ideally 62 to 77 degrees) so that the yeast could begin to eat the sugars and carbonate the root beer. The carbonation time depends on the type of yeast used and the temperature of the room, though in general it takes between 36 and 72 hours. I found that 48 hours was an appropriate amount of time for my root beer, which was sitting in a 75-degree room. To check carbonation, I just opened a bottle and poured a glass.
Once the carbonation was right, I placed all the bottles into the refrigerator and waited a couple days for the flavors to meld. Refrigerating the bottles also caused the yeast to go dormant, which restricted the production of carbon dioxide even with the 2-inch gap I provided, too much carbonation would still cause bottles to blow.
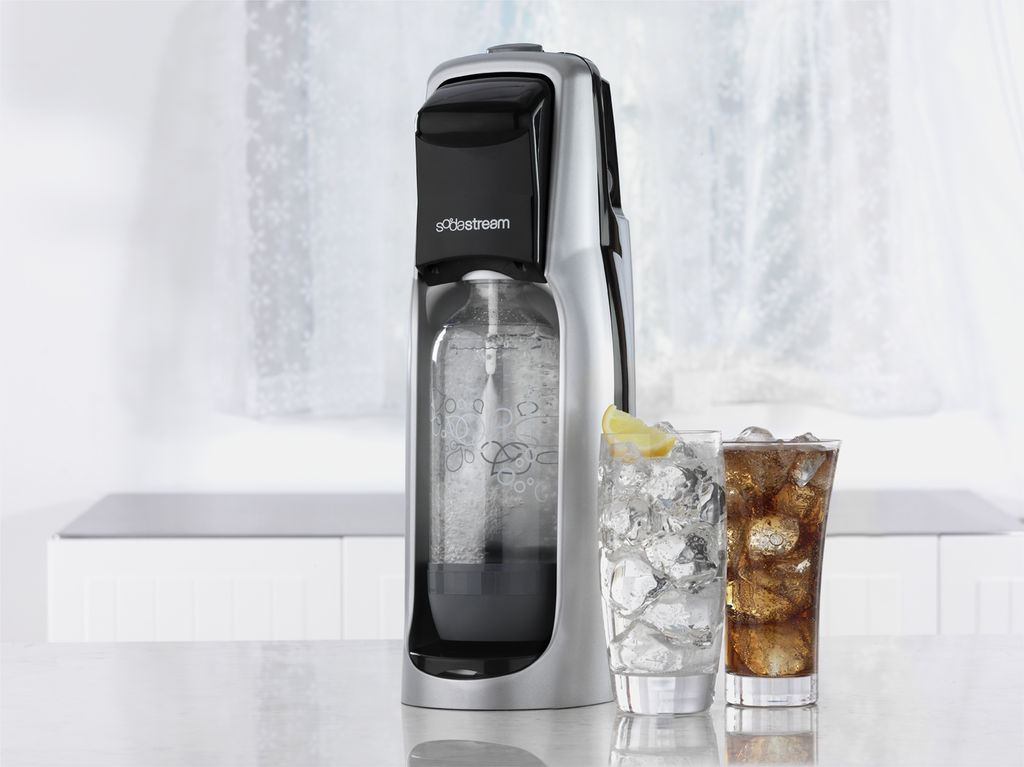
Wan't to make it fizz? Sodastream is a great carbonating machine.
The end result was a huge success. The root beer was full of unique spice and rich flavor—everything I was looking for. Most recipes I found recommend drinking the root beer within 5 weeks for the best results, but my first batch only lasted 5 days. Cheers!
Question & Answer
Question: What is the correct order of the images?
Choices:
    |
| (A) |
|
|
| (B) |
|
|
| (C) |
|
|
| (D) |
|
|
|---|
 (D) (D) |