Question ID: 2000-619-4-5-6-14
Recipe Description
You're going to need the following supplies:
Half Sheet Pan (I used this one )
Ball Pan (I used this one )
Cross Candy Mold (I used this one )
Rolling Pin to rolll the fondant with
Enough cake batter for the above pans. I used mixes and used four boxes of Duncan Hines Yellow Cake mix made according to the box except for using only tablespoon of oil per mix (it makes the cakes better suited for stacking).
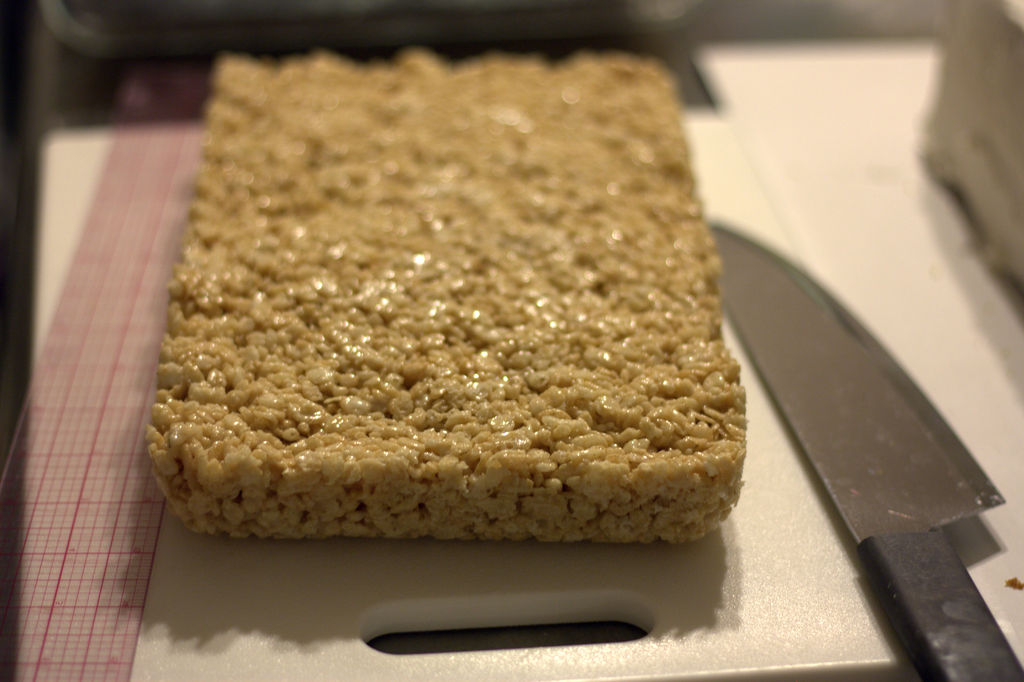
Three batches of Rice Krispies Treats (recipe here )
Two batches of Marshmallow Fondant (recipe here ) or an equal amount of store bought fondant.
Four Batches of your favorite buttercream recipe. (I used this one )
Small amount of Royal Icing
Candy Melts & Yellow & Red Candy Coloring
Brown Paste Food Coloring
Red Paste Food Coloring
Gold Luster Dust
Sugar Pearls
Vodka
Small Paint Brush (that's never been used for painting)
Cake Board
You should be able to get everything you need between your local grocery and craft store.
I used a 13 x 18 inch piece of plywood for my cake board. Cover it with heavy duty foil first. Now roll out some of that fondant into a large enough piece to cover the board. I used about half a batch of marshmallow fondant. I also got fancy and marbled some brown into it first, but as it turned out did not need to. Trim the fondant to fit the board with a pizza cutter or other sharp instrument.
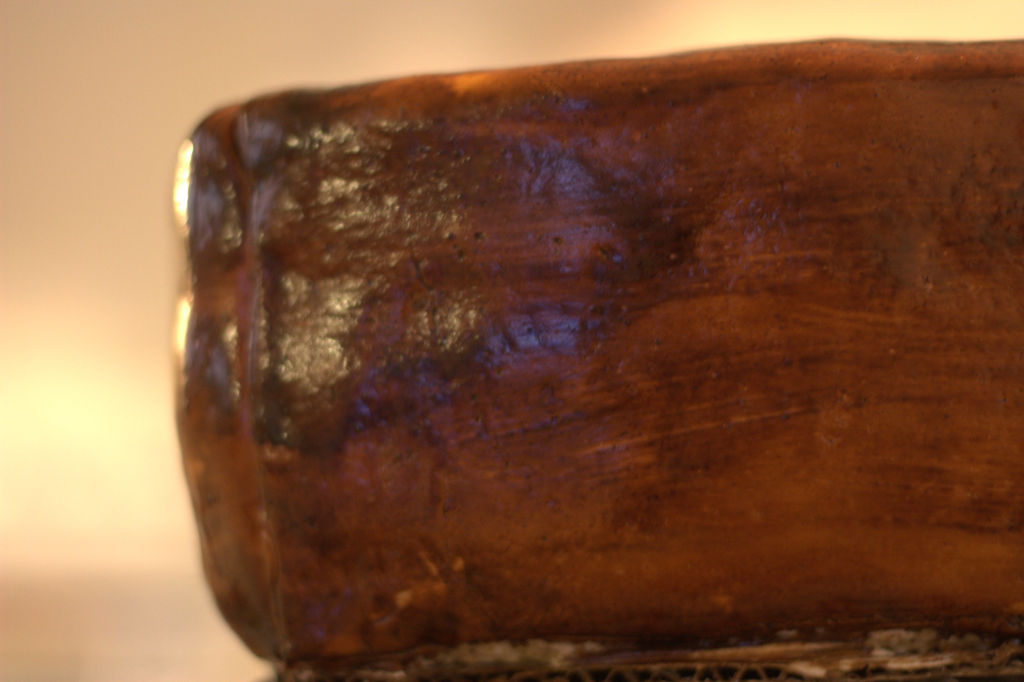
This is waaay easier than it looks. Thin some brown food coloring with vodka or as I did, with lemon extract (it's 85% alcohol). We'll use the same technique on the sides of the box.
Make your sheet cake and ball cakes using your favorite recipe or use 4 boxed cake mixes like I did. The sheet cake used three and the ball cake used most of one (there was a little batter left over). Let them cool completely, then wrap in plastic wrap and put them in the refrigerator until they're nice and firm. I left them in overnight.
We need a suitable presentation box for our Holy Hand Grenade, so here we go. Level the sheet cake and then cut it in half. Trim both halves to the size you want for your box bearing in mind that we're building a wall with the Rice Krispie treats around the cake and that will add to the overall dimensions. Cover the bottom half with some of that buttercream frosting you've prepared, stack the other half on top and frost it as well.
Now it's time for some fun with Rice Krispies treats. Cut up your treats and build a wall surrounding your cake. (You'll see from the pictures that I jumped the gun and added the red fondant to the top of the cake already but it should be done later) If I do this again, I would cut them into smaller bricks and stick them together with royal icing for added strength. Build a Krispies wall all the way around the cake.
Just like with the board we'll cover the Krispies with fondant, put a thin coat of buttercream on the Krispies to help the fondant stick. Get out your brown food coloring and alcohol again and paint the fondant as you did with the board. (This is why I should have waited on the red fondant, it got sprayed with some of the brown food coloring).
Now is when you should roll out a piece of red fondant large enough to cover the inside of the box. The Holy Hand Grenade needs a comfortable bed doesn't it?
Take one half of your ball cake and level the bottom so that it will have a nice flat surface to rest on. Place it on top of the cake and use it as a template to cut a hole in the red fondant. Save that red fondant piece to use to cut a piece of cardboard from a cake round, we'll use the cardboard later as a base for the Holy Hand Grenade to rest.
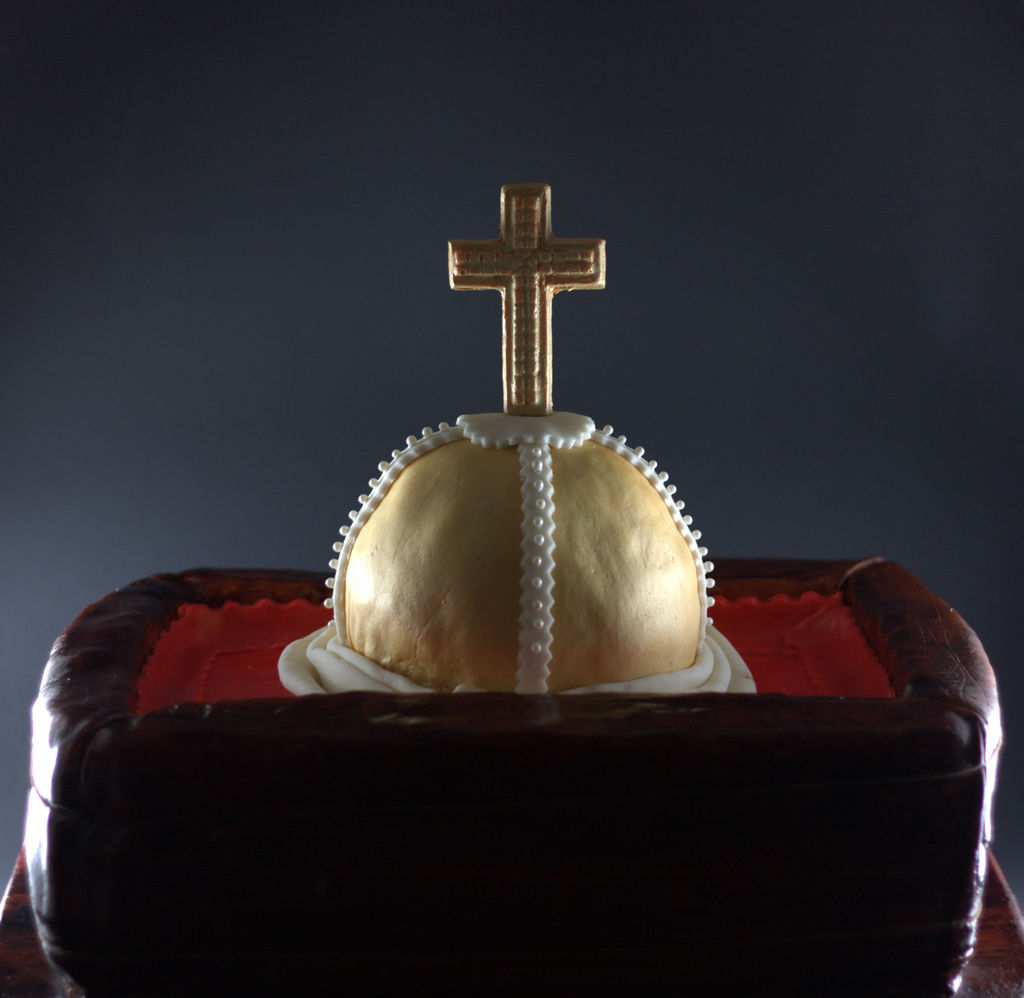
Roll out a piece of gold colored fondant (tint with 10 drops of yellow to 1 drop of red) and cover the ball cake. It may bunch up a little at the bottom, that's OK because we're going to cover that up later. Now get out your alcohol again and some gold luster dust. Mix a tiny bit of alcohol with some luster dust and paint your Holy Hand Grenade a lovely shade of gold. You may have noticed that the Holy Hand Grenade looks a little lumpy, that's OK too, the original looked suspiciously like it was made from a coconut.
Roll out some white fondant. Cut strips to decorate the Holy Hand Grenade as shown. You can cut it with a pizza cutter or a fondant cutter that gives you a ruffled edge. You may need to wet the back of the fondant for it to stick be careful though, a little water goes a long way. Now cut a small circle to cover the joints at the top of the Holy Hand Grenade. For an extra flourish attach sugar pearls to the white ribbon with royal icing.
Every hand grenade needs a pin. Get out your cross candy mold and candy melts. I used yellow melts and added one drop of red. Melt the candy melts and fill your molds. We're making two crosses that we will stick to each other. After they have set, remove from the molds and whittle out a small trench at the bottom of each cross so that a lollipop stick or skewer or whatever you are going to use to stick it in the cake can fit into. Use a little melted candy as glue and you have your Holy firing pin. Now, get out your alcohol and gold luster dust again and paint your cross gold. We are now ready to arm the Holy Hand Grenade.
Now is the time to assemble your weapon of mass cake destruction. Spread a small amount of buttercream on the board we fitted into the red fondant earlier. Carefully place the Holy Hand Grenade on the board and make sure it is level. If not use buttercream to level it out. Carefully slide two bamboo skewers at an angle through the top of the Holy Hand Grenade and into the cakes beneath. Now, it is the moment we have all been waiting for, time to arm the Holy Hand Grenade. Very carefully (we don't want premature detonation) insert the Holy Pin into the Holy Hand Grenade.
I did this in the wrong order too, learn from my mistake and add this after you've placed the Holy Hand Grenade in its box. Roll out some of your remaining white fondant and form into two drapes that we'll place to the left and right of the Holy Hand Grenade. Attach them with a little bit of water. Doesn't that look comfortable?
Now is the time to deploy the Holy Hand Grenade of Antioch against the Killer Rabbit of Caerbannog or other suitable foe. Good luck!
Question & Answer
Question: Choose the best image for the missing blank to correctly complete the recipe.

Choices:
 |
 |
 |
 |
|---|---|---|---|
| (A) | (B) | (C) | (D) |
 |
|---|
 |