Question ID: 1000-13516-1-4-6-7
Recipe Description
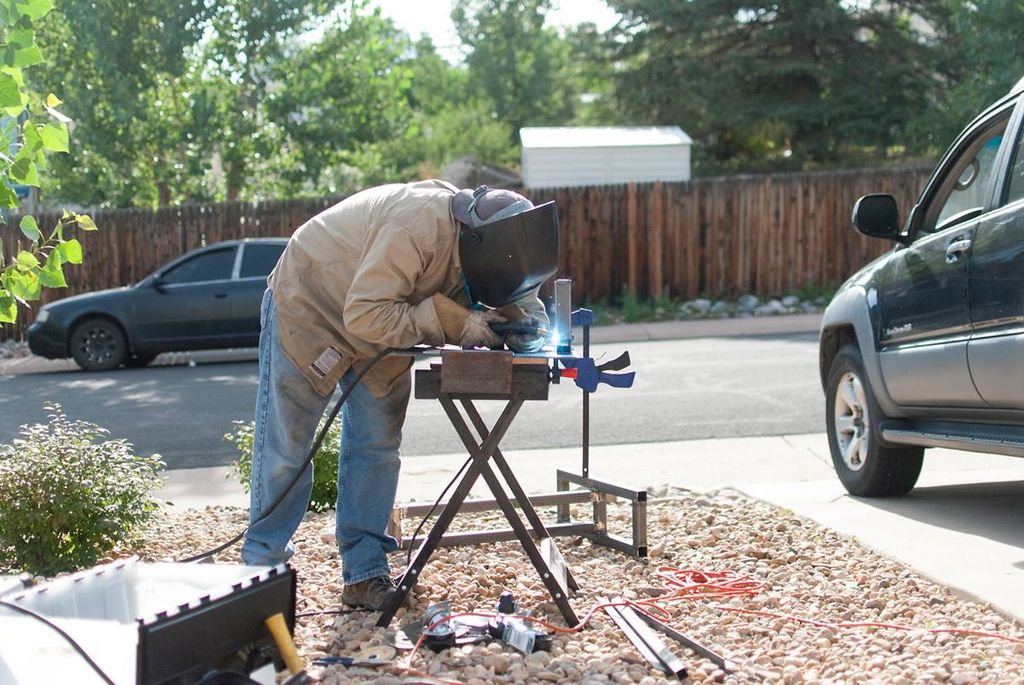
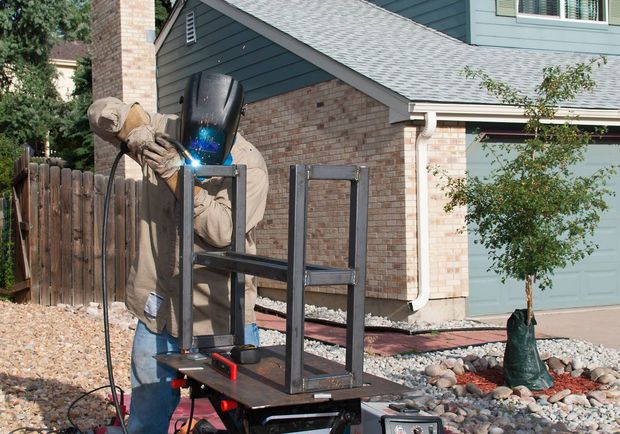
Metal work can be dangerous so make sure you take the correct steps to protect yourself!- Make sure there are no combustible materials in your work area (leaves, cats, dry grass, oils...)- Keep a fire extinguisher within 25 feet of your work area- Flame Resistant clothing to protect from becoming the Human Torch- Heavy Leather welding gloves, no missing or burned digits- Protective goggles and face protection, gotta keep that modeling job- Welding hood, don't want to burn those retinasChances are good that you'll be doing this work outside, and it can get hot under a welding hood. Stay hydrated fool!Usually I would recommend a beer before the start of a project, but due to the nature of the work with power tools we'll save that for the end.
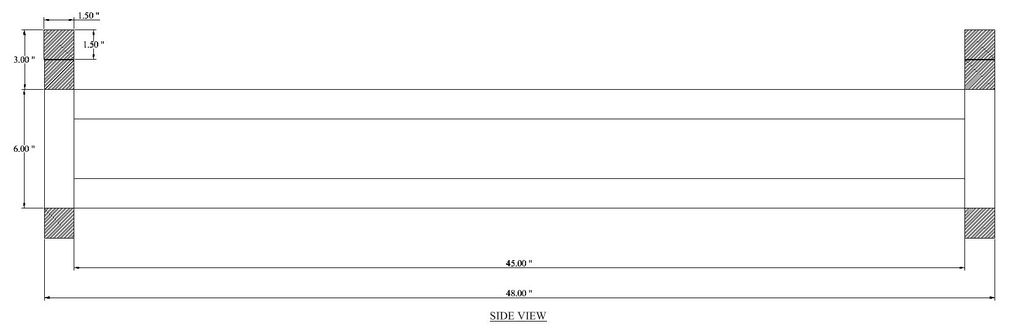
I used a modified version of the double racks you commonly see in breweries. Remember this structure needs to hold a lot of weight so don't skimp on material!These are the sketches I came up with. I have terrible drawing skills so I used TurboCad ($30-40) to draft this.This design uses 1 1/2" x 1 1/2" square tube and 1 1/2" x 1/8" flat bar.
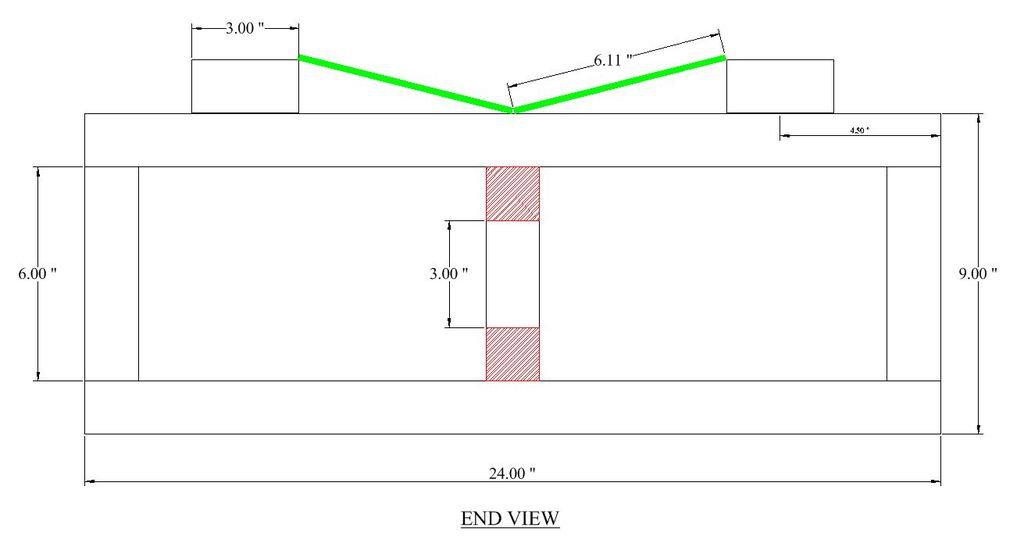
For this design i used 1 1/2" x 1 1/2" square tube and 1 1/2" x 1/8" flat bar. You can find these materials at a 'big box' hardware store, but prices will be much cheaper if you can get it from a metal yard.MATERIAL(1) 20 stick of 1 1/2" x 1 1/2" square tube: $35(1) 6' stick of 1/2" x 1/8" flat bar: $5TOOLS- MIG welder (I used a Hobart Handler 120)- Welding table- 90 degree magnet- 4 1/2" Angle grinder with cutoff wheel, grinding wheel, and flap wheel- clamps- Level- Pliers
Measure and cut your pieces.CUT LIST- (2) 45" sections of 1 1/2" x 1 1/2" square tube- (4) 24" sections of 1 1/2" x 1 1/2" square tube- (6) 6" sections of 1 1/2" x 1 1/2" square tube- (4) 3" sections of 1 1/2" x 1 1/2" square tube-(4) 6"-7" sections of 1 1/2" x 1/8" flat barOnce the pieces are cut, clean up the edges with a grinding wheel or flap wheel to get rid of those pesky metal burrs. Cleaning and beveling the edges also makes for better welds.
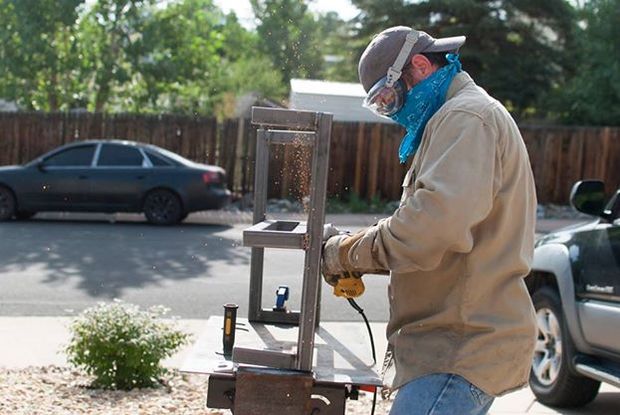
I'm not a welder by trade, and I made the critical error of welding everything all the way out before checking how square it was. The rack ended up being twisted and would not sit squarely on the ground. This resulted in having to cut several welds out, re-fit, and re-weld them. It's way easier to cut a tack weld then a full weld.I made the 'strong back' (long axis) first, making a square out of the (2) 45" pieces and (2) 6" pieces. Then i built each end around it. Fit one piece at a time, checking to make sure it's square with the other pieces. A 90 degree magnet is super helpful with this.Once you've got a piece where you want it, tack all four corners to hold it in place. Check to make sure it's square after the tack welds are made.Move on to the next piece, wash, rinse, repeat...When you've got the whole rig assembled with tack welds, and everything is square, get your weld on! It's helpful to alternate between sides to let the welds cool. Too much heat in an area can cause the pieces to 'draw', which will make them out of square.Once welded out, let the rack cool for a bit. If you weld like I do, you'll probably want to smooth those welds down with the flap wheel.
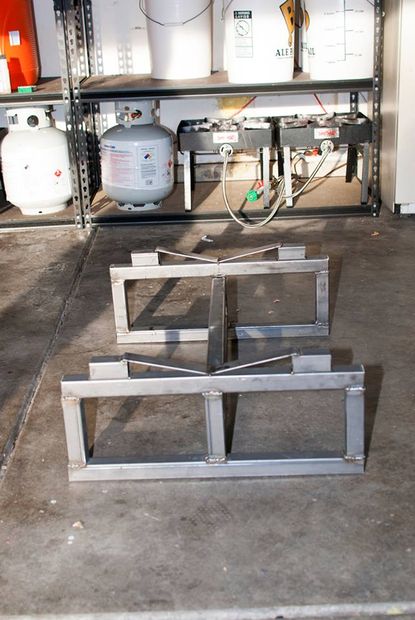
This is what the finished product looks like.
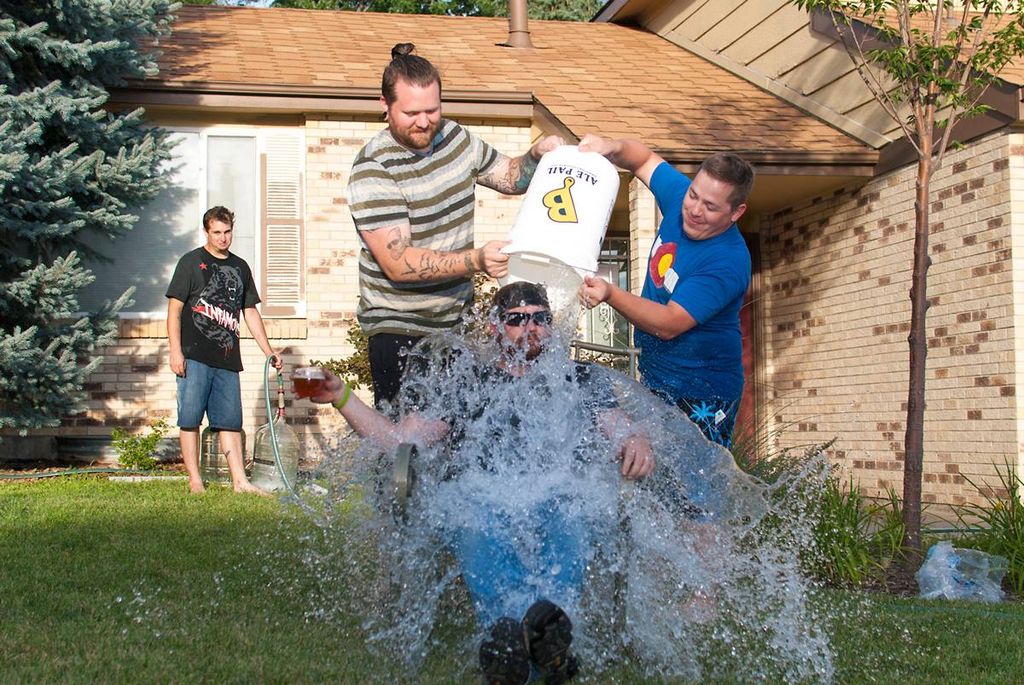
Load the barrel onto the rack and have a friend sit on the barrel. Keep your fingers crossed! If you did it right you'll have a sturdy barrel rack for your barrel to sleep in!

You're done! Good job!

Question & Answer
Question: Choose the best title for the missing blank to correctly complete the recipe.
Design Your Rack
Fit and Tack!
____________
Have a Beer!
Choices:
(A) Wine Barrel Mannekin Pis Kegerator
(B) Load Test!
(C) Brewing Something
(D) Finished Bucket
 (B) Load Test!