Question ID: 1000-13616-3-5-6-10
Recipe Description
<!--
/* Font Definitions */
@font-face
{font-family:"-3
";
panose-1:0 0 0 0 0 0 0 0 0 0;
mso-font-charset:128;
mso-generic-font-family:roman;
mso-font-format:other;
mso-font-pitch:fixed;
mso-font-signature:1 134676480 16 0 131072 0;}
@font-face
{font-family:"-3
";
panose-1:0 0 0 0 0 0 0 0 0 0;
mso-font-charset:128;
mso-generic-font-family:roman;
mso-font-format:other;
mso-font-pitch:fixed;
mso-font-signature:1 134676480 16 0 131072 0;}
@font-face
{font-family:Cambria;
panose-1:2 4 5 3 5 4 6 3 2 4;
mso-font-charset:0;
mso-generic-font-family:auto;
mso-font-pitch:variable;
mso-font-signature:3 0 0 0 1 0;}
/* Style Definitions */
p.MsoNormal, li.MsoNormal, div.MsoNormal
{mso-style-unhide:no;
mso-style-qformat:yes;
mso-style-parent:"";
margin:0cm;
margin-bottom:.0001pt;
mso-pagination:widow-orphan;
font-size:12.0pt;
font-family:Cambria;
mso-ascii-font-family:Cambria;
mso-ascii-theme-font:minor-latin;
mso-fareast-font-family:"-3
";
mso-fareast-theme-font:minor-fareast;
mso-hansi-font-family:Cambria;
mso-hansi-theme-font:minor-latin;
mso-bidi-font-family:"Times New Roman";
mso-bidi-theme-font:minor-bidi;}
.MsoChpDefault
{mso-style-type:export-only;
mso-default-props:yes;
font-family:Cambria;
mso-ascii-font-family:Cambria;
mso-ascii-theme-font:minor-latin;
mso-fareast-font-family:"-3
";
mso-fareast-theme-font:minor-fareast;
mso-hansi-font-family:Cambria;
mso-hansi-theme-font:minor-latin;
mso-bidi-font-family:"Times New Roman";
mso-bidi-theme-font:minor-bidi;}
@page WordSection1
{size:595.0pt 842.0pt;
margin:72.0pt 90.0pt 72.0pt 90.0pt;
mso-header-margin:35.4pt;
mso-footer-margin:35.4pt;
mso-paper-source:0;}
div.WordSection1
{page:WordSection1;}
-->
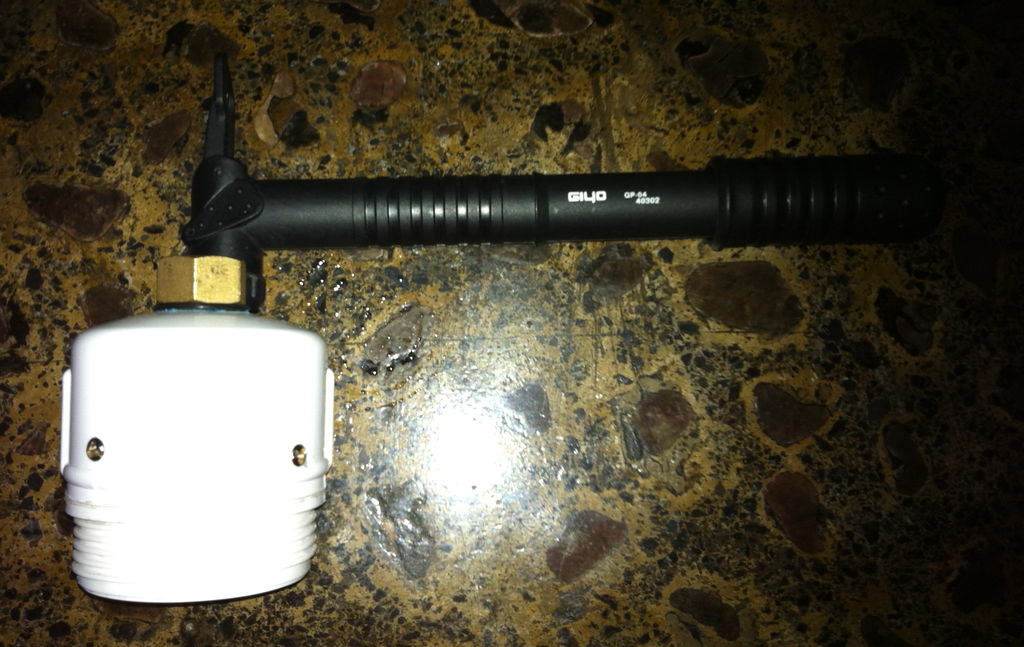
The espresso maker works by releasing air at high pressure into the brew chamber (I used a small bike pump to build up the air pressure).
It works just like the commercial Handpresso which is my main inspiration.
To build this, I set the following constraints:
All water handling parts had to be either aluminum or stainless steel.
All parts had to be easily and cheaply obtained.
Only simple tools could be used.
It must be safe (no exploding parts due to high pressure or hands burned by hot water)
Must be easy to give maintenance (sometimes overlooked)

This is going to be an odd part list, because the sized of some parts are going to be dependent on the size of the espresso portafilter basket you get. In the next step I’ll tell you how to correctly size the parts
Parts to be sized:
1 PVC union, sizes from 1 to 2 inches
1 PVC reducer, sizes from 1 to 2 inches
1 PVC cap, sizes from 1.5 to 2 inches
1 PVC cap, sizes from 1 to 1.5 inches
2 O-rings that fit into the PVC union
1 small aluminum or stainless steel can
Parts that don’t need to be sized.
1 espresso portafilter basket
2 tubeless tire air valves
1 1inch threaded PVC plug
1 1inch threaded PVC or bronze cap
When we get to the part of the air release button, I’ll show you the parts that I used, so that you can either use the same parts or look in you toolbox for some similar things that will do the trick.
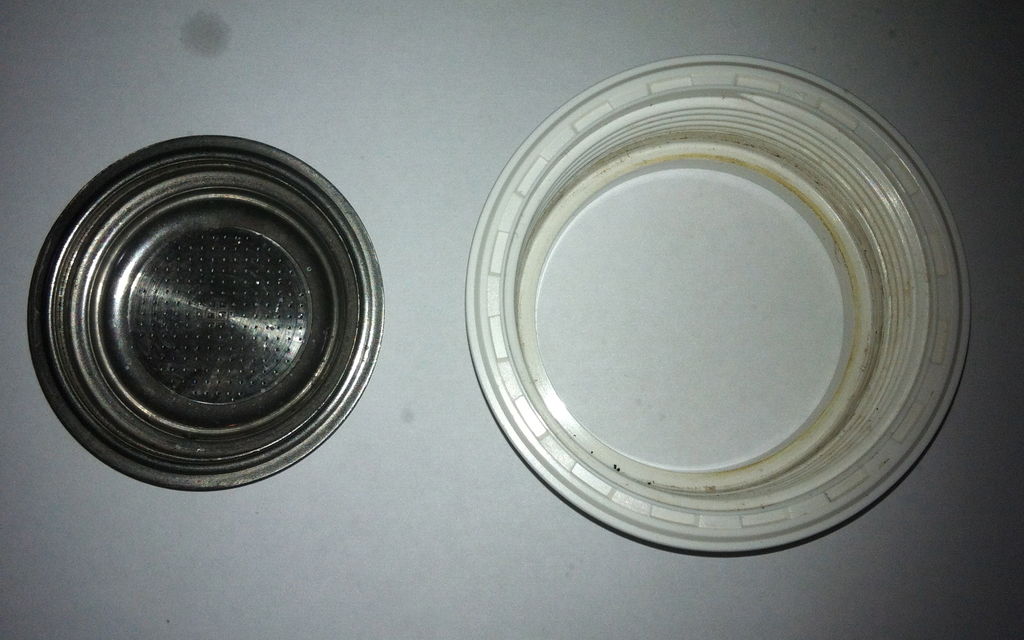
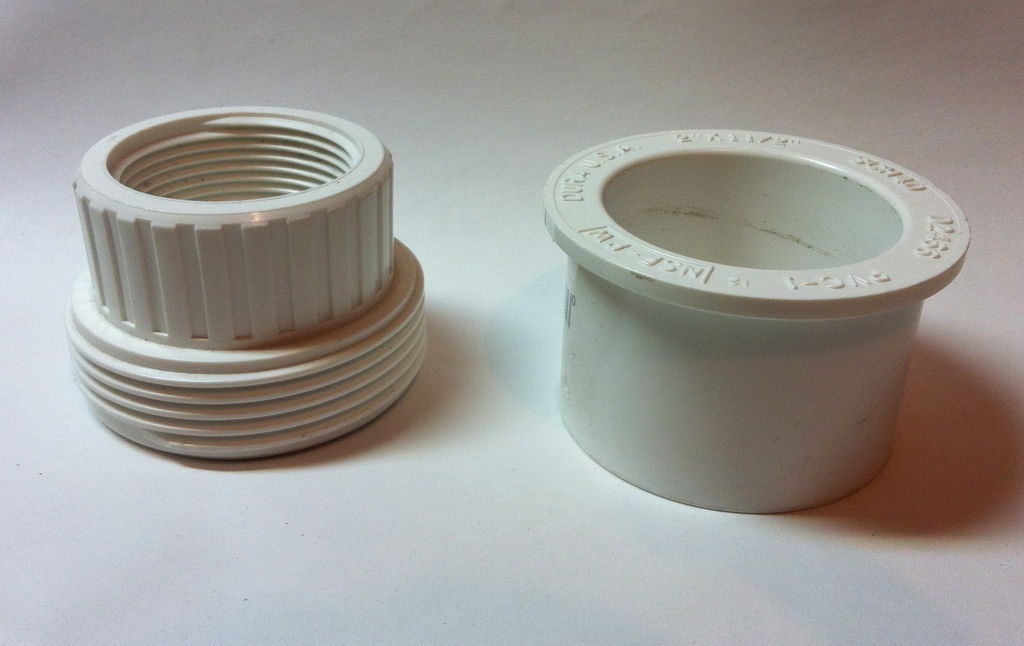
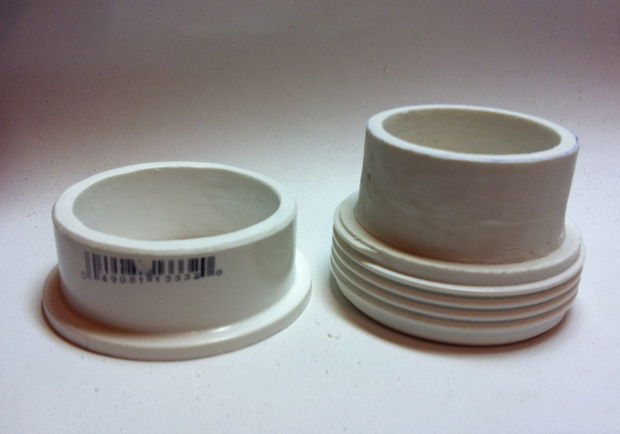
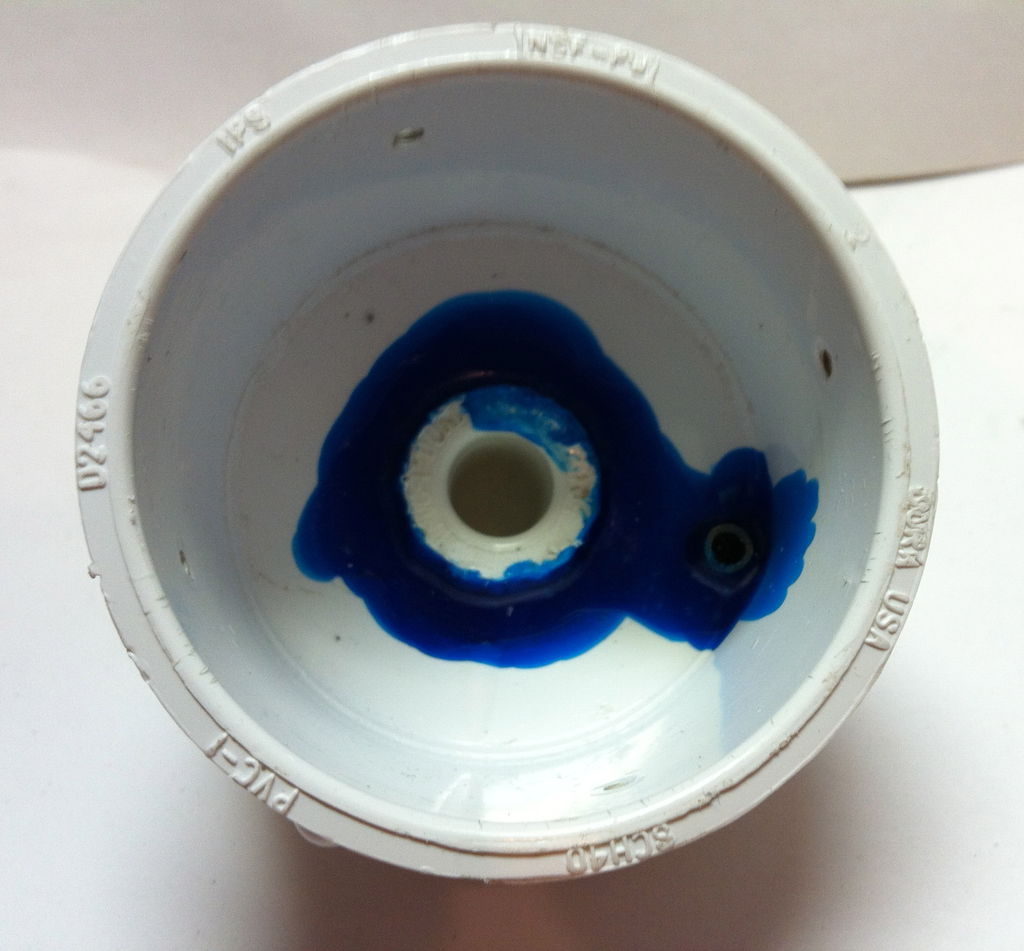
The espresso maker’s main body is made out of the 1-2 inch PVC union.
Its size depends on the portafilter basket that you get.
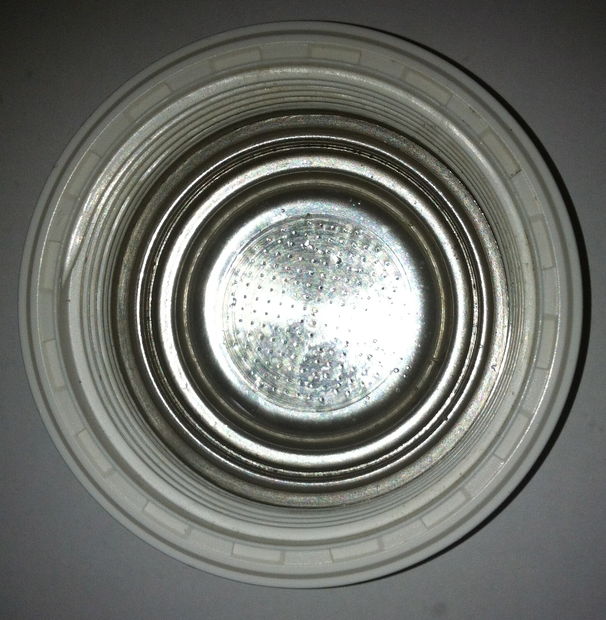
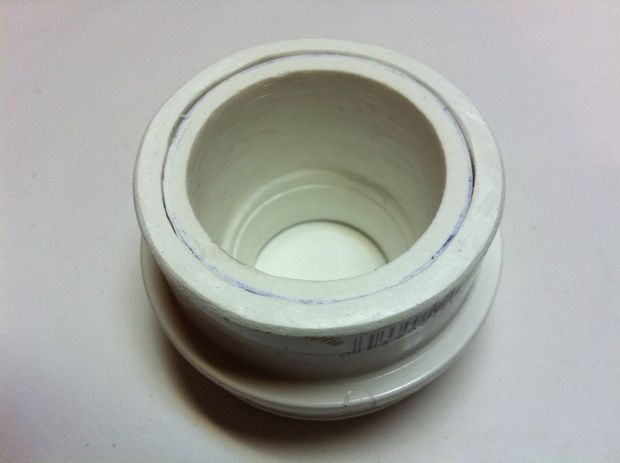
When you disassemble the union, the basket should fit into the outer ring just like in the picture.
The 2 O-rings go one into the PVC ring, then the basket, then the other O-ring.
From the picture of the finished machine, you can see that the big cap has to be about the size of the union’s outer ring.
In my case, the union I used was a 1-1/4” with a 2” cap.
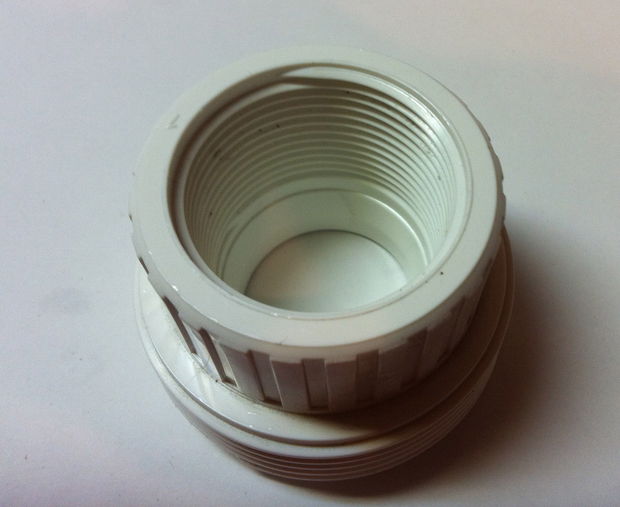
Since the cap is bigger than the part of the union that is screwed into it, you will need a reducer to make sure that they fit tightly together. In my case a 2” to 1-1/2” reduce did the job, but I had to sand both pieces down to make them fit.
The Small cap will be the same size as the inner diameter of the reducer.
Please see the pictures of how the machine built to better understand how the part sizes come together.
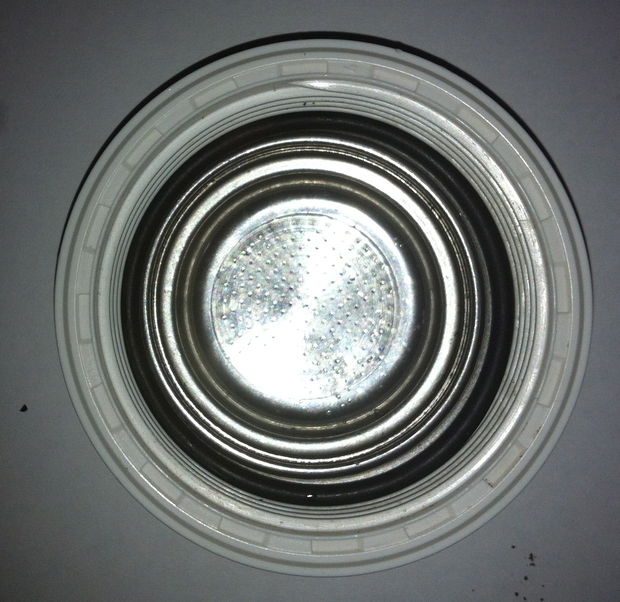
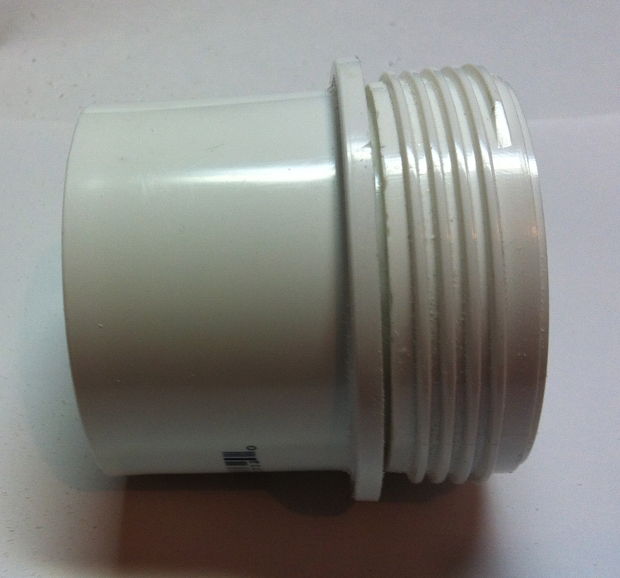
Sand down the parts until they fit together like in the pictures.
You will also have to remove the inter thread of the union part that screws with tube and outer ring, unless you can get an unthreaded one.
Glue the two parts together using PVC glue.
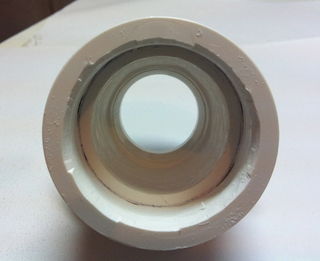
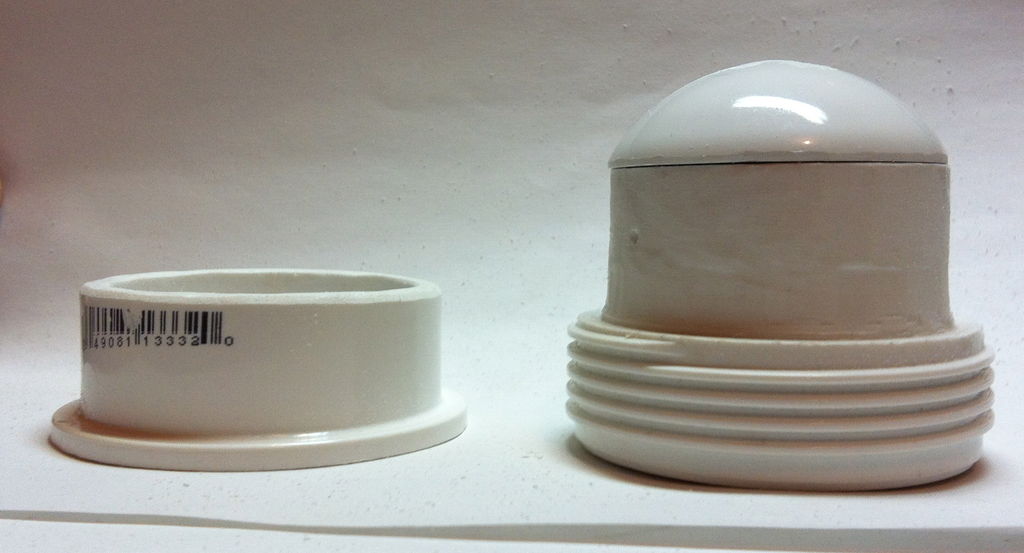
Remember that smaller cap?
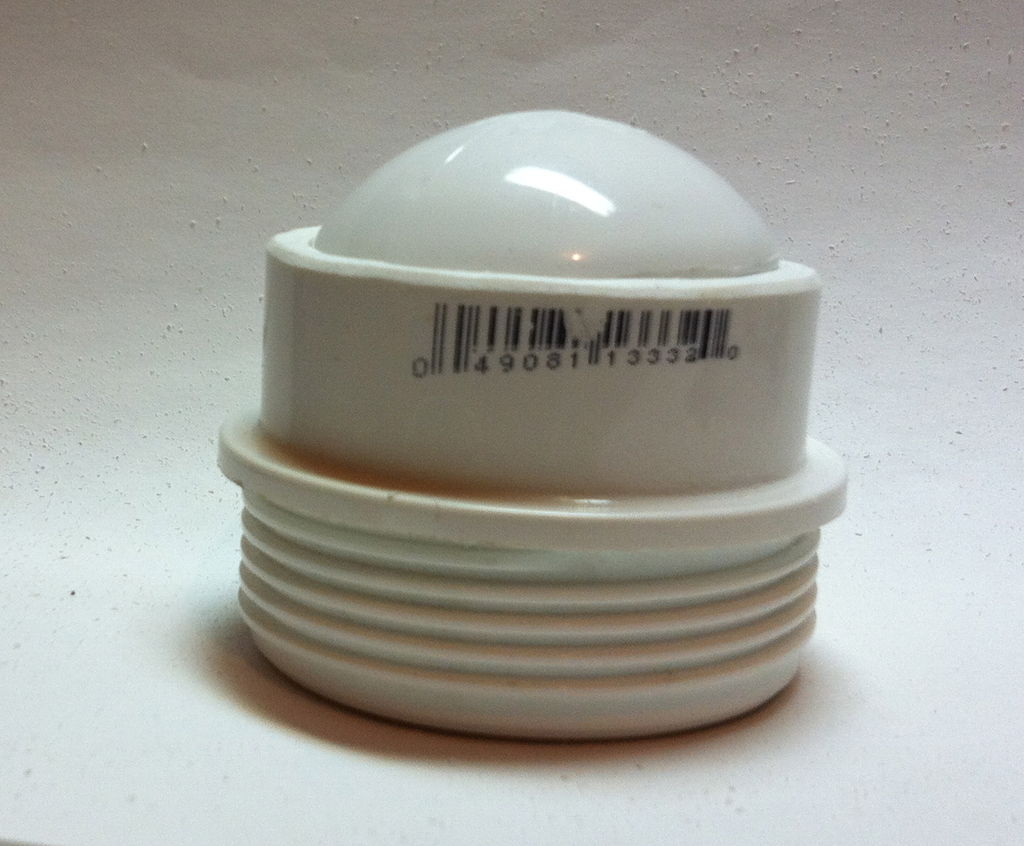
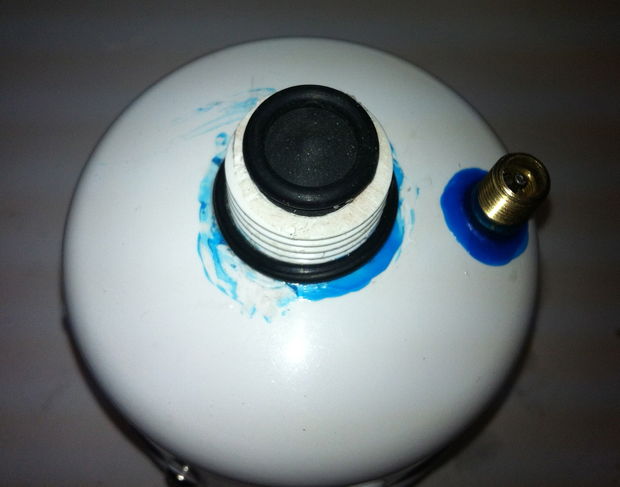
Well, it will be to cap off the air chamber, but since caps this size also come in a nice, “dome” shape, I used one of those.
It also helps the design, because this part will be under pressure and a domed shaped one will take the pressure better than a flat one.
Just cut the cap at the top, making sure it fits tightly in place.
Just dry fit it. Don't glue it yet!
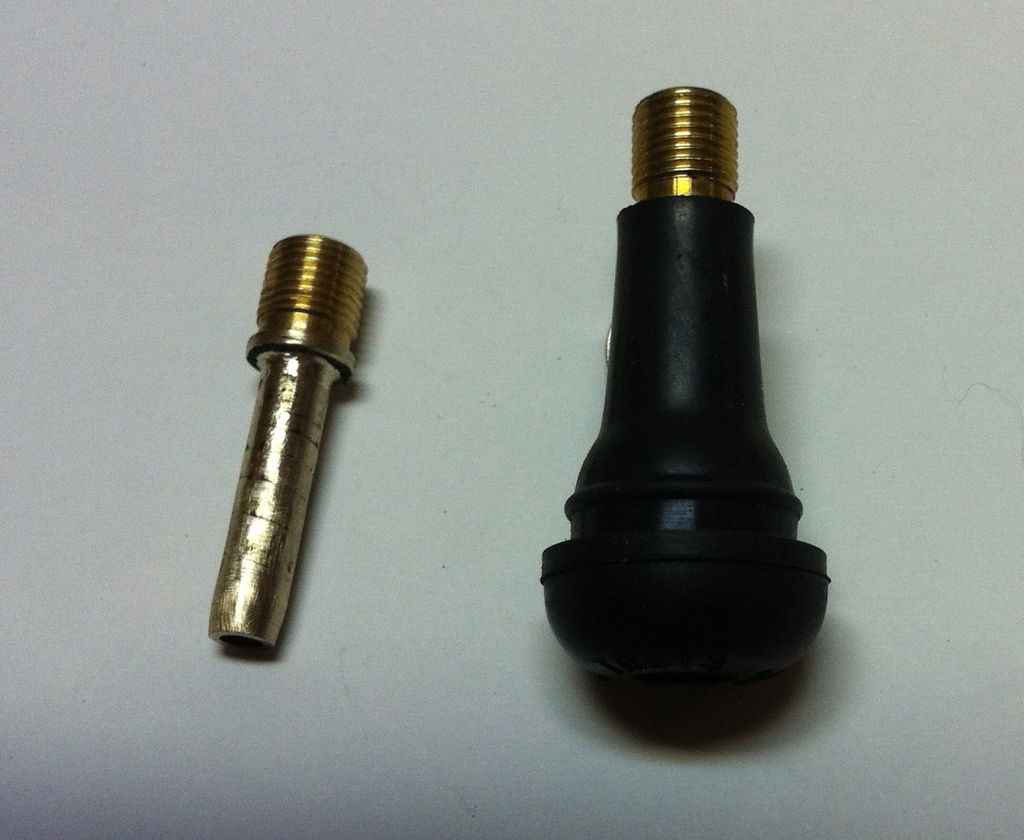
I got these two valves for free at the Walmart tire center.
I asked how much they cost, but the dude working there told me they didn’t have any barcodes, so the couldn’t sell me any but that I could take the two valves that I needed free. :D
Carefully cut out all the rubber until your left only with the brass.
I needed to cut the brass tube down a bit, so I pushed down the valve, saw how far it went inside the brass tube and cut it about 1/8” longer than the lowest the valve went.
PVC and hot water don’t mix very well.
The thing is that the hot water will make the PVC soft and it will fail.
But not in this case, because:
The hot water is only in there a short while.
The machine design. In the parts that will be exposed to heat for the minute the machine is used, are PVC walls are triple thick.
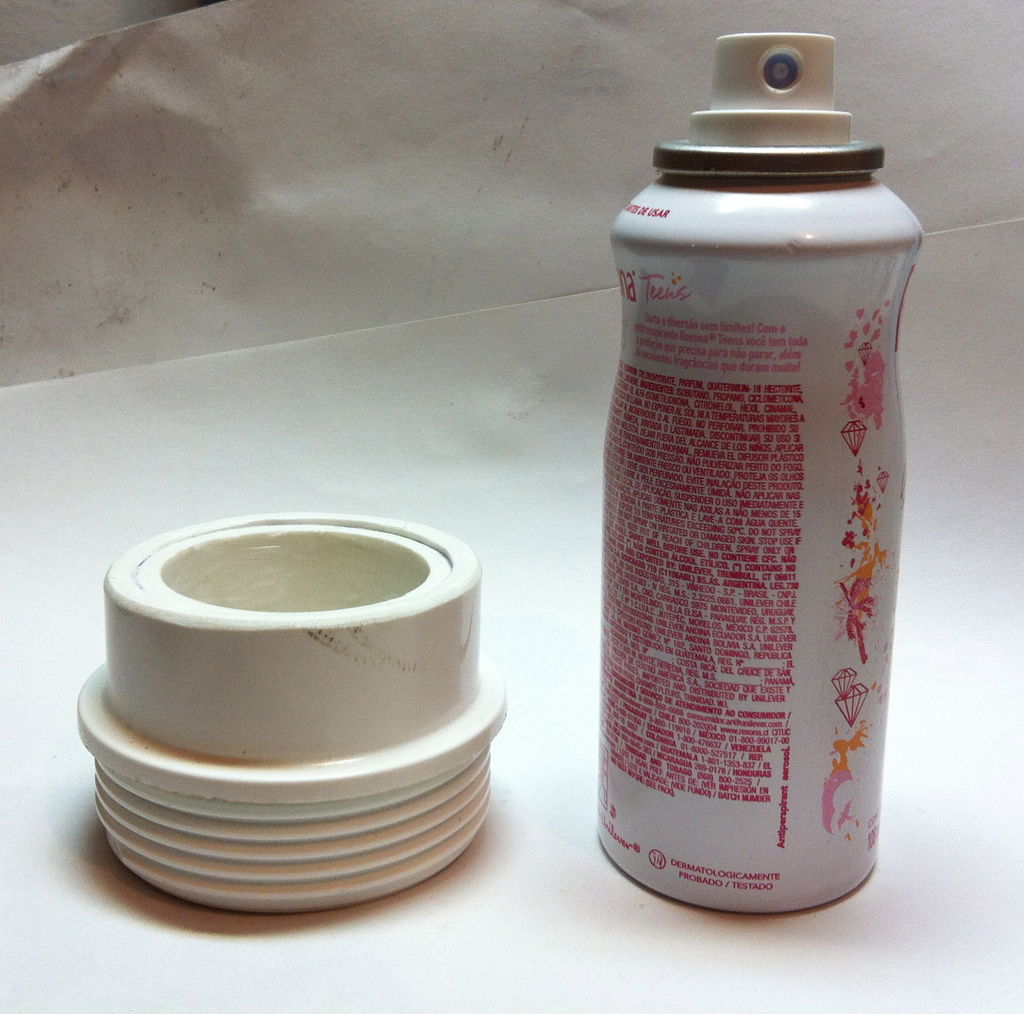
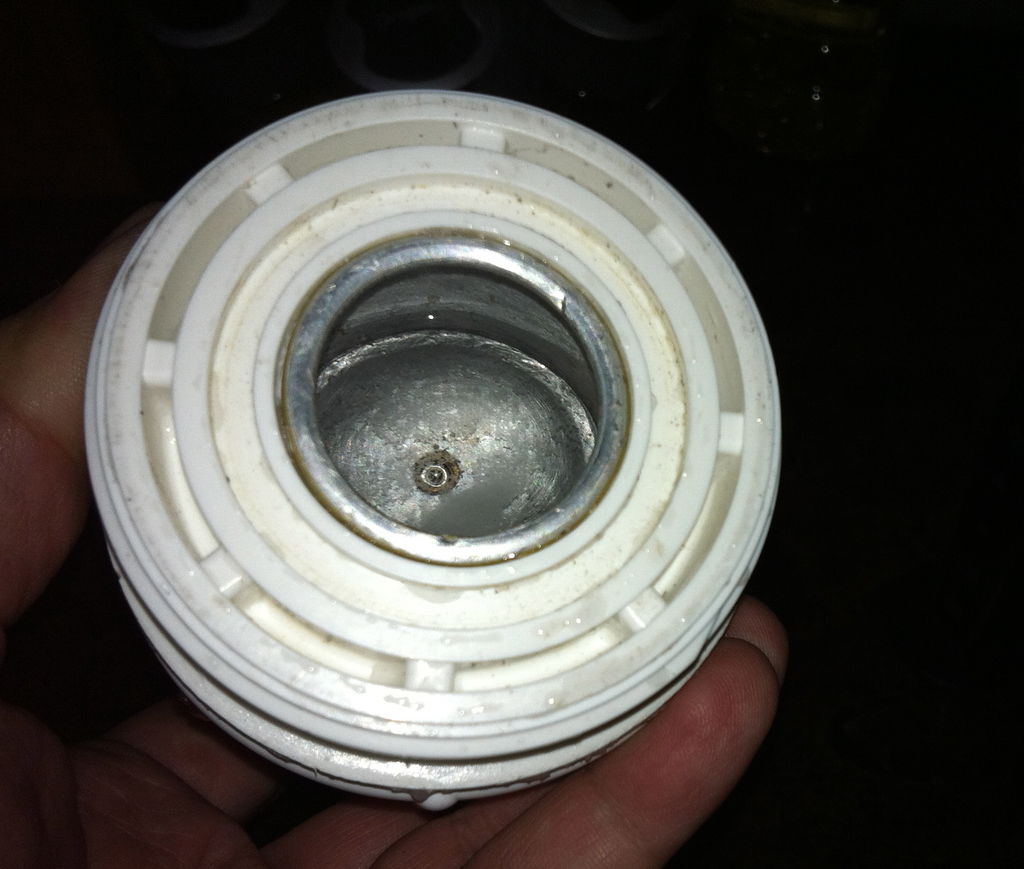
Since the rules say that only aluminum and stainless steel can touch the water, lets make the water chamber.
I took the part I made in the previous step to the store on the corner, and looked for some can that would fit into it.
None did exactly, but one can of teen deodorant I fount did have the right diameter and the top fit snuggly into the water opening.
I cut the can in half. You don’t have to sand the outside if you don’t want to, since it will be glued to the PVC part.
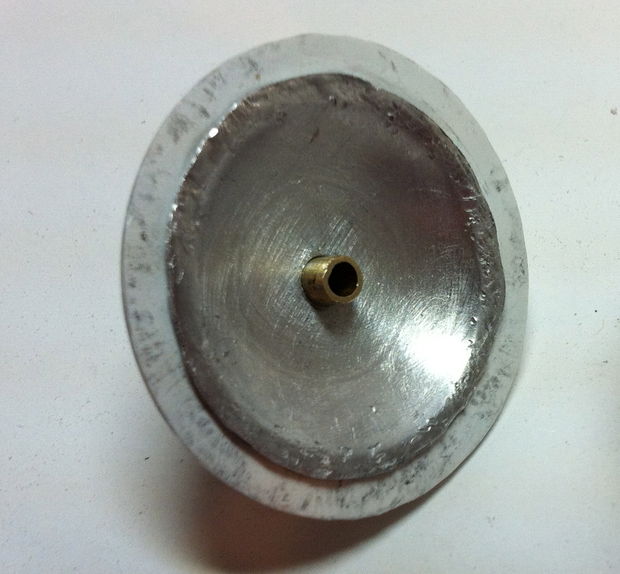
I took hammer and a piece of tube I hand in my toolbox and started shaping the top of the can until it fit tightly inside the water camber.
The bottom of the can was already domed, so I used that for the domed inner part of the water chamber.
Sand and clean the inside of the can.
Drill a hole just a bit smaller than the air valve and carefully hammer it into place.

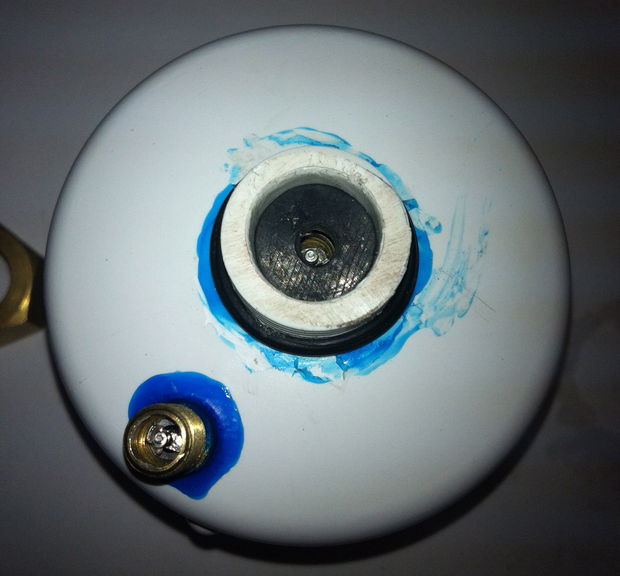
Take the bit PVC plug and drill a 1/2” hole in the middle and a hole a bit smaller that the diameter of you air valve.
Screw the plug in place and glue.
Carefully hammer the air valve in place and glue.
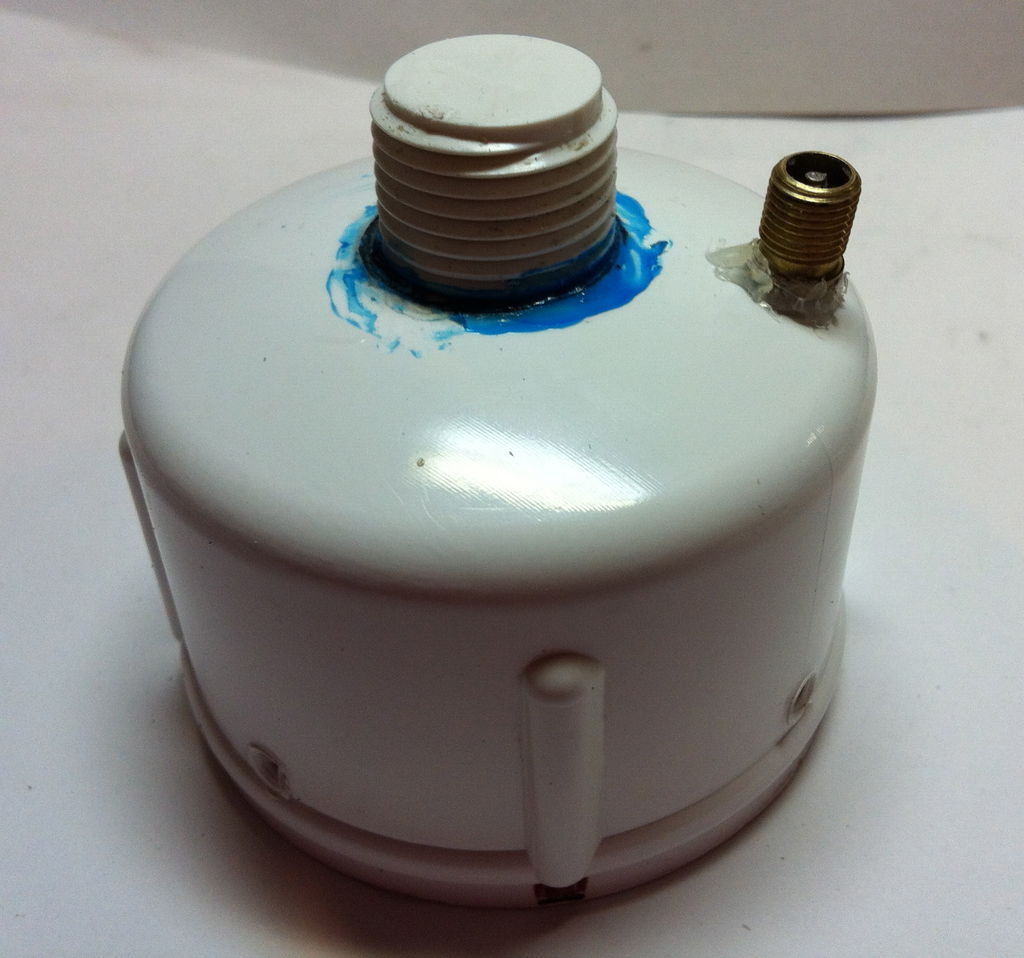
Glue the dome in place.
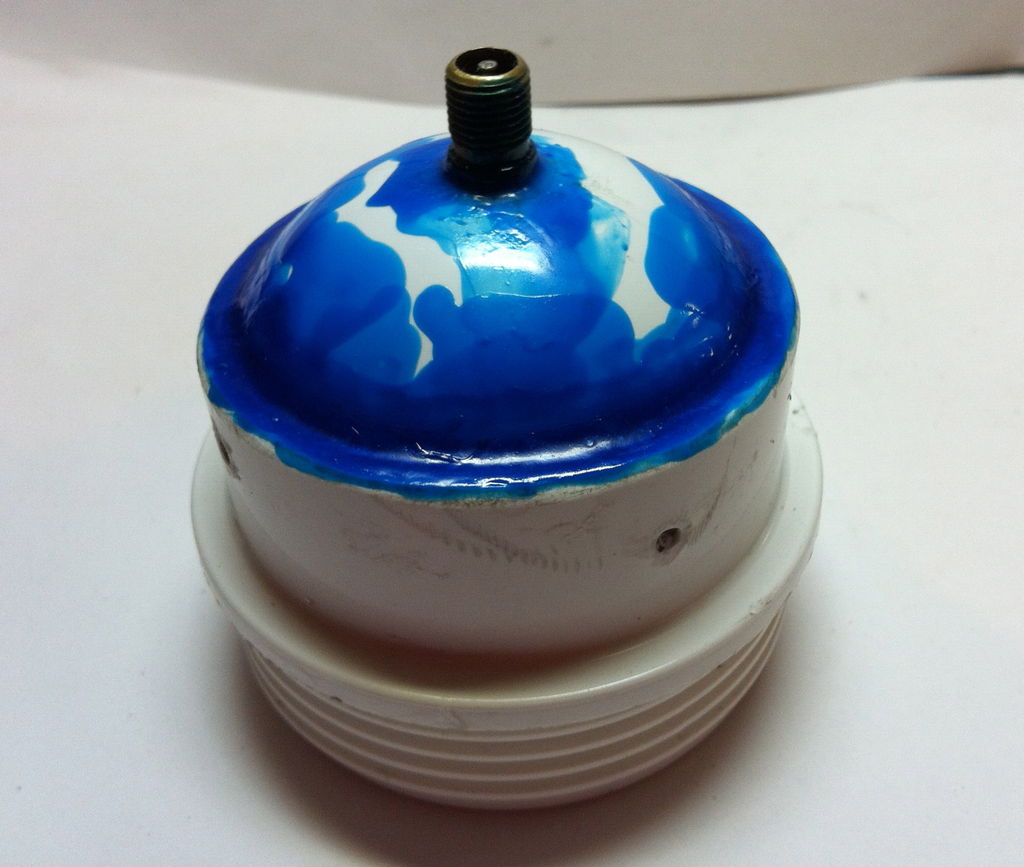
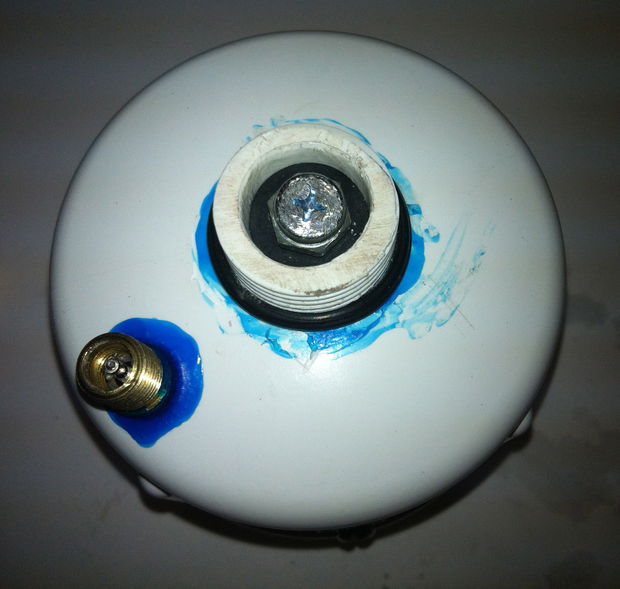
Since I didn’t trust my gluing, I decided not to use PVC glue in the external cap. What I did use was silicon but since I was sure it would not take the pressure, I secured it in place with 4 screws (just make sure that don’t go all the way into the water chamber.
I decided to use a bronze cap for my air release button (I thought it looked nicer) so I had to cut the plug down to size. If not, just drill a 1/2" hole in the middle of the plug.Beware!
Make sure that air can get from the external valve to the inner one before gluing.
If not, sand the bottom of the plug until it does.
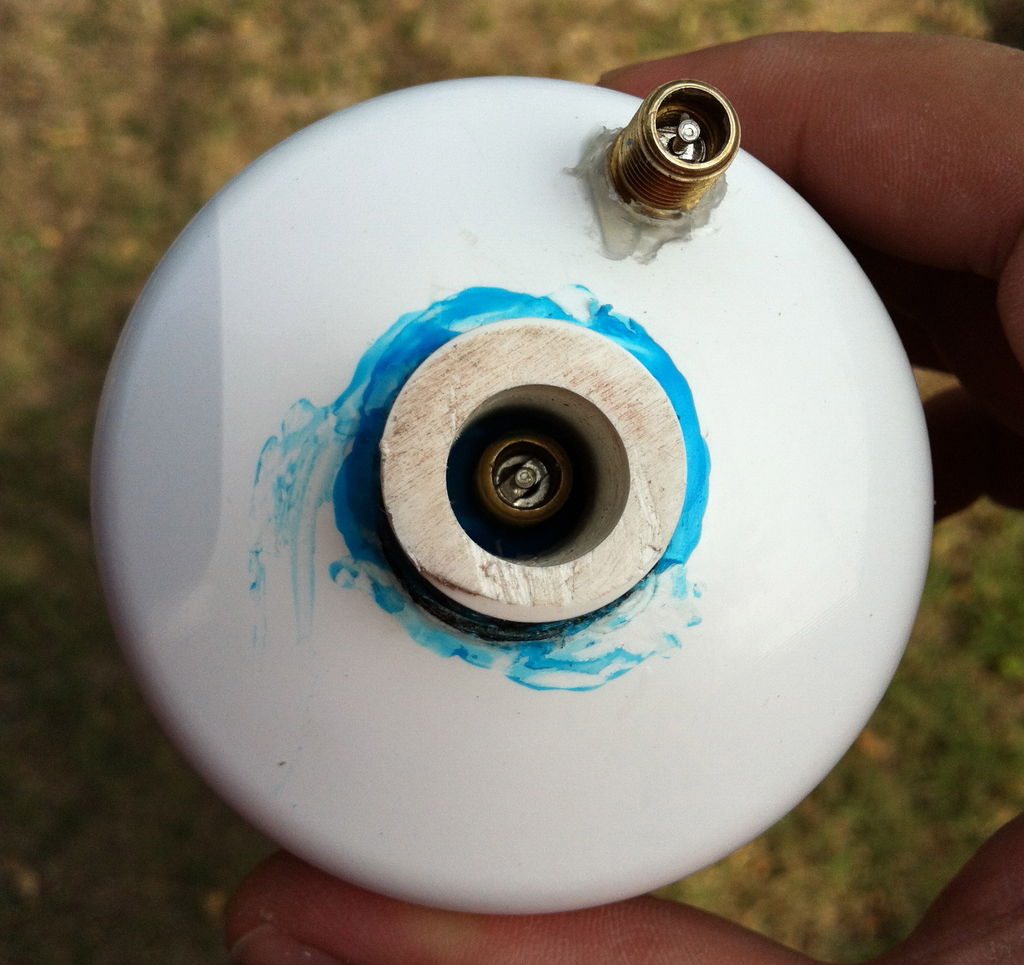
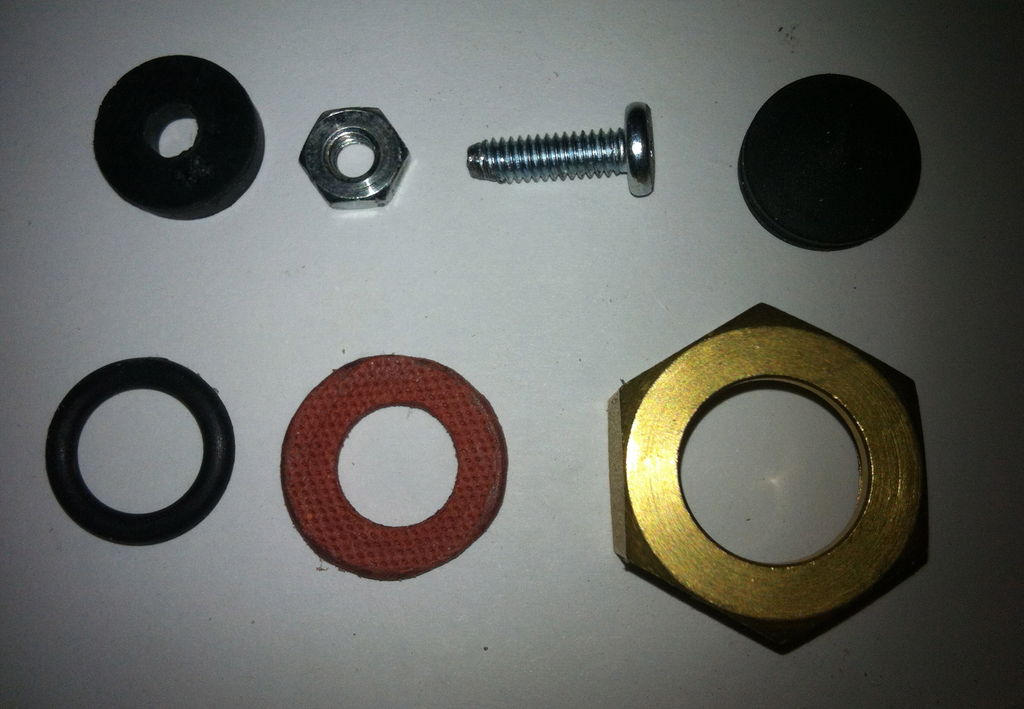
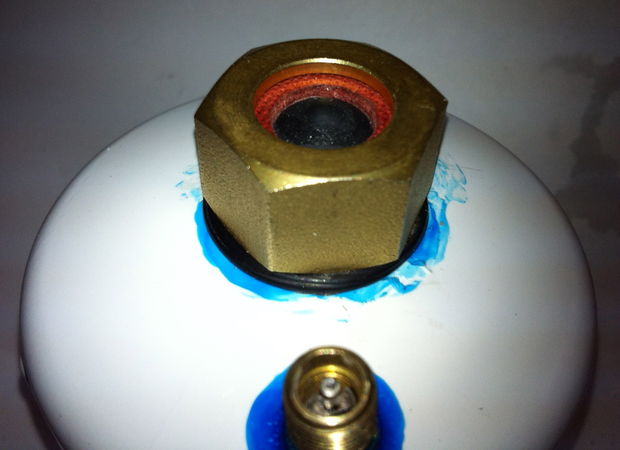
Follow the pictures to assemble the air release button.
How does it work?
Well, a small screw is held in place by a rubber gasket. When you push the screw, it pushes he top of the inner valve, releasing the air under pressure into the water chamber.
I found that the rubber head of a number 10 syringe plunger was just the right part to seal the button of, but be flexible enough to allow me to push the screw underneath it.
Remember, if the inner valve fails, you can easily disassemble this button to get access to the valve and with the special screwdriver, change it

Preheat.
Like all espresso machines, if you don’t want a lukewarm first shot, you have to preheat the machine.
Put some hot water into the water chamber and wait some 20 sec. for it to warm up.
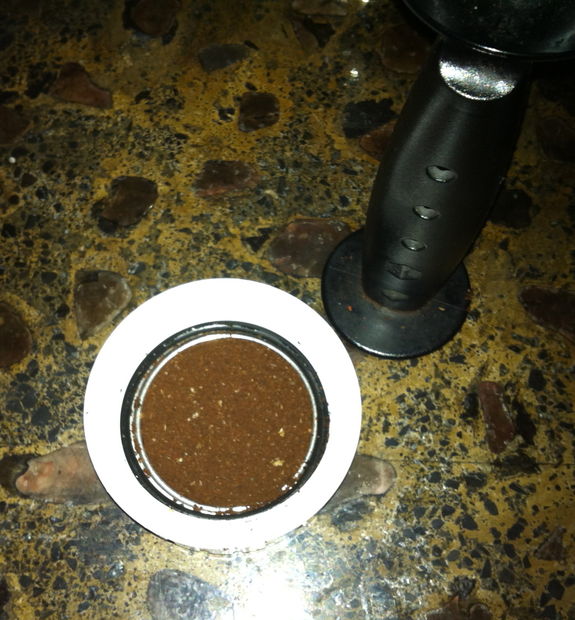
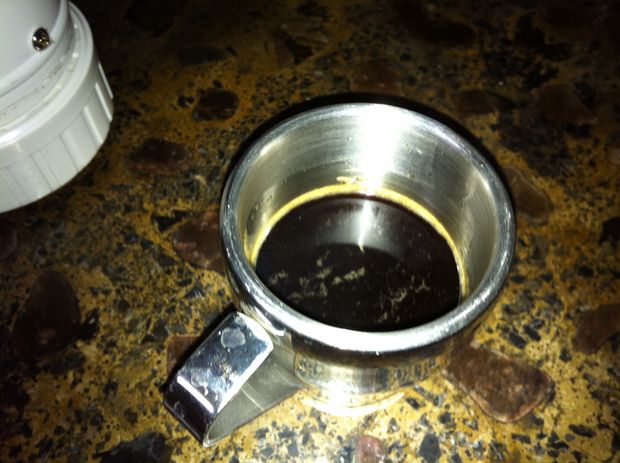
Also, but some hot water in the basket and let it heat up.Make the espresso
Put your coffee in basket and tamper.
With the main machine empty of the preheating water, use a bike-pump to pump air into the machine (I use 10 pumps)
Fill the machine with 1oz of water for a single shot, 2 oz. for a largo.
Screw the bottom of the machine in place
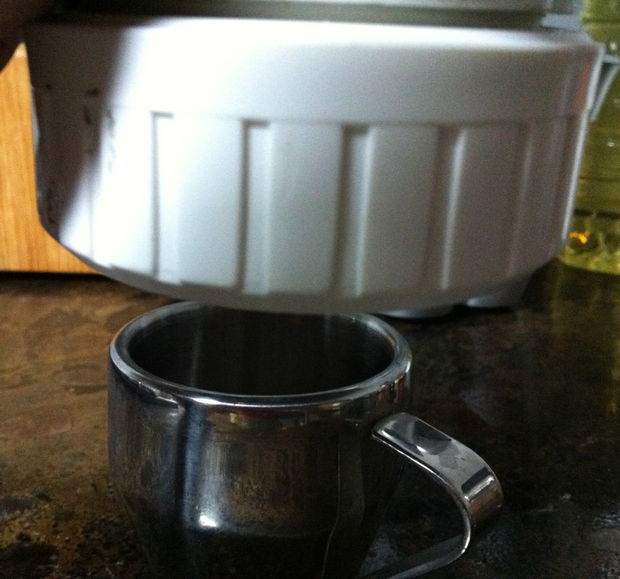
Place over cup
Press air release button
Wait for the water to run out (about 20 sec)
Enjoy you coffee!
Question & Answer
Question: Choose the best title for the missing blank to correctly complete the recipe.
____________
Modify the Tubeless Tire Air Valve.
Aluminum Hot Water Chamber.
Air Release Button
Choices:
(A) Mummy Hand Sandwich
(B) Sanding and Fitting Together the Air Chamber
(C) STEP FIVE
(D) STEP SIX
 (B) Sanding and Fitting Together the Air Chamber