Question ID: 3000-8248-3-4-5-6
Recipe Description
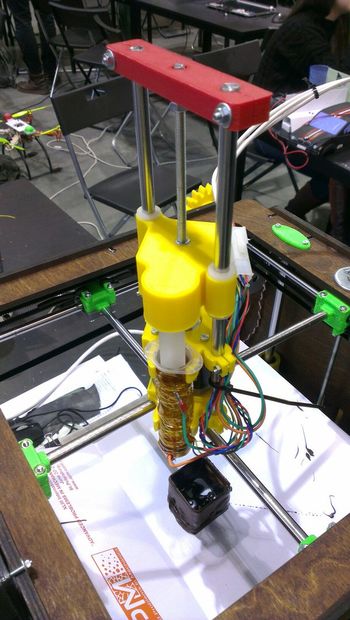
We use 20ml syringe. The inner diameter is 20mm. Syringe is covered with aluminum foil, then Kapton tape. The heater is made of NiCr wire coiled on covered syringe and itself covered with Kapton. To get uniform temperature on the syringe we add layer of aluminum foil and Kapton outside the heater. And install the NTC 100kOhm Thermistor.
The configuration is not a big difference from standart 3d printer. 1) Steps per mm for extruder. We use 1/16 microstepping and 1.8° Nema 17 stepper, so to move 1 mm of syringe we need 4000 steps, but for easier use we recalculated it to make 3mm filament diameter instead of 20mm syringe. So we got 90 steps per mm.2) Temperature. We made Mintemp = 20°C, and preheat temperatures 30°C. 3) Extruder endstop. We don't have it.
Ok, we have a heated syringe with thermo control, but we need to press the chocolate through the nozzle. That is why we need a feeder (or press). For this we use M5 threaded rod and nut, 5x5 flexible coupling, 2 fluoroplastic bushings for less friction and two 8mm shaft rods.
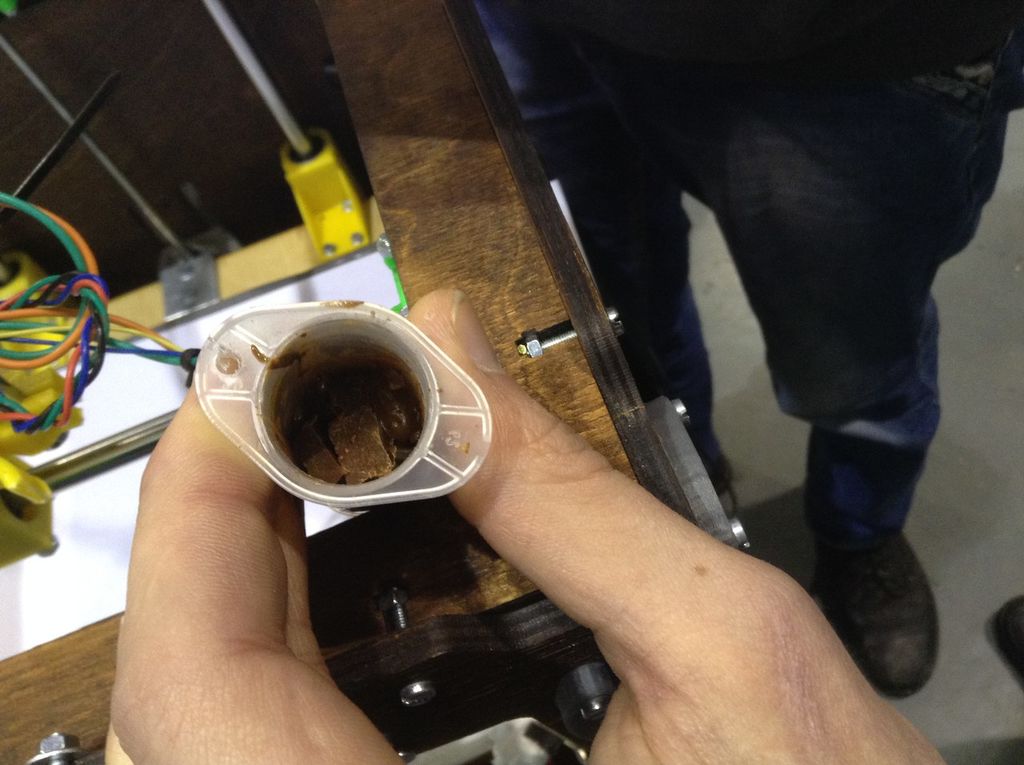
After testing we found that 2 bushings are not enough, so we made the compressing part 3 times higher and added two more bushings. Then we found that flexible coupling is extending because of high load, so we added a bearing to fix upper part of threaded rod and two nuts to prevent coupling from extension. Also we have broken the thermistor's wires, when mounting the syringe, so we replaced all wiring out from the mounting clipses.
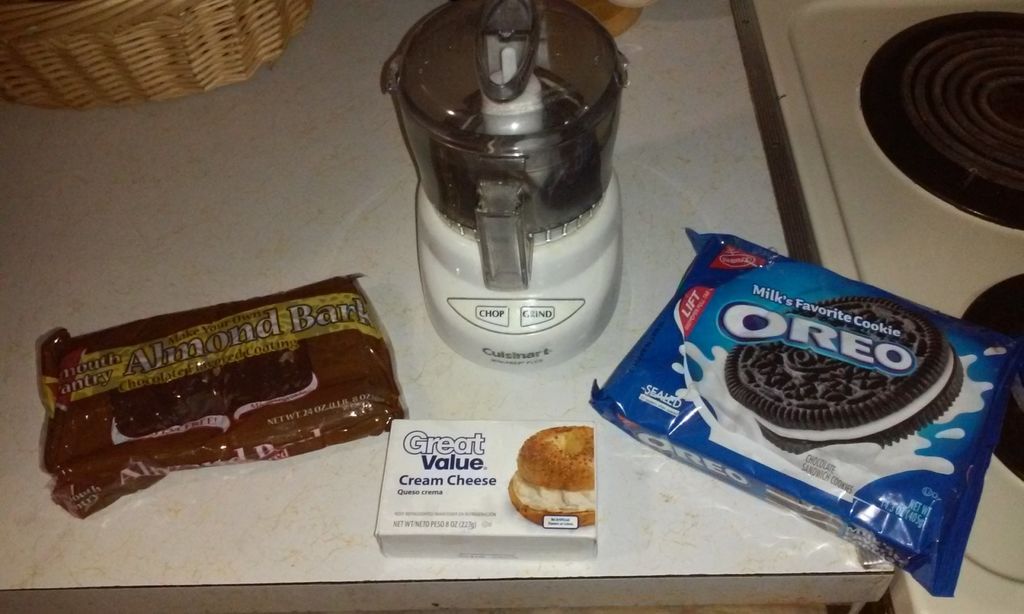
For first tries we used the cheapest milk chocolate from the nearest store. As the result it was melted easily (30°C), but after extrusion it stayed melted for about an hour, under the big cooler (120mm 220v). This is not a good way to print something. So we bought a dark chocolate and it was melted harder but just a bit (35°C). But these temperatures are about 3°C less than actual temperature of chocolate inside. Then we waited untill all air bubbles would come out of the syringe and only then insert the piston. Then we waited untill the temperature would drop to 26°C meaning 29-30°C inside or a bit higher. the result was much better but not perfect. So we need to add more cooling, but if the flow would be high it would just blow the chocolate off the place and the object would be broken.
To load a syringe you need to broke the chocolate bar in small pieces and put them into the syringe. It should be heated to about 40°C and wait untill it melts, pressing it with something. The syringe should be full of chocolate before inserting piston.
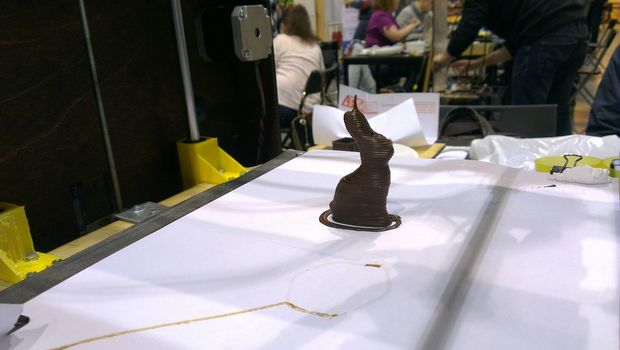
To cool the chocolate we had to move the printer outside. It is winter and the temperature is about -4°C. And it really improoved the quality of the print. The main problem we had was to start the print. chocolate was cooled inside the nozzle before the printing was started. So we started the print inside and during the first layer moved it outside and...prinded a cool bunny =)
Question & Answer
Question: Select the incoherent image in the following sequence of images.
Choices:
 |
 |
 |
 |
|---|---|---|---|
| (A) | (B) | (C) | (D) |
|
|---|
 |