Question ID: 4000-2729-0-3-6-7
Recipe Description
*White chocolate melts (wilton)
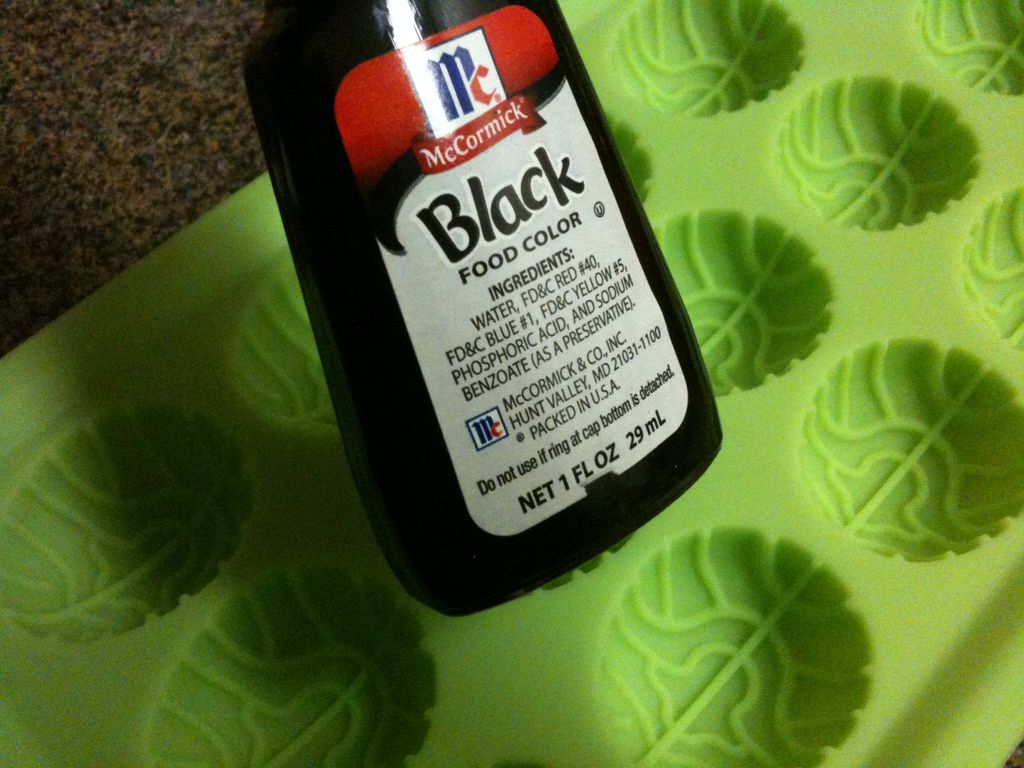
*Black food coloring
*Some stuff for blood
*Brain mold (candy or ice)
*Stuff to put in your candy
*Ziploc bags
*A way to present end product
*Coffee cup to melt chocolate in microwave
*Spoons, etc.
If you want to put things into the candy, make sure to have them ready, in small enough sizes to fit into the mold when it's ready. Have your chocolate ready to melt, arrange everything nicely so that you aren't scrambling at the last minute and think about what you want to do. :) Be ready because you need to have all decisions made before you melt the chocolate.
Okay, I did two kinds of blood at once. Basically, I wanted something thick and disgusting. I took from my cake supplies and mixed a crazy, nasty bloody mess out of the things you see in the photo. You can always choose to make yours differently or use other ingredients. He tasted the bloody brains and said they were good. That makes it a success for me. :)
You can go one of two ways...taste and "feel" or...accuracy. I've seen red syrup and we all know that it represents blood but doesn't look like it. These things that I used, they really added up to the look. Maybe not the sprinkles...but I had to throw something pretty in there. haha. And the bonus is that it passed the taste-test.
After I mixed the bloody concoction, I scooped it with a spoon into a baggie for piping into the brains when the chocolate was melted. The container was still full of blood residue so I added some Mirin or rice wine and it held the consistency for the drippy blood that I wanted to drizzle with. PERFECT! You can use some other alcohol if you want. You won't really be tasting it much, anyways. It's just to decorate with. :) Then I poured my drippy blood into a ziploc to use it as the last step. (Drizzle each brain lightly.)
Okay, I may be one of the only people who use the microwave. But it's easy. I put the chocolate melts into the coffee cup, about 3/4 full. Put it in the microwave and wait 20-30 seconds, pull it out and stir them. They won't be melted, but you want to keep them moving. Put it in again for another 15 seconds or so, pull them out... they should start to lose their shape. You will see the edges melting away into blobs. At this point, you want to mix really well. Toss them around in the cup, get them moving. If your chocolate starts to melt even more and you can't see the shapes anymore, don't put it back in the microwave.
But if they aren't melting, put them back in. Another 10-15 seconds and pull them out, mix again, help them melt by moving them around and constantly mixing. This will make your chocolate super smooth, not burnt and ready to color!
Get TINY TINY TINY drops of the black coloring and put them in one at a time, mix into the chocolate really well. Keep adding TINY bits of color until you get the result you want. It's important not to make charcoal brains! :)
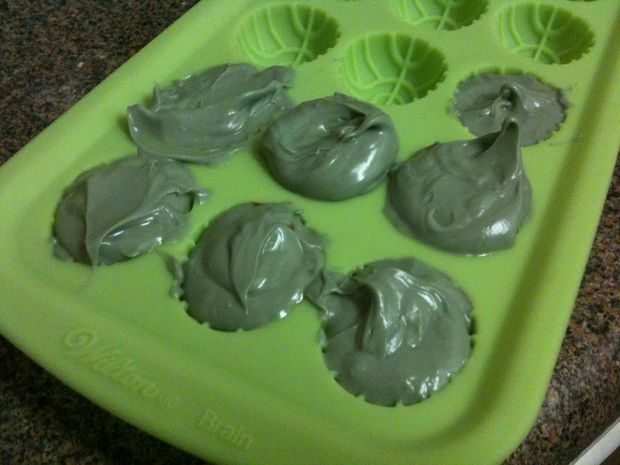
Okay, I just used a spoon. Once it was to the color I desired, I got a spoon full of chocolate, dropped a small dollop into the brain cavity and poked it down with the tip of the spoon. You want to put less chocolate if you want to put things inside of your candy. Just remember to make room, so that you can seal the top of it. ( Put 1/4 full of chocolate, then filling, then top it off with another small dollop. Use your spoon to smooth out the peak and you're done!
Fillings I used: blood mixture, heath toffee crunchy candy stuff, marshmallows, sugared jelly candy.
Put your chocolates, carefully, onto a flat surface into your fridge and be patient. If you take them out too early, the tops will have set, but the bottom of the mold won't be set. One way is to feel the tips of the brains to see if they are cold from the outside of the mold.
After 10-20 minutes, they should be done. Mine just popped out really easily and I didn't use any spray in the mold or anything. Rinse and clean out any leftover brain chunks in the mold, that way your next set gets the same impressions.
*TIP* You can change the color of your chocolate each time you mold a new set, and put different fillings in them so that you know what color has what item inside. Also, a coffee cup of chocolate pretty much takes up the whole mold, so it's easy to cycle them through, clean stuff up, let them chill and begin again.
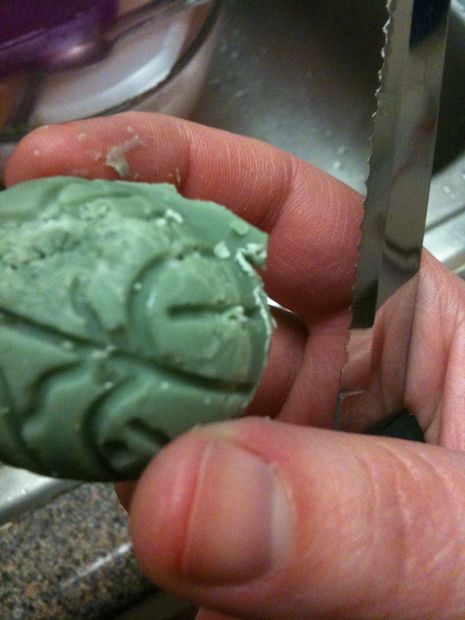
Everyone makes mistakes! I over pour, you over-pour...that's life. :) So what you do, is take a knife that is too sharp to be using this close to your fingertips and try not to cut yourself open like I did. 4 times. :)
Basically, you scrape the edges and the chocolate will shave off. You can do this to the flat bottoms of the brains too, if they aren't level and you want them to be. When you clean up your edges, you just need to run your fingertip around the edge and it will round and smooth it out with your natural body heat. It's cool. :)
Ways to present ---
Gift, for a friend, loved one, surprise, in a lunch, at a party, etc.
Think about whether you just want to throw it in something, or if you want to make it elaborate, or if you need a platter, maybe you want a gift box...you can do this any way you want. If it were for a party, I would probably make it up on a silver platter with TINY round shreds of lettuce with a brain on top of each piece and blood drizzled atop each of them.
For a lunch, just throw them into a ziploc with some drizzled blood and zip it up.
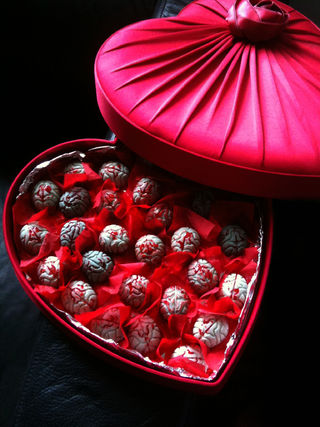
My idea was to put them into a Valentines Candy box. I used cut up napkins to put under each brain, carefully. If you use tissue, napkins, soft materials like this, make sure that you do it close to the presentation time because the napkins will absorb the blood and look sloppy. Another great idea is fabric. White fabric, cut into tiny pieces. That would be really cool. :) Strong, and visually creepy.
Most importantly, enjoy! Grey chocolate will look the most accurate, but if you don't like white chocolate, do them in milk chocolate, or dark, or whatever you'd like. I made these for the accuracy and gave them to my husband. I don't like white chocolate and these brains look gross, so it just adds to the effect for me. LOL.
Thanks for reading, happy Zombie Awareness Month!
Question & Answer
Question: What is the correct order of the images?
Choices:
    |
| (A) |
    |
| (B) |
    |
| (C) |
    |
| (D) |
    |
|---|
 (A) (A) |