Question ID: 1000-5329-0-1-2-3
Recipe Description
For this project, you will need the Illustrator file provided, painter's tape, and cardstock paper.
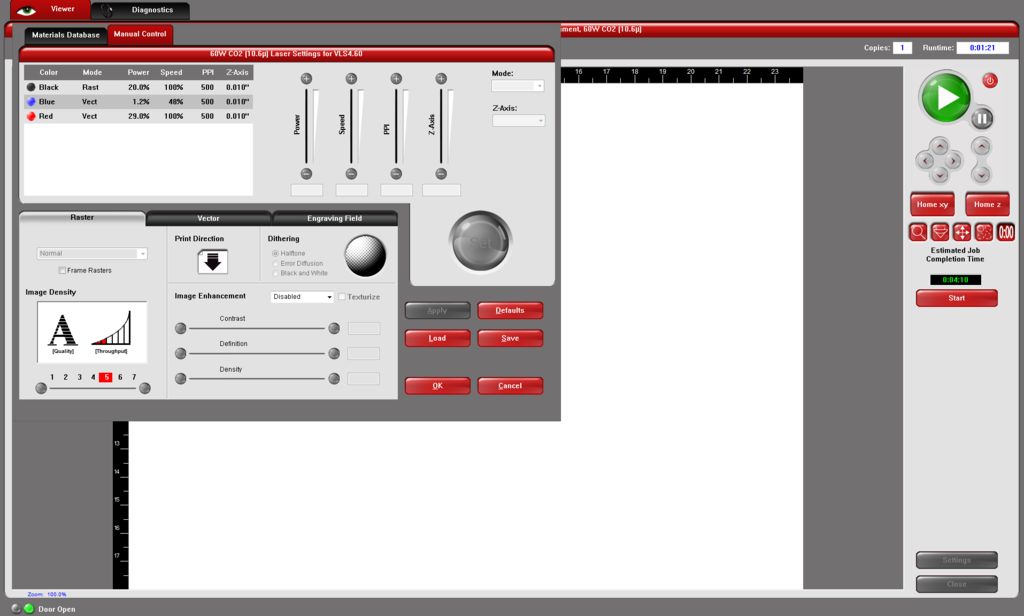
Open up the Illustrator file and change the text to whatever you would like. You can make the text smaller or change the font if you would like. Just make sure that whatever you want to be etched on the coaster is in black.When you have finished customizing the look of the labels, go ahead and print from Illustrator to the laser program. From the print screen in Illustrator, make sure to hit "Setup" and "Preferences" to access the laser settings. Set your material height to .01", and choose Construction Paper for the material. Make sure to hit apply. Access the Manual settings tab, and change the black settings to a power of 20%. Once you are back in the print dialog, hit "Print"

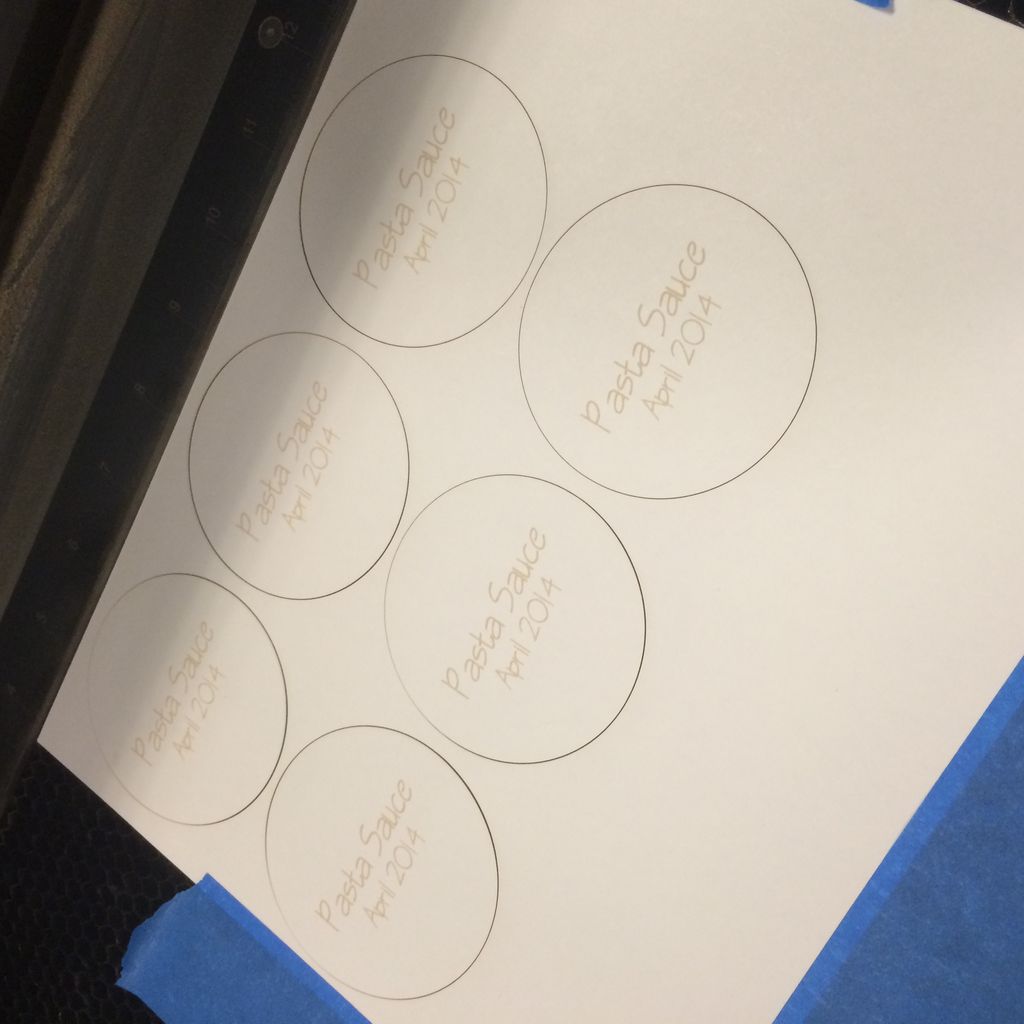
Place the cardstock on the laser bed, and use the painter's tape to hold down the edges. If the edges aren't held down, then the exhaust air will blow the paper around when the lid is closed.
Once in the Laser Control Panel, use the "Focus View" option to move the laser head to the spot on the material that you want to start cutting at. Then use the "Relocate" option to move the image to where the pointer is positioned. To do this, select the grab point on the image that you want to line up with the start point, and then hit "To Pointer" in the bottom right hand corner of the screen.Once you have the start point lined up, you can use the "Duplicate View" option to print more than one label at a time. In this example we will be printing 6 labels by setting both the X to 3 & Y to 2. When you have completed all these steps, you are ready to start the file printing. Go ahead and press the big, green Play button.

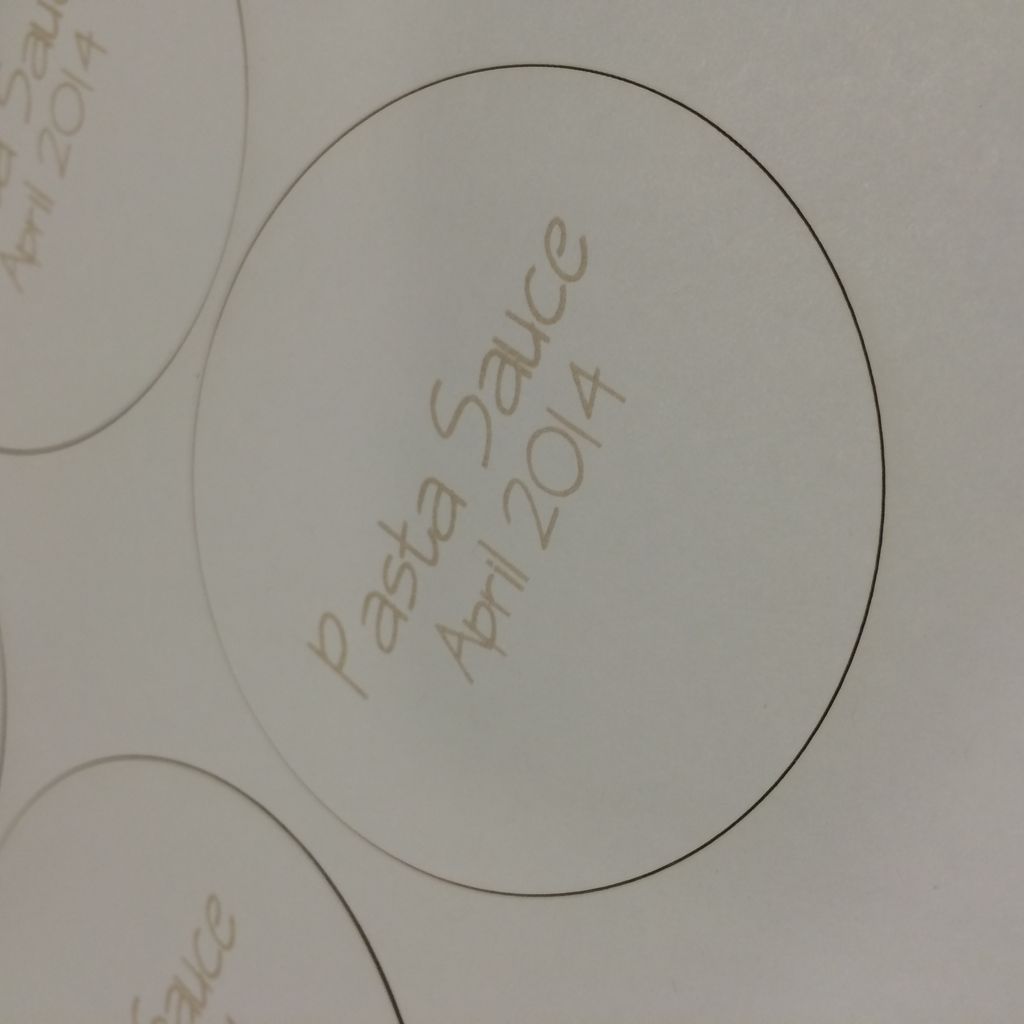
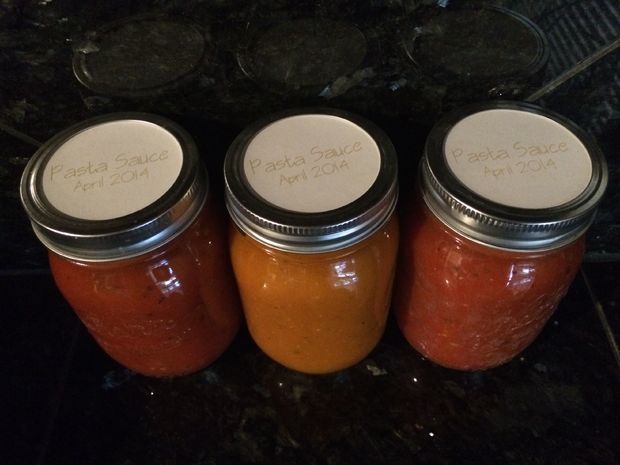
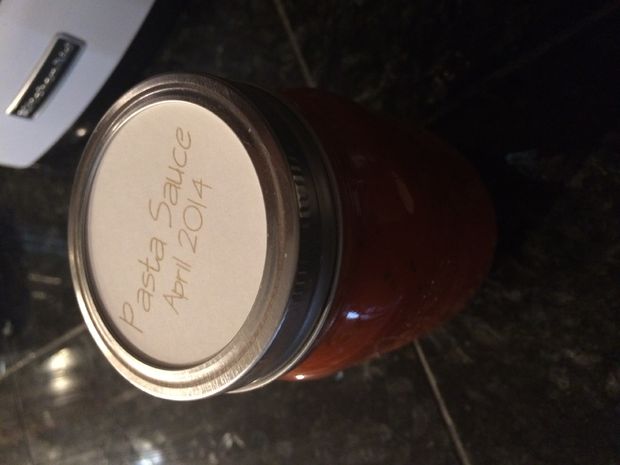
Once you have processed your jars, and they have had time to cool, take off the lid band. Place the label in the top of the band and screw it back onto the jar.Enjoy!


Question & Answer
Question: Choose the best title for the missing blank to correctly complete the recipe.
Gather Materials
Customize File & Print
Setup Material on Laser Bed
____________
Choices:
(A) Leipziger Lerchen (typical Saxon Speciality)
(B) Print to Laser
(C) Stuffing and Roasting the Turkey
(D) Preparing the Stuffing
 (B) Print to Laser