Question ID: 1000-10144-1-3-4-6
Recipe Description
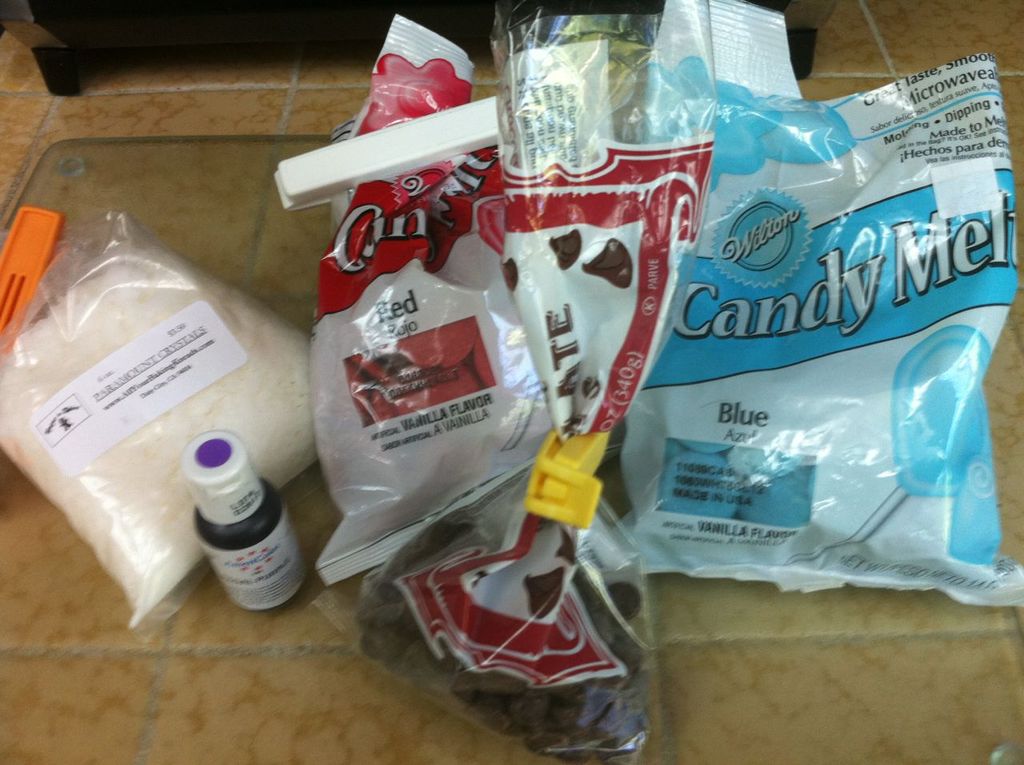
Here's what you will need...For the wings: Chocolate chips (for the body and outline), Candy melts in whatever colors you desire (available at JoAnn Fabrics, Michael's Crafts, Candy & Cake Decorating Supply Stores or online) cereal bag liners, plastic baggies or pastry bags, decorator tip and coupler.
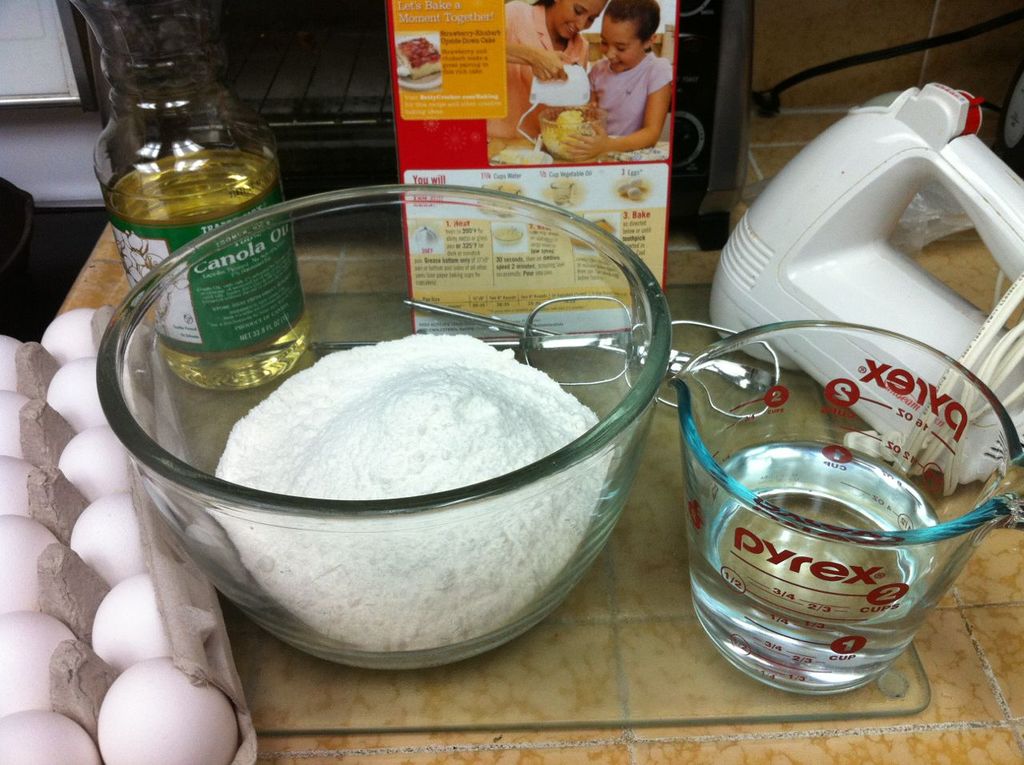
**Note: If your desired color is not available, don't despair! Here's what you'll need to do, find your nearest candy supply store if you are in a rush or if you are not in a hurry, you can search online, get candy melts or almond bark in a color close to what you are looking for, then get OIL-BASED food coloring to add to the chocolate. This is important! If you use water based or gel based colorant to color your chocolate, it will seize (ball up and look like cottage cheese) because water and chocolate do not mix. If you can not find oil-based colorant (like I couldn't with the purple) you can use a water/gel based dye BUT you MUST add Paramount Crystals to the chocolate to prevent seizing. That is the bag of white flakes in the picture. They also work great as a thinning medium to extend the cooling time. They do not change the flavor of the chocolate but they will allow resolidification. More on that later.For the cupcakes: I made mini-cupcakes, but you can do whatever size you want. For fool-proofness and ease I used a boxed cake mix because I knew I would already be spending a considerable amount of time on the wings. For the yellow/pink set I used a confetti flavor and for the red/purple commission she wanted vanilla flavor. You'll need to follow the directions on the box, usually you will also need eggs, oil, water, pans and cupcake liners if desired.For the frosting: I always make my frostings from scratch. I think they taste so much better and they don't have the preservatives in them. You can also make it whatever flavor or color you'd like. You will need confectioner's sugar (powdered sugar), milk, butter, flavoring, food dye.
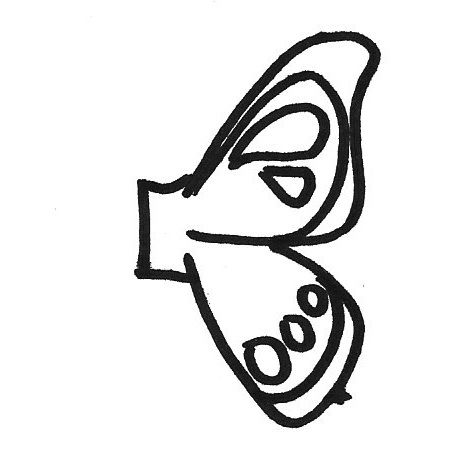
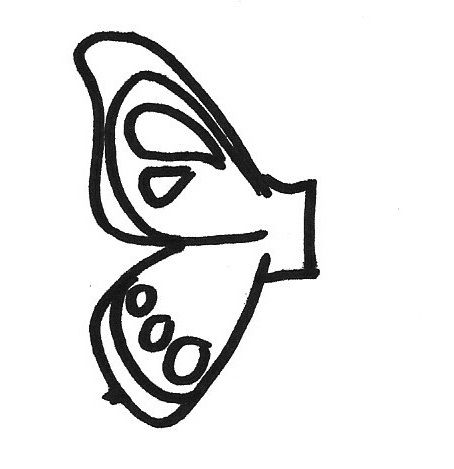
I sketched out a wing outline and scanned it into my computer, Actual size is 1"x 1-3/4". I then inserted the wing into Word into 4 rows of 3 (a dozen right wings). I flipped the image and made another sheet of a dozen left wings. I printed out these 2 sheets and they became the template I used underneath the cereal bag liners. I've included the pdf of this file but since this is my first Instructable I'm not sure if the pdf will work or not.
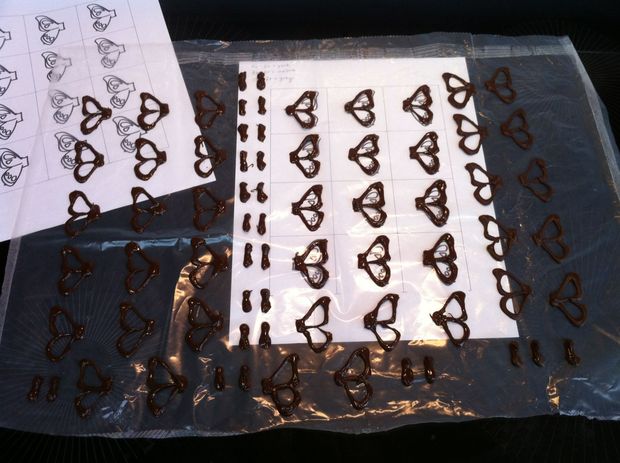
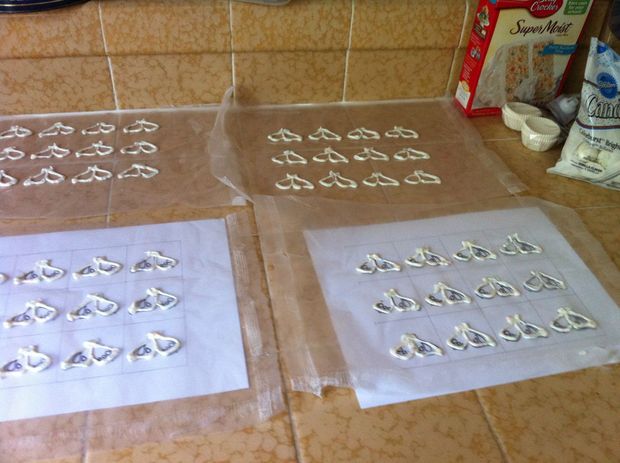
About the cereal bag liners, these are super useful and worth saving, they are washable and reusable. It allows you see your template below like tracing paper and the chocolate will pop off easily when cool. Take any box of cereal and eat all the cereal (hopefully not all at once) or you can empty the cereal into another container. Carefully remove the clearish bag liner the cereal came in and open it up along the seams. Give it a good rinse to remove all the cereal dust. Lay the dry cereal liner over your paper template. It may be possible to use waxed paper, but I have not tried it and therefore do not recommend it. Because the chocolate will be hot/warm when you pipe it, I expect that it will melt the wax coating and become one with the chocolate. Yuck.
As you can see from the image I had intended some detail for my wings. When put to practice, the detail didn't really matter since I ended up winging it. (hehe) The important part is the tab because that will be the part that sticks into the frosting. I make the tab out of the outline color so it becomes invisible once assembled.
After you have your template set up you can start melting your chocolate for the outline and body. This will be done in several steps and since chocolate cools quickly, just start with a small amount of chocolate at a time (about a half cup). Melt chocolate either in the microwave in a dish for 30-60 seconds on power 6, stirring every 15 seconds or in the microwave in a plastic baggie (same time and power) smushing it every 15 seconds, or melt in a double boiler (small bowl set in a pot of simmering water-careful not to get moisture in the chocolate or it will seize). Chocolate chips work well for a darker butterfly and white or speckled candy melts work well for a lighter butterfly. (If you want to color the chocolate at this stage please read ahead to Making the Wings)
The first time I made these I used a pastry bag but I found it extremely difficult to clean. The next time I used plastic baggies with the corner clipped out so I could insert the decorator tip and coupler. Since it was disposable I found that this method worked better for me. I just had to deal with cleaning the tip (boiling hot water!). If you uncouple the metal tip you can also remelt the chocolate in the baggie, just watch it more closely since the plastic coupler will heat up faster than the contents and could possibly melt a hole in the baggie (not that I have experience with this, but you may want to keep some packing tape handy in case that happens). Then just recouple the metal tip back on when you are ready to use it again.
I used a small round piping tip the first time and that worked nicely, but somehow I misplaced it so instead of buying a new one (because they always turn up after you replace them) I just used a small star tip I had on hand and that worked just as well. Pipe the outline and the tab thick enough to minimize fragility. If the walls of the outline are too thin you risk breakage.
**Note: If a wing breaks, it can be fixed but your best bet is to make 5 or so extra so that you don't have to used mended wings. To mend a wing you will need to add more melted chocolate in the appropriate color(s) like glue and place the wing parts together. Wait until completely cooled to move. Sometimes you may need to pull more of it apart to repipe a section. A mended wing is not ideal.
To make the bodies pipe a blob about 3/4 inch long. Even if my wings are a lighter color, I still prefer to make the bodies out of chocolate chips, I feel they more closely resemble real butterflies that way. They will look like little turds only until they are assembled and then they will look like butterfly bodies :)

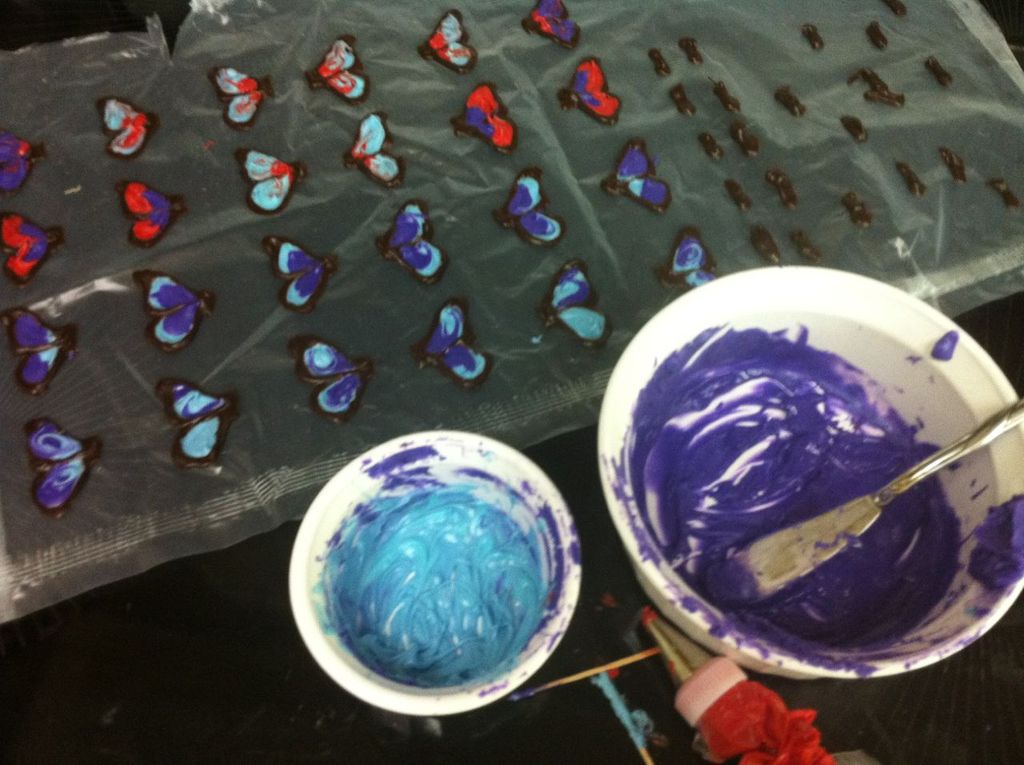
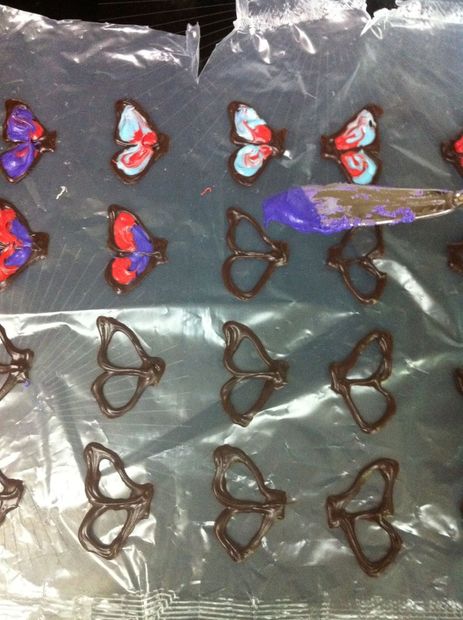
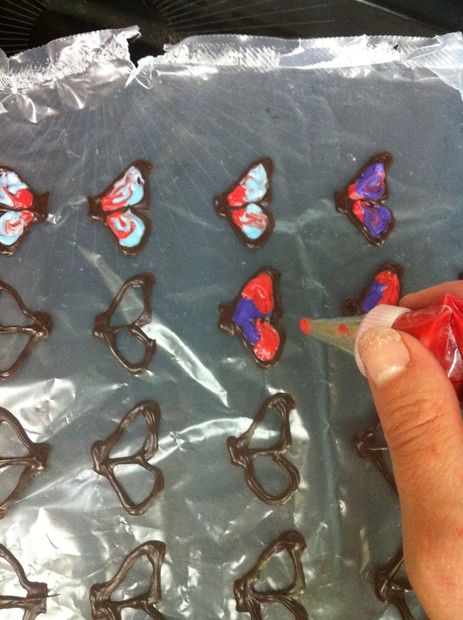
After you have your left and right wing outlines completed and cooled, you can start to fill in the colored portion of the wings. Remember that butterfly wings are symmetrical but you can use artistic license. I filled in my wings in pairs of left and right so that I'd be sure to have a mate in each pattern. You can be as creative as you'd like here!
To melt the chocolate put a few candy melts (about 6) in a dish and melt either in the microwave or double boiler and stir until smooth. If you need to change the color, using oil-based food dyes are the easiest-just drop and stir. If you don't have that option, add Paramount Crystals and regular gel or water based dye. I added about 1 teaspoon of crystals to 1/2 cup melts plus 2 squirts of gel colorant. Melt as usual.
Working fast is the key especially if you want to marble the colors together. That means you will have 2 (or more) colors actively warm at the same time. Spoon, knife or pipe one color in to the wing, then the next and while still warm, use a tooth pick or knife tip to marble together. This is where multiple couplers, tips and baggies can be useful. One for each color. Always remember to remove the metal tip from the bag if you reheat in the microwave. This is also where the Paramount Crystals come in handy. After the chocolate has been reheated a few times it tends to get stiff. By adding a teaspoon or so of the crystals before reheating you can improve the consistency of the subsequent melts.
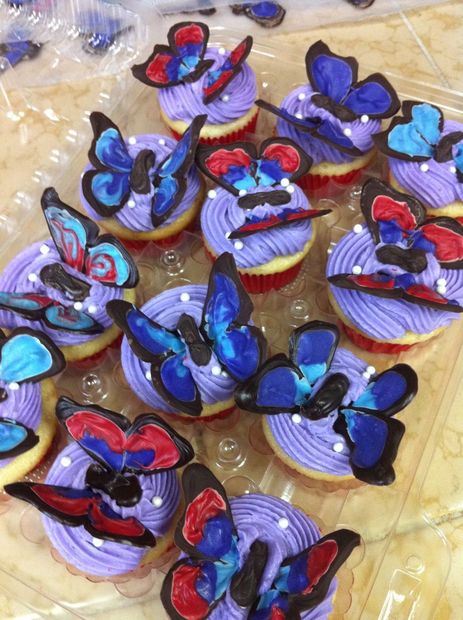
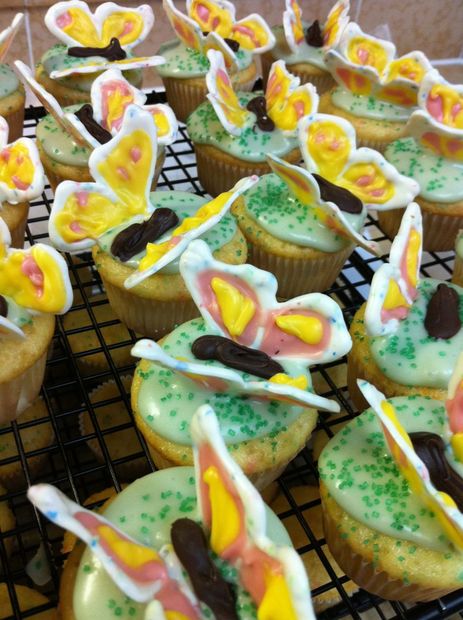
When making my yellow/pink ones I attempted to follow my design and applied each color one at a time and let each one cool. I added dots and paisleys but did not blend the colors. I actually prefer the free form design of the red/purple wings better.
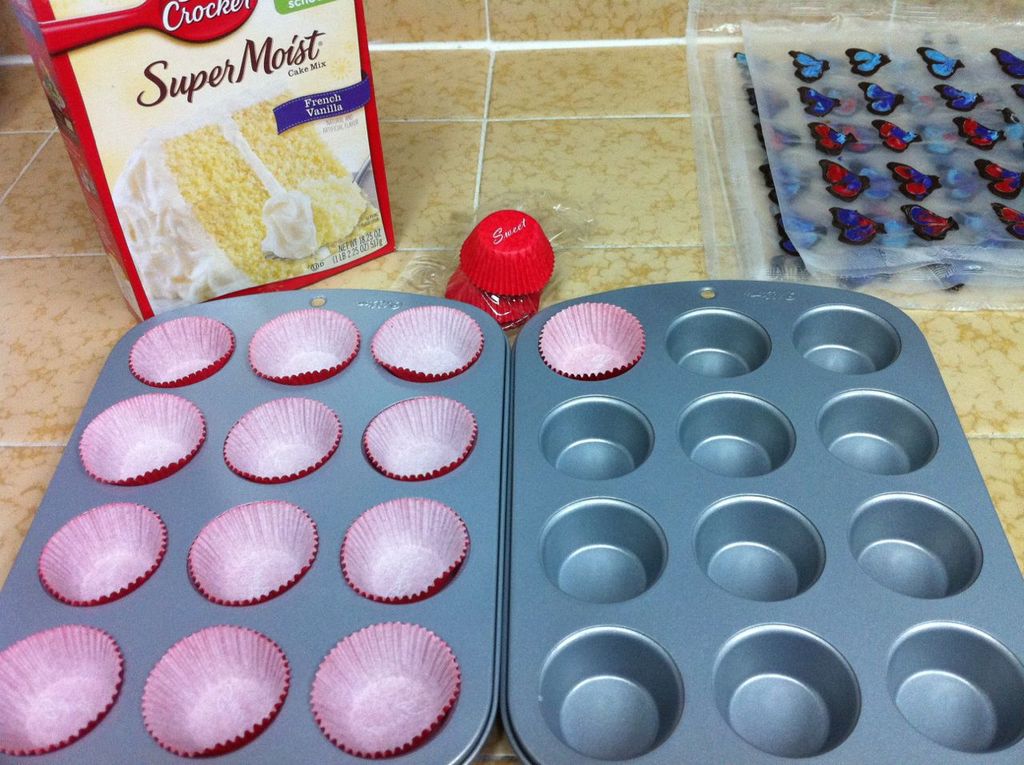
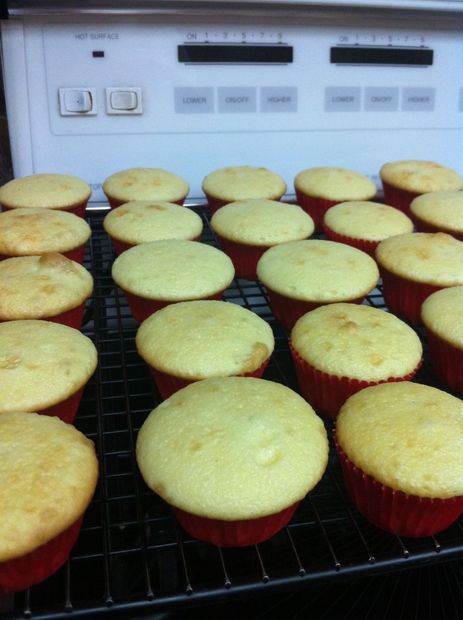
Using your boxed cake mix, follow directions and make the size that you want. One Betty Crocker Supermoist French Vanilla cake mix made 6 dozen mini-cupcakes. I filled the lined tins 2/3 -3/4 full and baked them at 350 degrees for 13-14 minutes.
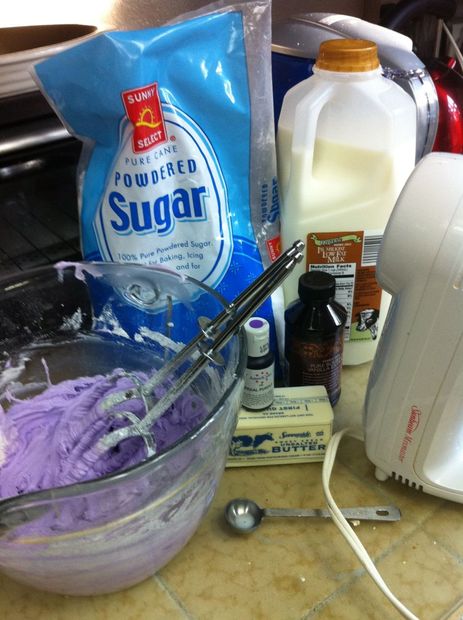
This is the last step before assembling your butterfly cupcakes so be sure you have the time to do this in one sitting. The frosting will set up and firmly hold the wings in place.This is my frosting recipe:
1 stick of butter (salted)
3 cups confectioner's sugar
1 1/2 Tablespoons milk
1 teaspoon vanilla extract
2 squirts of purple (or any color) gel food dye
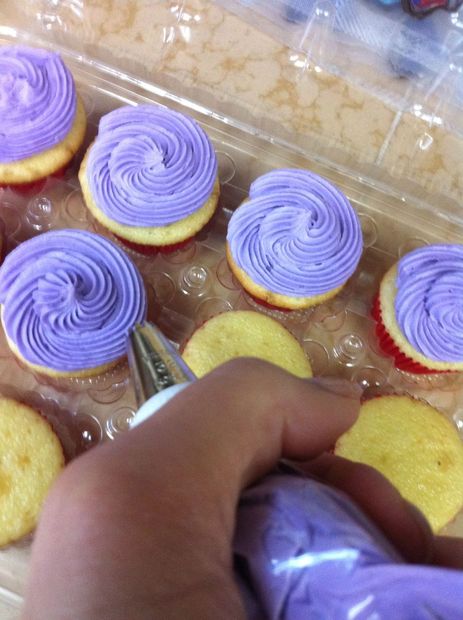
Using a mixer blend all the ingredients together until thoroughly combined. Scoop into a pastry bag or plastic baggie with the corner clipped out and decorator's tip and coupler inserted. I used a large star tip because that's what I could find.
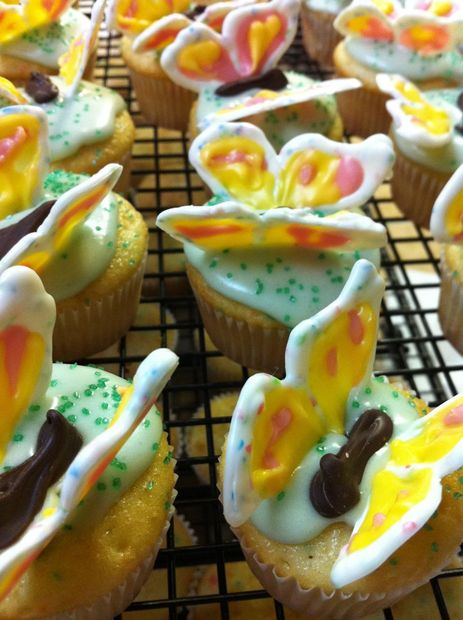
Pipe a spiral pattern on each cupcake, doing no more than a dozen at a time. Add sprinkles now if desired. The wings will pop off the cereal liner very easily, but take care, as they are very delicate. Find your two wings mates and insert the tab portion into the frosting leaving room for the body in between. Add the body and adjust the wings as desired.
(On the green frosted cupcakes I used too much milk and the outcome was more of an icing but it still worked.)
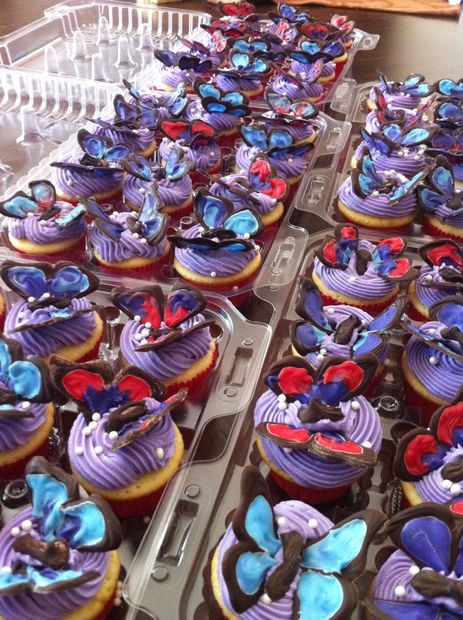
I made nearly all of my butterflies different but you could just as easily make them the same. If you need to transport these (as I did) I'd highly recommend getting clamshells to keep them safe.
If the chocolate starts to bloom (develop a waxy surface) you can take a tiny amount of extra virgin coconut oil and rub it on the bloomed parts and it will help to make it less noticeable. I had some bloom and some were fine, not sure what caused it but it doesn't affect the quality at all.
Enjoy! Hopefully you can bring yourself to try one. I think they are too beautiful to eat...almost...nom nom nom.
Question & Answer
Question: Choose the best title for the missing blank to correctly complete the recipe.
Print Out Your Wings Template
____________
Make the Cupcakes
Admire Your Butterflies!
Choices:
(A) 3D Cookies
(B) Making the Wings
(C) Roll Out the Dough.
(D) Stir
 (B) Making the Wings