Question ID: 1000-7046-3-4-5-6
Recipe Description
Having worked in pizza parlor (cook and prep cook) as a kid, I have first hand knowledge how to make pizza. The problem was how to make it without making 50 gallons of sauce, 50 lbs of dough and $5000 pizza/bread oven. Minor mistakes when making large quantities don’t show, mess up with two pounds of dough and everyone knows. Hence I urge you all to acquaint yourselves with the local Italian bakery or at least the fresh Italian bread dough from your market, dough is the hardest to make in small batches, unless you have the skills or a machine, go to the bakery or market.
Every recipe I have ever read or used has been incomplete, process steps are always left out and equipment is never mentioned. I approached the search for homemade pizza like a science experiment and have refined the ingredients and each step in the process. This may be tuned to my oven and baking material, yours may vary slightly (especially cooking times check the progress if you must but remember it will add baking time). It is presented here in voluminous detail so that there is no guesswork. Modify it as you wish for your oven / pans.Baking Pan Selection:
2 Heavy (may even be commercial) gauge steel jelly roll pans (10in x 15in) mine are stamped Brick Oven, Chicago IL. I got them about 25 years ago. You can use cookie sheets with a ¾ inch edge, but they must be heavy gauge steel black is better; this is what makes it crispy on the bottom. Do not use non stick coated pans! Do not go cheap here most sheets are crap now days.
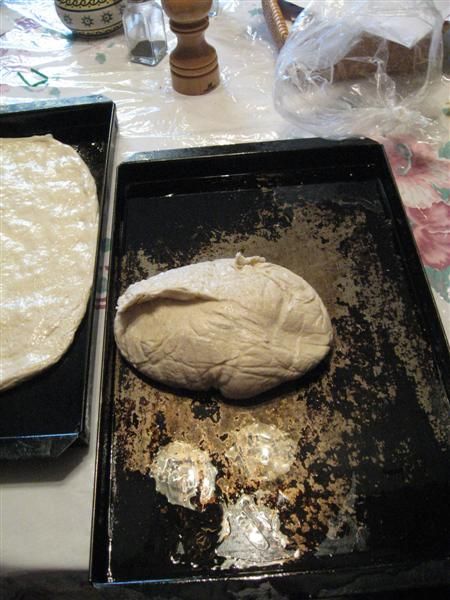

I buy mine, as stated making 2lbs leaves too much room for error, find a bakery you like and use their dough or if you have a bread maker use that. It is very important to let the dough rest before trying to fit it into the pan. Leave on a counter at room temperature in the plastic bag it comes in for about an hour before starting.
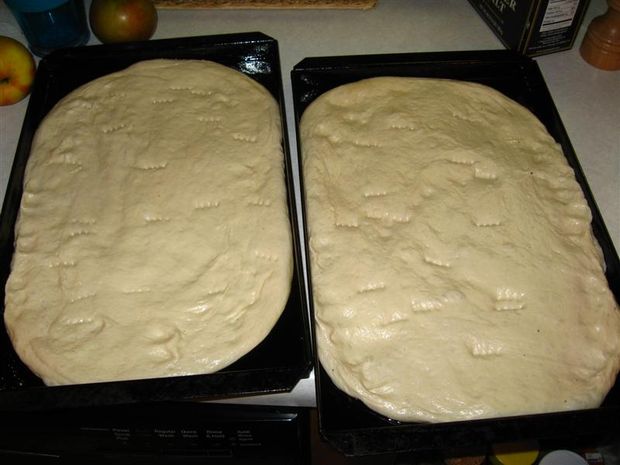
Distribute about 2+ tsp (depends on the pan) of the Olive Oil in each of two baking pans using your hands make sure the entire surface is well covered (but not pool up, if it does use a paper towel to wick it away). With the olive oil still on your hands take one of the dough balls and stretch it into a rectangle of even thickness, don’t worry about the size. Place it in the pan, using your palms and fingers stretch the dough into a rectangle, then flip it over and do it again. The best motion I have found is to press down and then out. If the dough retracts (and it will) by pulling in, it is time to let it rest. Too much handling will cause it to be elastic it will never stretch out to the edges. Before resting for the first time place plastic wrap over each pizza taking care to have it extend over the edge (if you let air in it will start to dry out and that area will be have a very thick crust yuk).
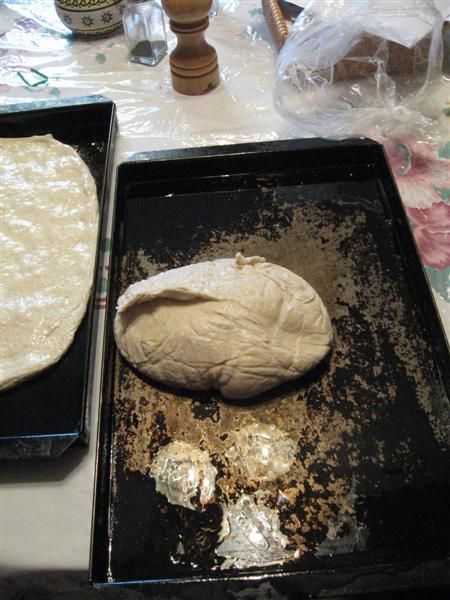
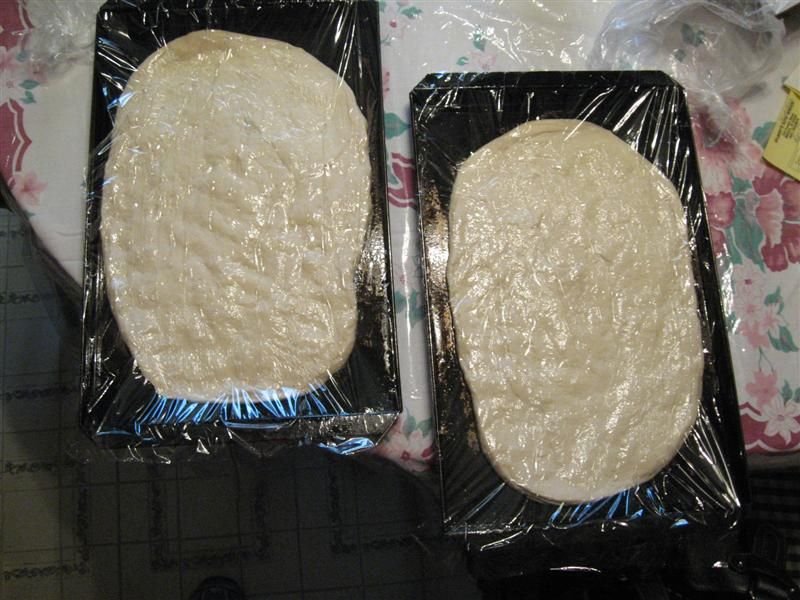


To rest as stated in the last step place plastic wrap over the dough covering the pan, place the pans on an elevated wire rack. Under the rack slightly elevated place a heating pad set on Low to Medium (depending on the pad). Now take a beach towel and cover the entire apparatus. Let it rest and rise again for about 1 hour (or until it has risen). We did this in the pizza shop and it makes a difference you cannot rush this step. (see the pictures for the complete setup).
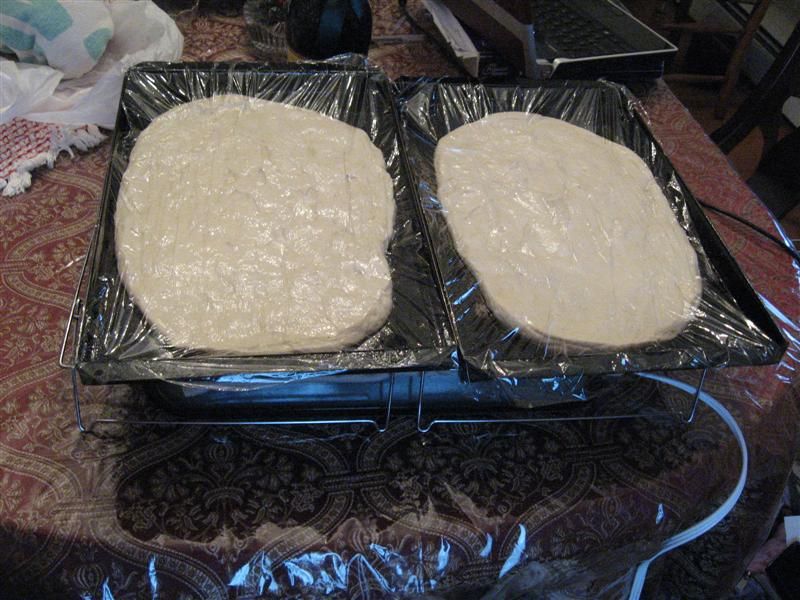
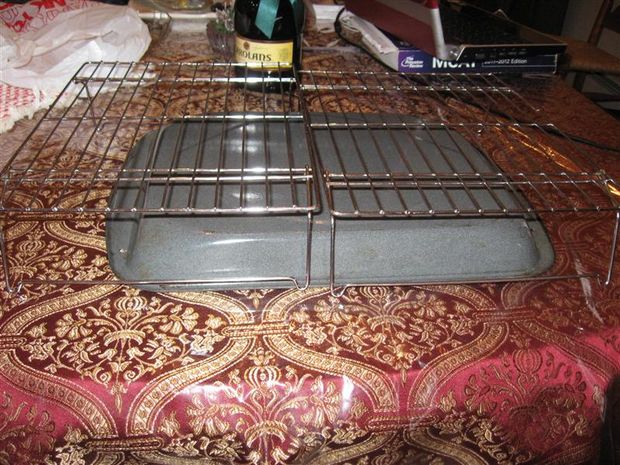
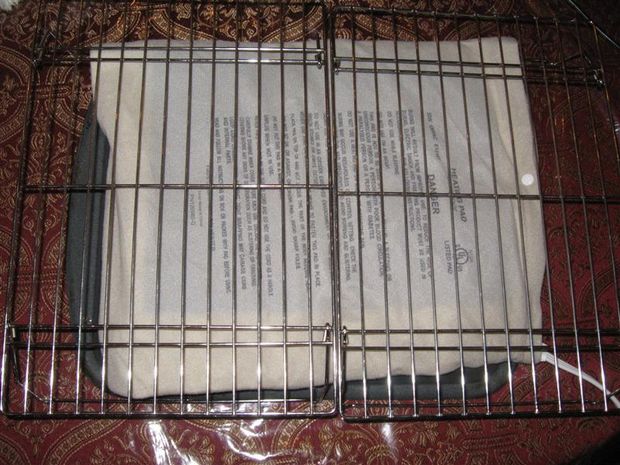
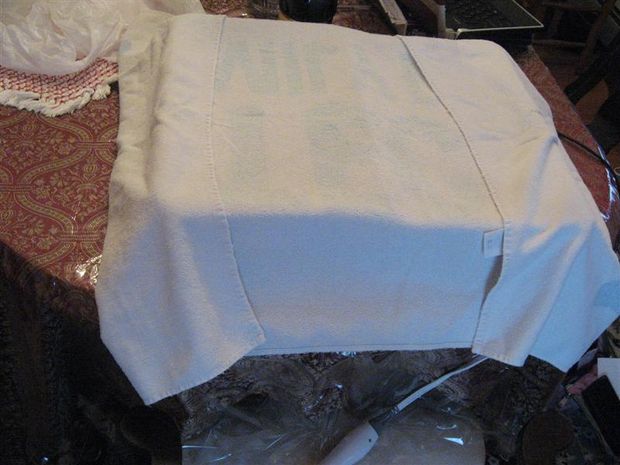


Having waited at least 1 hour before you went on as stated in the last step.
Once it rises you can push the dough to the side to make it reach the edge, leave the plastic cover on. The technique here is to try to evenly push the dough using the side of your hand not palms, starting at the thick sections and moving outward. Try not to take all the air out of it.Make like Lazarus and let it rise again (wait another hour or until it rises to the thickness you want)
Rest it again for a minimum of 1 hour (again until it rises). This whole sub-process is experimental; it depends on the dough, relative temperature, heating pad and patience. The pad should be warm not hot or it will kill the yeast. The extent of the rise is up to you, less time thinner pizza, if you let it rise it will also spread to the sides more. Don’t worry if it does not reach the edges the product will not suffer.
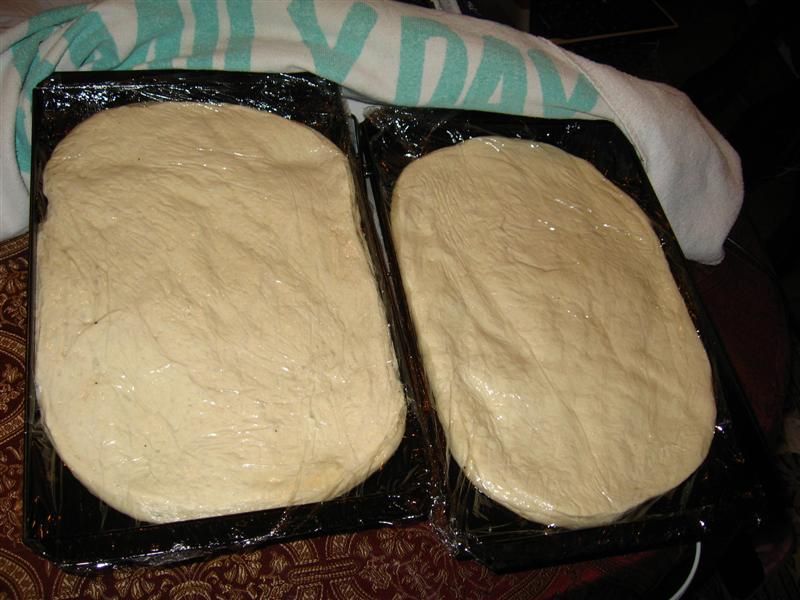

Set the oven to bake to 375 place oven racks 1/3 from the top and ½ the way up from the bottom, and start the sauce.
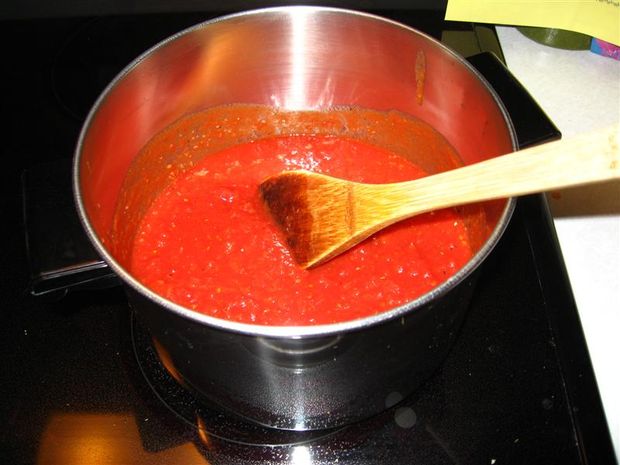
(see picture)Sauce:
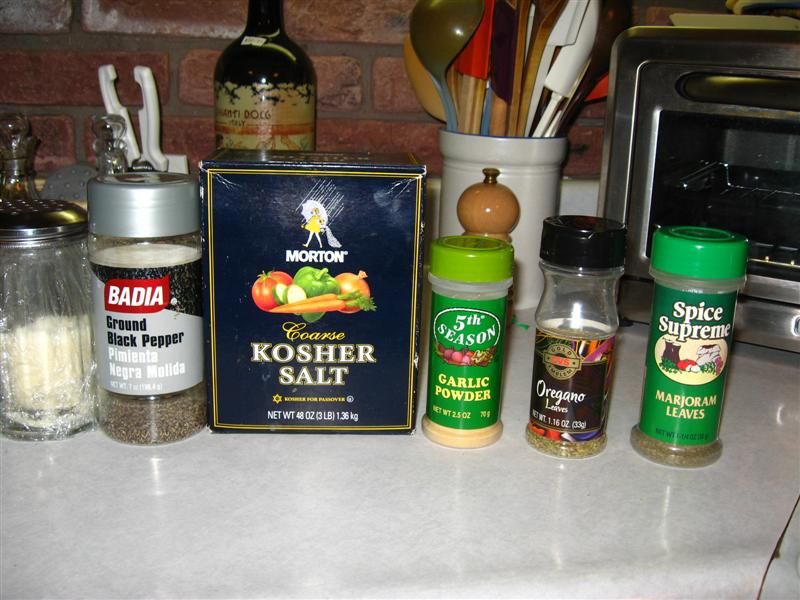
In a saucepan, combine all the ingredients simmer over medium low heat until well integrated, hot not boiling, just starting to bubble. Stir every once in a while. Heating the sauce will reduce the possibility of the dough getting soggy helps distribute the spices. This should take only 10 min, the time it takes the oven to preheat.Pizza Prep:
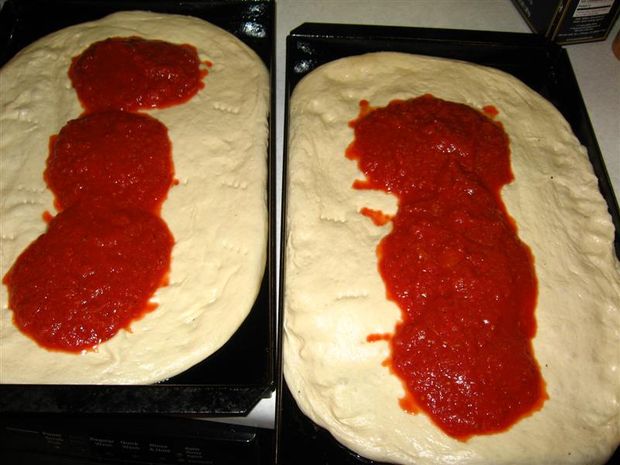
Once the sauce is hot and the dough has been stretched, remove the plastic (like I had to say that), take a fork and stab the dough (through to the dough to the baking sheet, hence the reason we do not use non stick pans) all over the surface about every 2 – 3 inches about 20 times per pizza should be OK. This prevents bubbles in the dough. Ladle (volume of the ladle is your call, do not scrape the pan out yet) even amounts of sauce on each pizza using the bottom of the ladle to push sauce around making a nice even coat. Get as close to the edge as possible with out going over, use the small amount of sauce to fill in bare spots. Slap the bottom of each pan with the palm of your hand this will help distribute the sauce more even you can tilt it to try to get some of it to move to bare spots. (sorry no pictures of process my family thought I was nuts for trying to document this, my wife wanted to keep the recipe a secret).
Important: Do not place toppings on at this time! This is what causes greasy pizza, the fat comes out of the cheese and the pepperoni; you want melted cheese not molten fat lava.
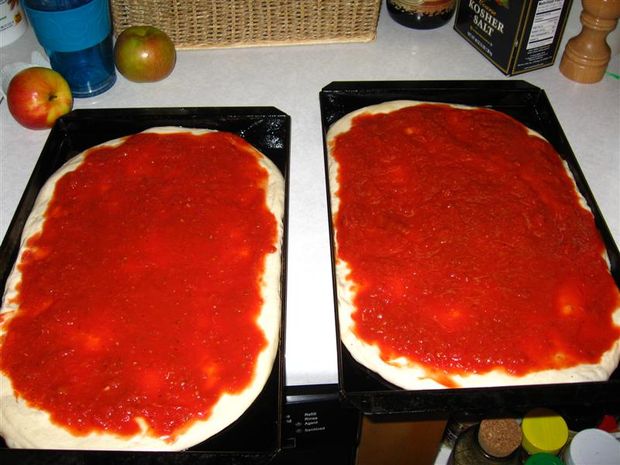


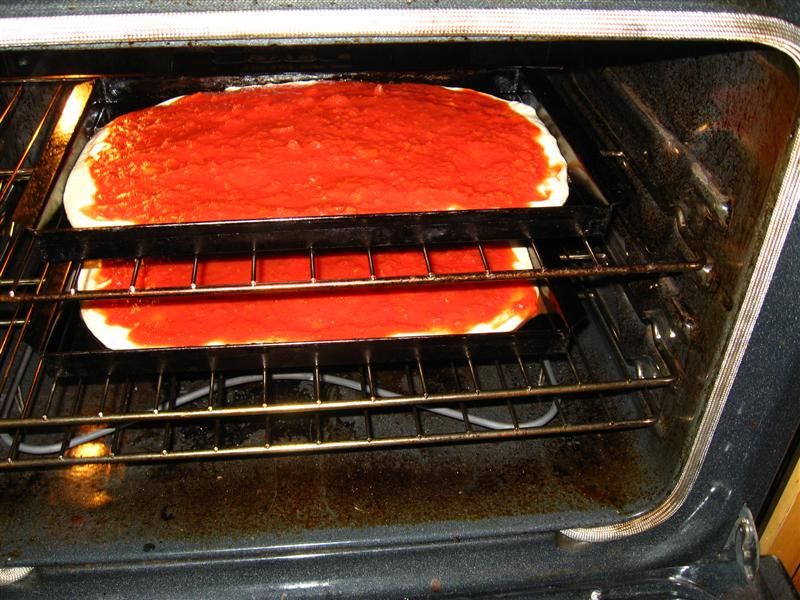
This entire process depends on your oven. As stated above, place them in a preheated oven at 375F, for 18 min (check for browning after 15 min to see how your oven works after you figure out your oven this is unnecessary, establish a swapping time and stick to it). Note: there must be ample room around the pans to allow airflow or the bottom one will burn and the top won’t cook.
After 18 min swap the positions of the pizzas (top to bottom, bottom to top) bake for an additional 18 min. Take this time to prepare toppings (I like fresh baby portabella mushroom, peperoncini peppers, pepperoni and cheese).
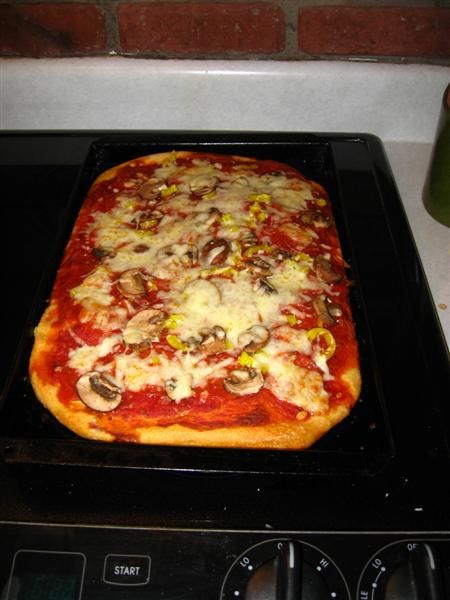
After 18 min take both pizzas out of the oven and place them on the stove (remember who was on top, it matters) the bottom should be starting to brown.
About apply toppings; remember the cheese is always last, this keeps the pepperoni from cupping and rendering fat. So it’s pepperoni / meat, fungi, vegetables then cheese.
I find that 8oz of cheese is enough to do both pizzas. Place the garnished pizzas back in the oven for 8-10 min remember to remember to swap positions. After the 8 min check the pizzas (use the oven window if you can) one may the done before the other (toppings melted not burnt), if it is not brown enough for your taste leave in for up to 3 more min. Even if it is a little pale it should still be crispy. Don’t let the topping burn.
Note if you like your pizza well down add time equally between two bake cycles before you apply the topping. As I stated, over cooking the pizza with the toppings will cause the fat in the cheese to come out and make it very greasy.
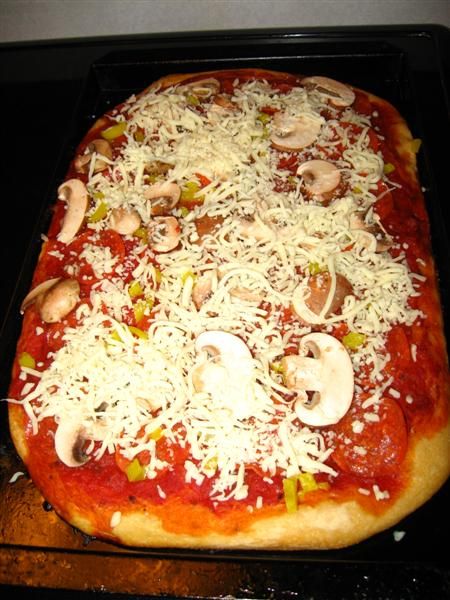
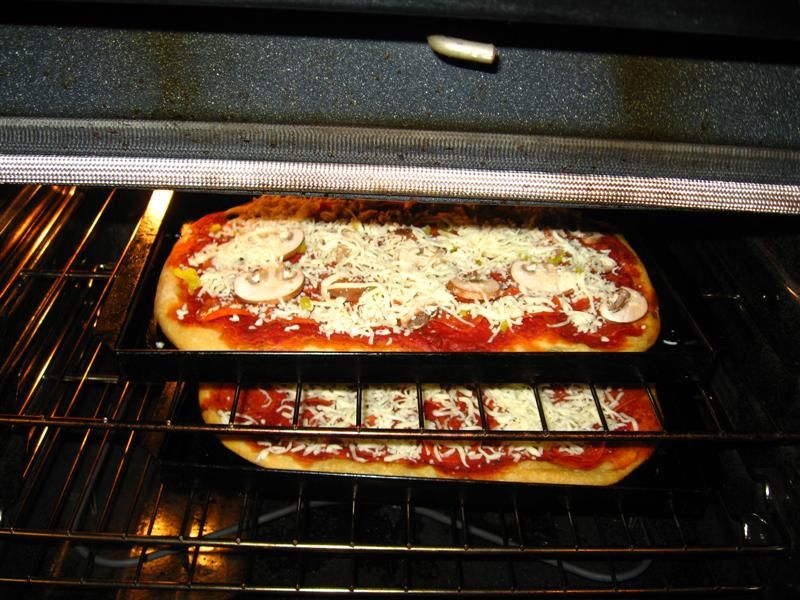


One would think this would obvious but I take it to the extreme again.
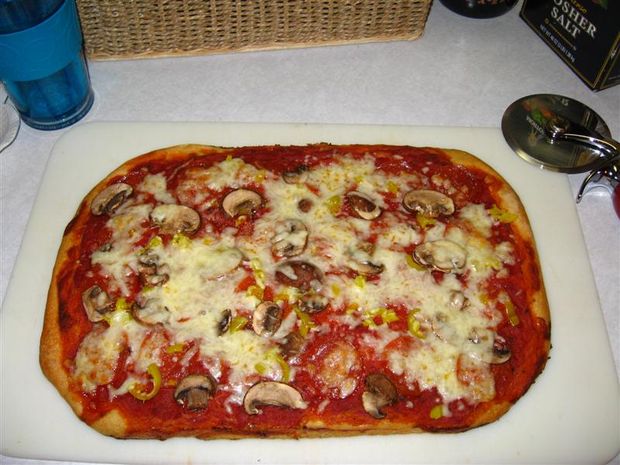
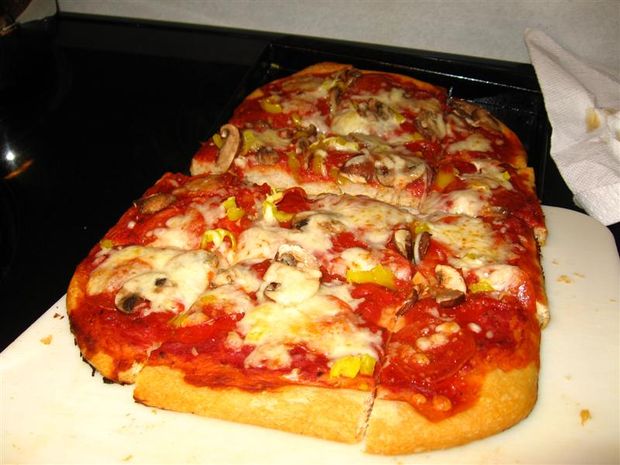
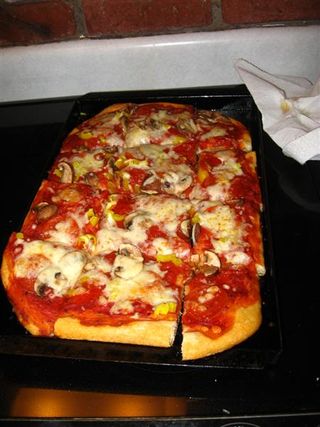
After you take the pizzas out of the oven, use a plastic spatula (like you use to flip pancakes) around the edges if necessary and use it to help slide them onto a cutting board one at a time. It should slide out given a liberal use of olive oil. Use a pizza cutter to slice each pizza into 12 pieces (3 columns x 4 rows). Take a paper towel and run it around the empty pan to get any extra oil. Then lift the cutting board (mine is light about 3/8 inch thick and about 12in x 20 in) slide the pieces back into their pans to serve. This is done using a single sliding motion where you use hold it over the pan at an angle and slide the cutting board from the rear of the pan to the front (with the cutting board at about a 20-degree angle) simultaneously using the spatula or hand to push the pizza back into the baking pan.
Use the spatula to cut the cheese between the slices seperate (so no one gets shorted on toppings), serve.
If all is done right the pieces should be about ½ to ¾ inches thick, crispy on the bottom and it won’t go limp when you pick it up.In conclusion (finally, what a wind bag):Who else but an engineer would have gone this far.


Question & Answer
Question: Choose the best title for the missing blank to correctly complete the recipe.
Rise Lazarus Rise (twice)
Make the Pizza Already
____________
Slicing
Choices:
(A) Bomba Barbarian Bruschetta Pizza
(B) Preparing the Toppings
(C) Preparing the Dough
(D) Baking
 (D) Baking