Question ID: 1000-4127-0-1-2-3
Recipe Description
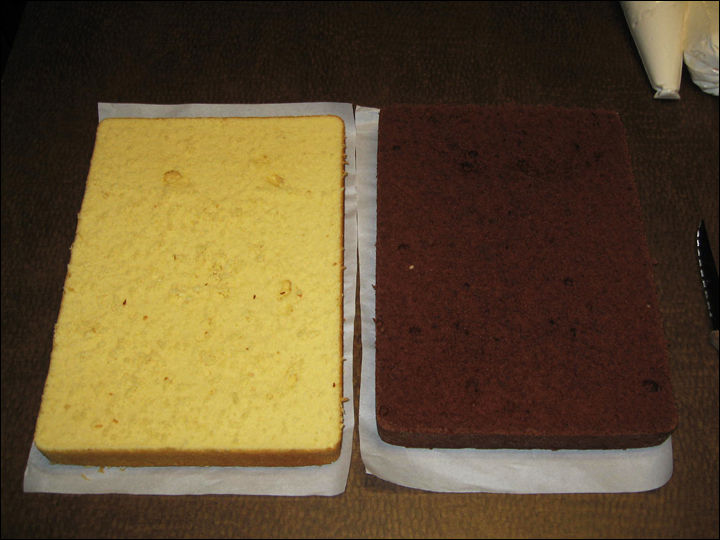
Once you have all the cakes baked and leveled, it's time to begin stacking.
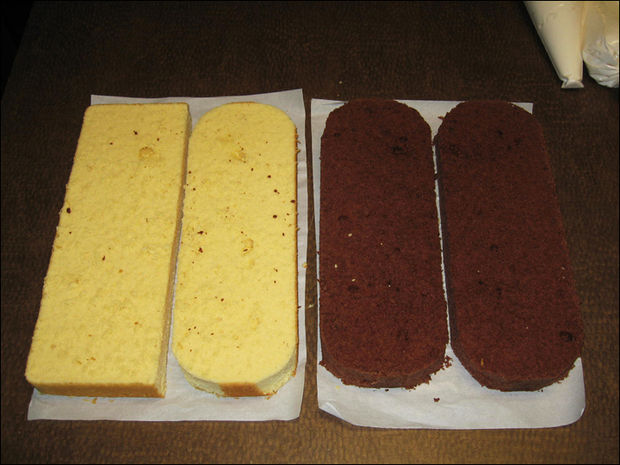
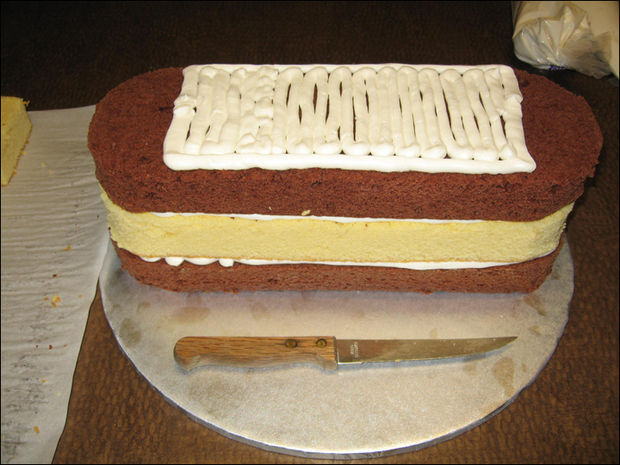
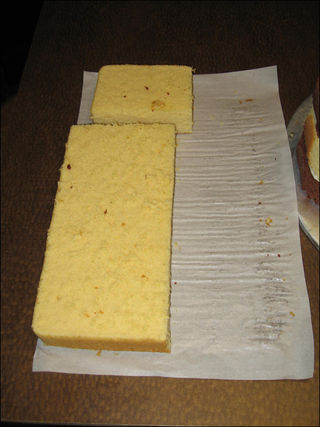
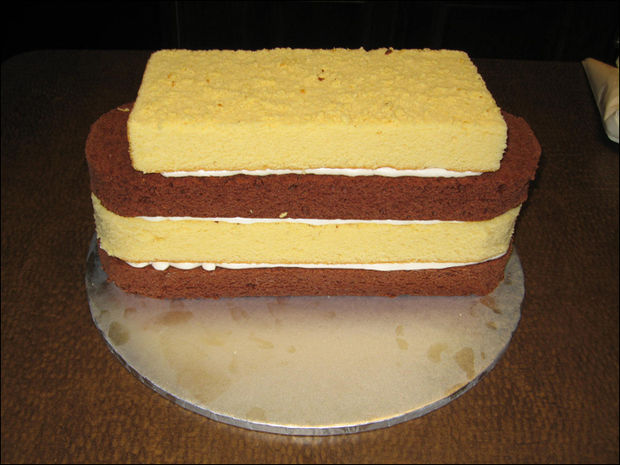
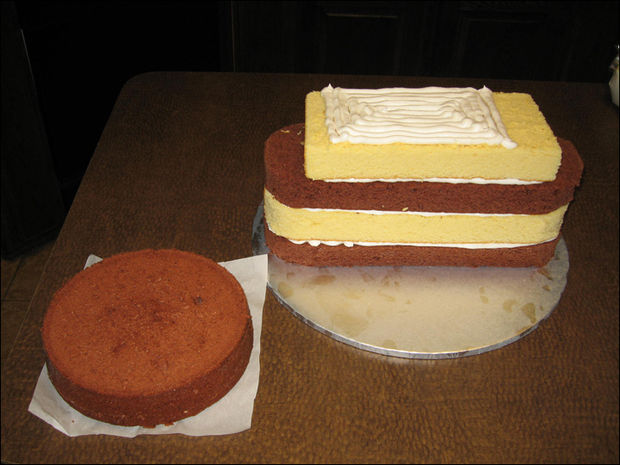
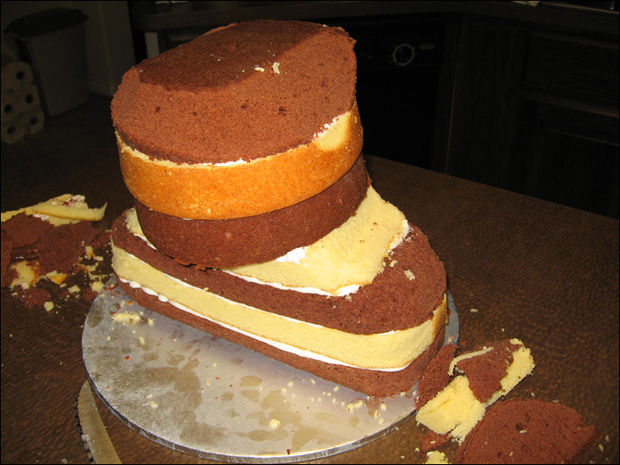
First, cut both 9"x13" cakes length-wise, the round off the corners of 3 of the pieces. Then stack them on a foil-covered cake board, alternating with icing in between the layers. With the 4th piece that didn't get the corners rounded, cut off about a 3" section and set aside. Next, stack the larger piece on top of the 3 layers that were just stacked.
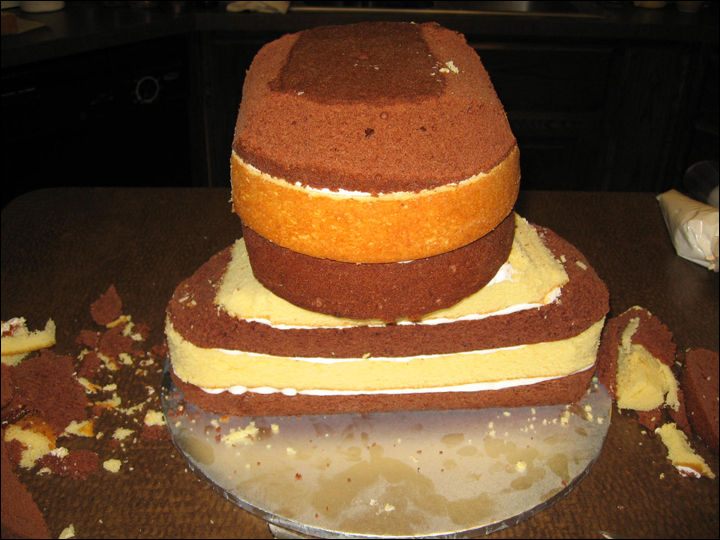
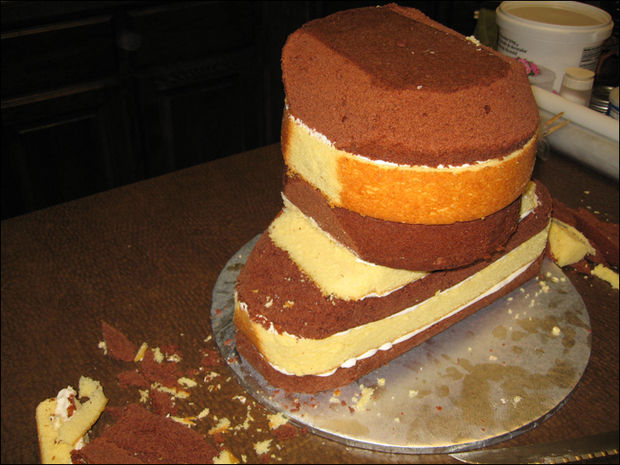
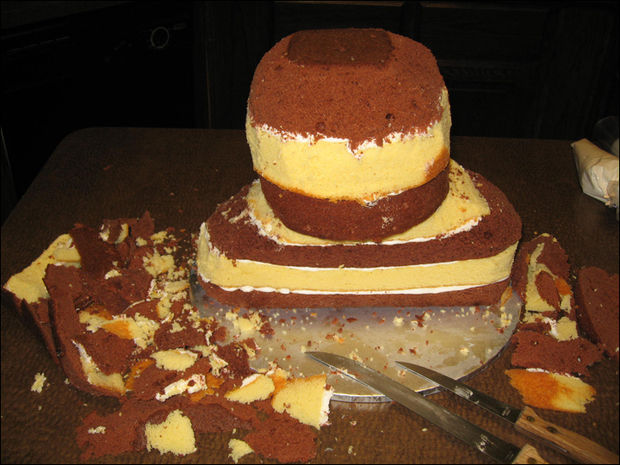
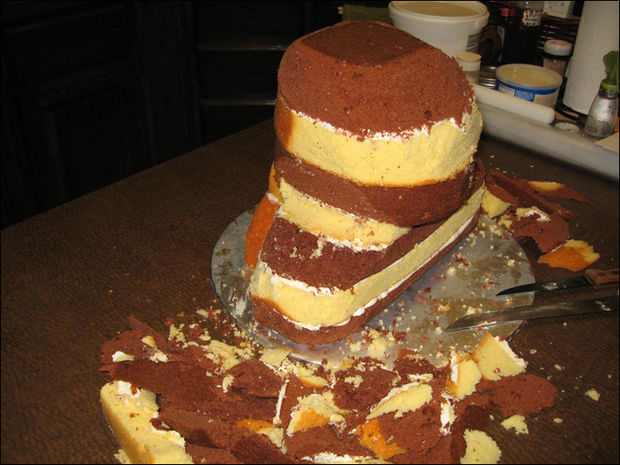
Next, begin stacking the round layers on top of this, slightly off-center. Stack 3 of the 8" rounds. Take the 4th 8" round and cut it in half and apply it to one side of the stacked cakes as shown, using a small portion taken from the 3" section you cut from the long cake, using icing, to give added support. This side will be the back of the cake.
Now, cut a wooden cake dowel about 1.5" shorter than your stacked cakes and sharpen one end with a pencil sharpener and then smooth the edges using fine grit sandpaper. Next, push the dowel down through the top of the stacked cakes and into the cardboard cake board. This will add extra support and help keep everything together.


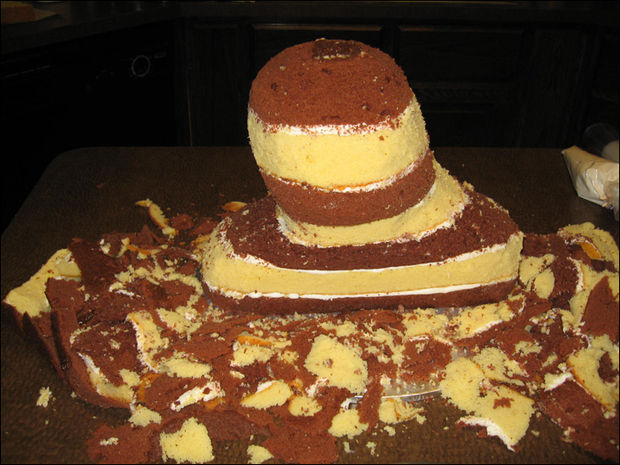
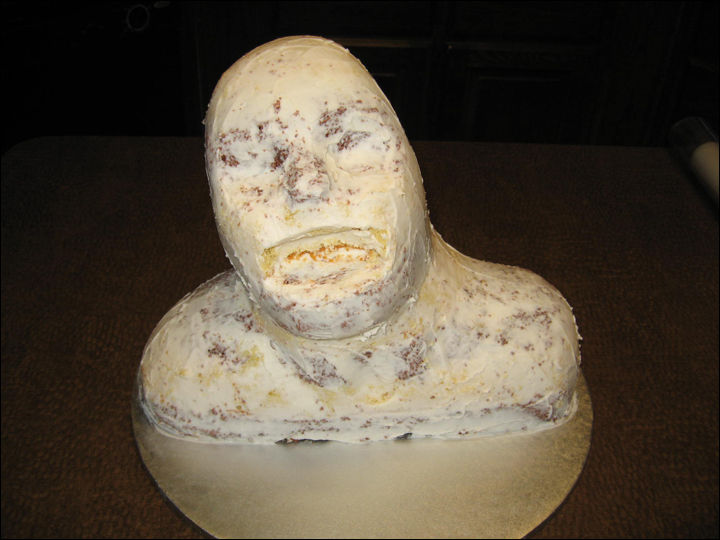
Begin the carving by first rounding off the edges, then slowly continue carving and shaving off cake until you have reached the basic shape. i actually ended up having to add some more cake to the top of the head, as you can see in the photos.
Once the basic shape is done, carve out depressions for the eyes, around the nose and a larger area for the mouth.


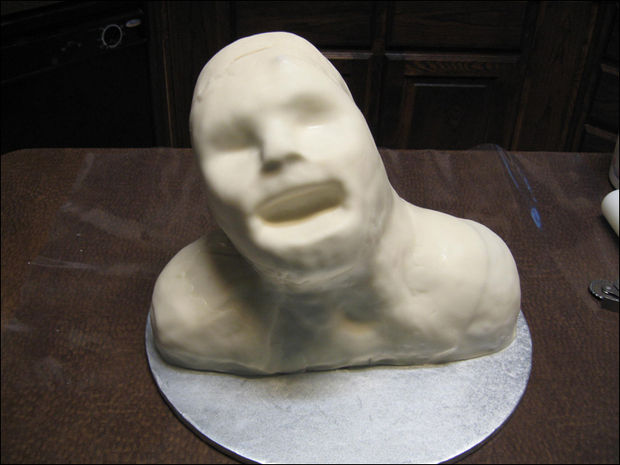
Once the cake portion is carved into it's basic shape, cover it all in a thin layer of icing. Then roll out a piece of fondant large enough to cover the head. Since this will be a zombie and doesn't need to be smooth, you don't need to cover it all in once piece. I covered the head and neck area in once piece and then added pieces to cover the rest, blending the seams in using water, my fingers and Wilton fondant/gum paste tools.
Next comes all the details. Here is the order I did them in and how:
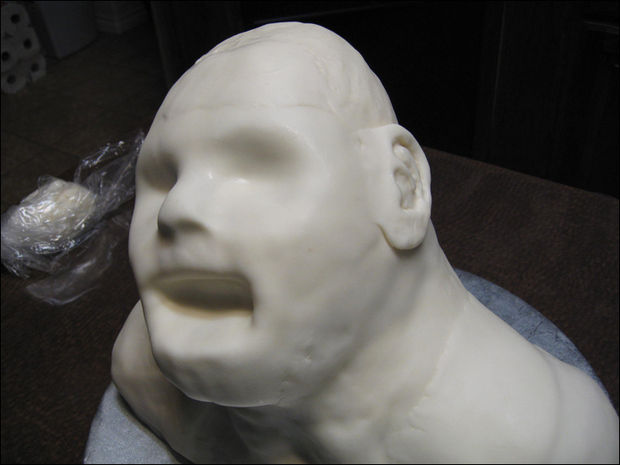
First, I made an ear (he only gets one) by making an oval of fondant then flattening it. Next I shaped it with my fingers and used the smaller ball tool to create the details of the ear. This was applied using water and a paint brush, then smoothing the front edge of the ear to the side of the head using water with the ball tool and my fingers.
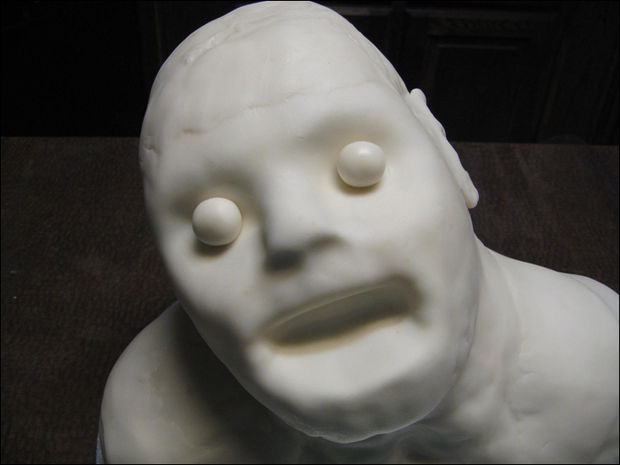
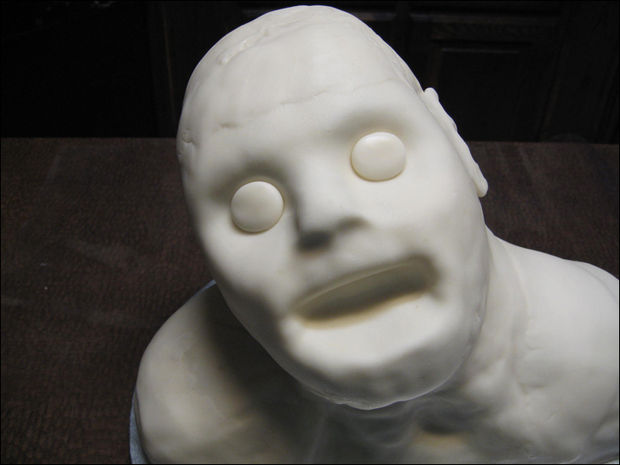
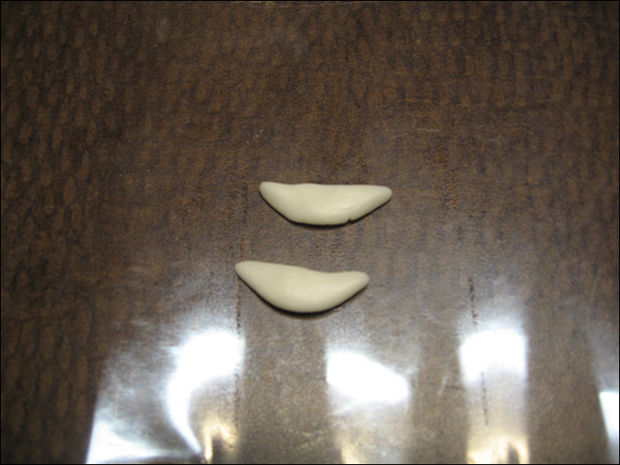
Next came the eyes. First attach 2 balls of fondant with water, then flatten them some. Next make 2 flattened almost half circle shapes a little longer than the flattened eyeballs and these will be the lower eyelids. Apply with water, smoothing the seams with the small ball tool and fingers. Repeat for the upper eyelids. Then I used various tools to make wrinkles and detail. I also added more to the brow, building it up using fondant, again applied with water and smoothed the seams and added detail and texture.
Next I used one of the tools to make indents in the mouth for the teeth, which were formed from little balls of fondant and glued in with water.
Next, I added more fondant to the nose, smoothing and shaping and texturing. Then I continued texturing the face. I would brush on water, then use various tools to scrape, puncture and detail the skin to make it look like zombie skin.
For the front of the shoulder that is seen through the shirt, I made a little piece from fondant, textured it, and glued it on with water. Next cake the clothing, which I rolled out and cut, then textured it by laying a clean towel over the fondant and pressing into the fondant to get a cloth-like texture.
The hair was the hardest part. I applied fondant strips, arranging them as I placed them on, again using water.


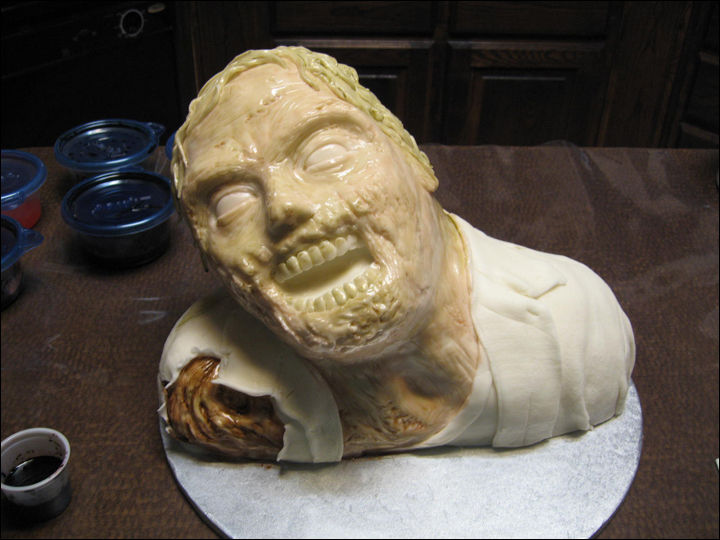
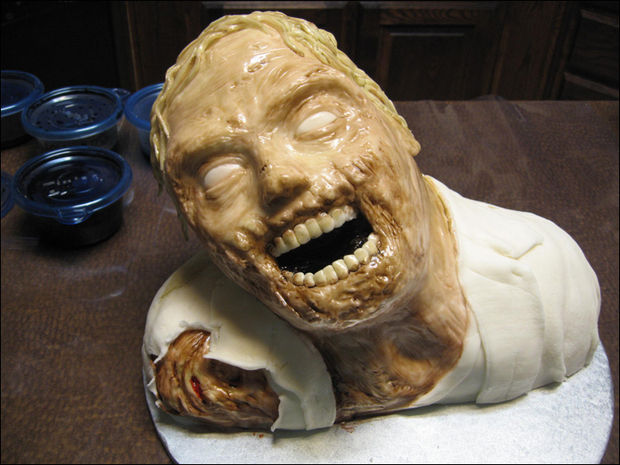
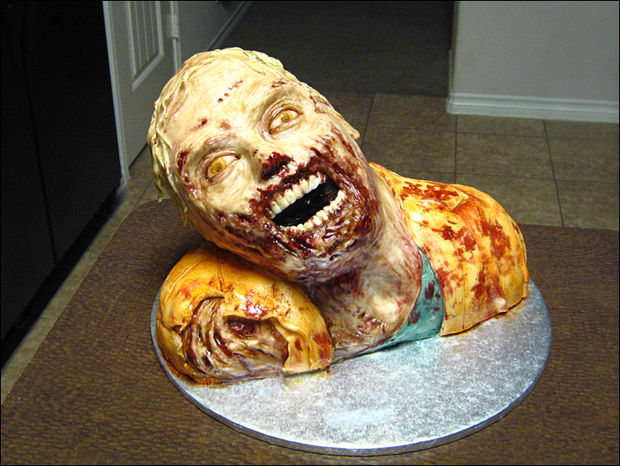
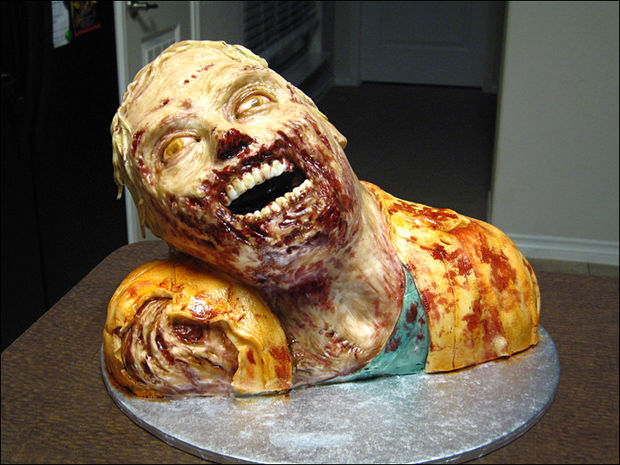
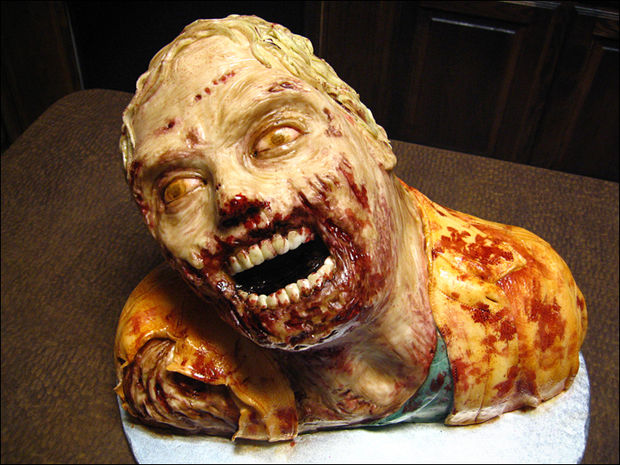
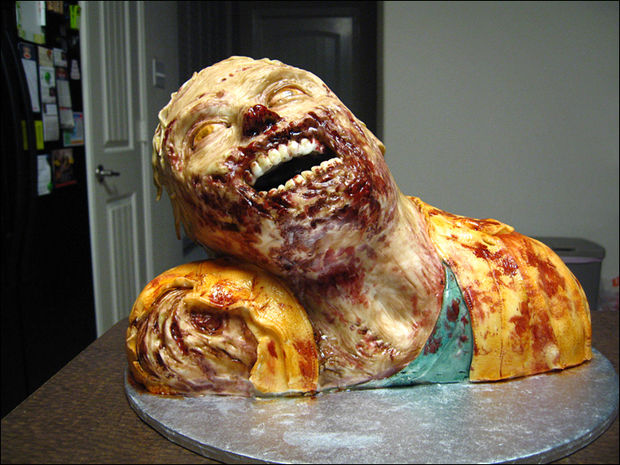
I chose to hand paint the cake because I thought it would give a nice texture for a zombie.
I started with light washes of food coloring mixed with vodka, building up my colors. The first layer was an all over light wash of flesh tone, then came a light wash of a mossy green on the hair and in various places around the torn flesh areas. Next I used a little darker mix of a muddy reddish-brown.
Next I painted the inside of the mouth with a dark brown-black. Then I mixed a dark purplish brown for the torn flesh and topped it off with a dark blood color. I then painted the clothing and applied the blood coloring to them, as well as spattering some "blood" over the whole thing.
And now the cake is ready to be devoured! Mmmmmm zombie cake brains!


Question & Answer
Question: Choose the best title for the missing blank to correctly complete the recipe.
____________
Carving the Cake
Applying the Fondant
Painting and Finishing the Cake
Choices:
(A) Zombie Head Cake
(B) Stacking the Cakes
(C) Edging
(D) Dots
 (B) Stacking the Cakes